Context: This guide demonstrates how to configure a contribution refund account within the Employer Portal.
New: If you have undergone the Identity Verification (IDV) process, you will be ‘verified’ for 24 hours, meaning you will not have to submit identity documents for any subsequent bank account setups during this time.
Glossary
Interactive Demo
Note: Make the demo full-screen for a better experience. You can mute/un-mute narration to suit your preferences.
Written Steps
Refund Account Setup: Reuse existing direct debit account
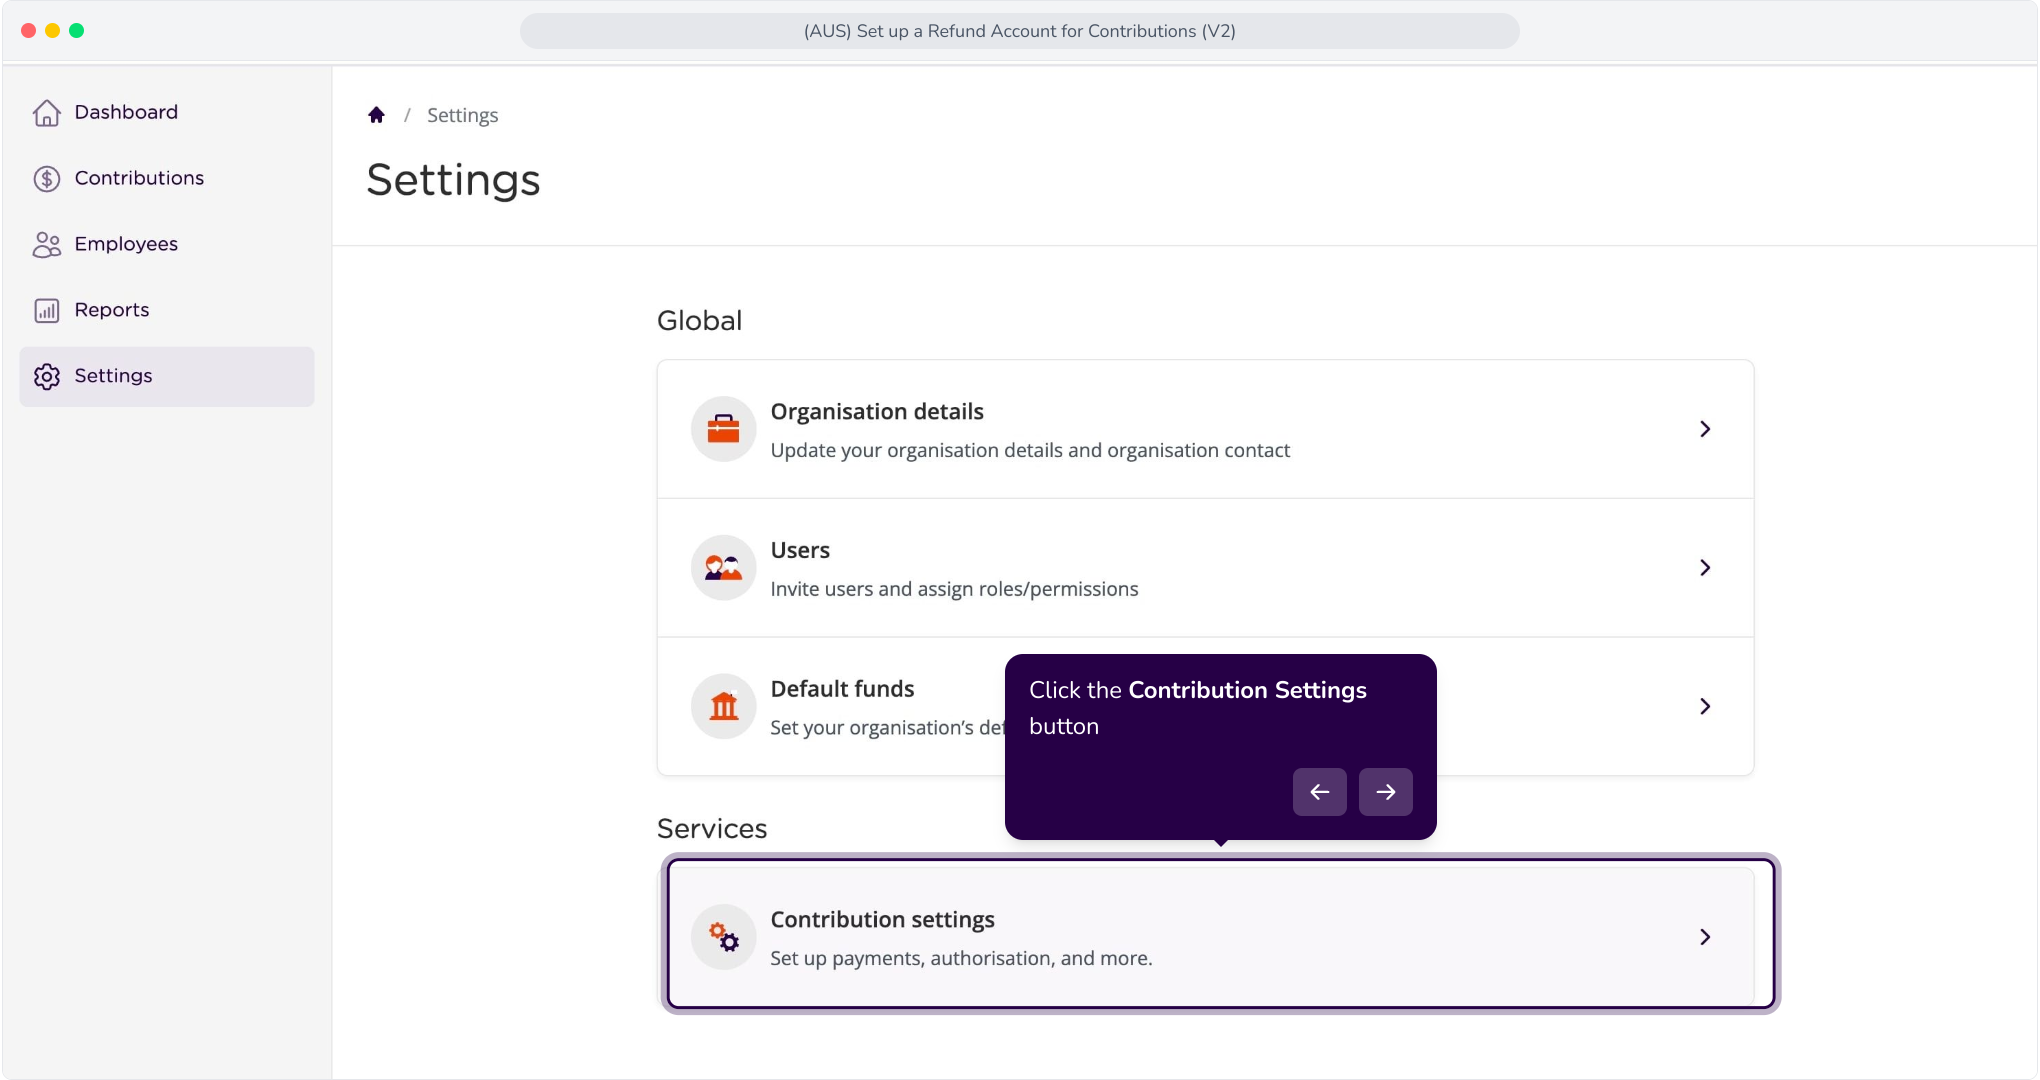
1. Click on Contribution Settings button.
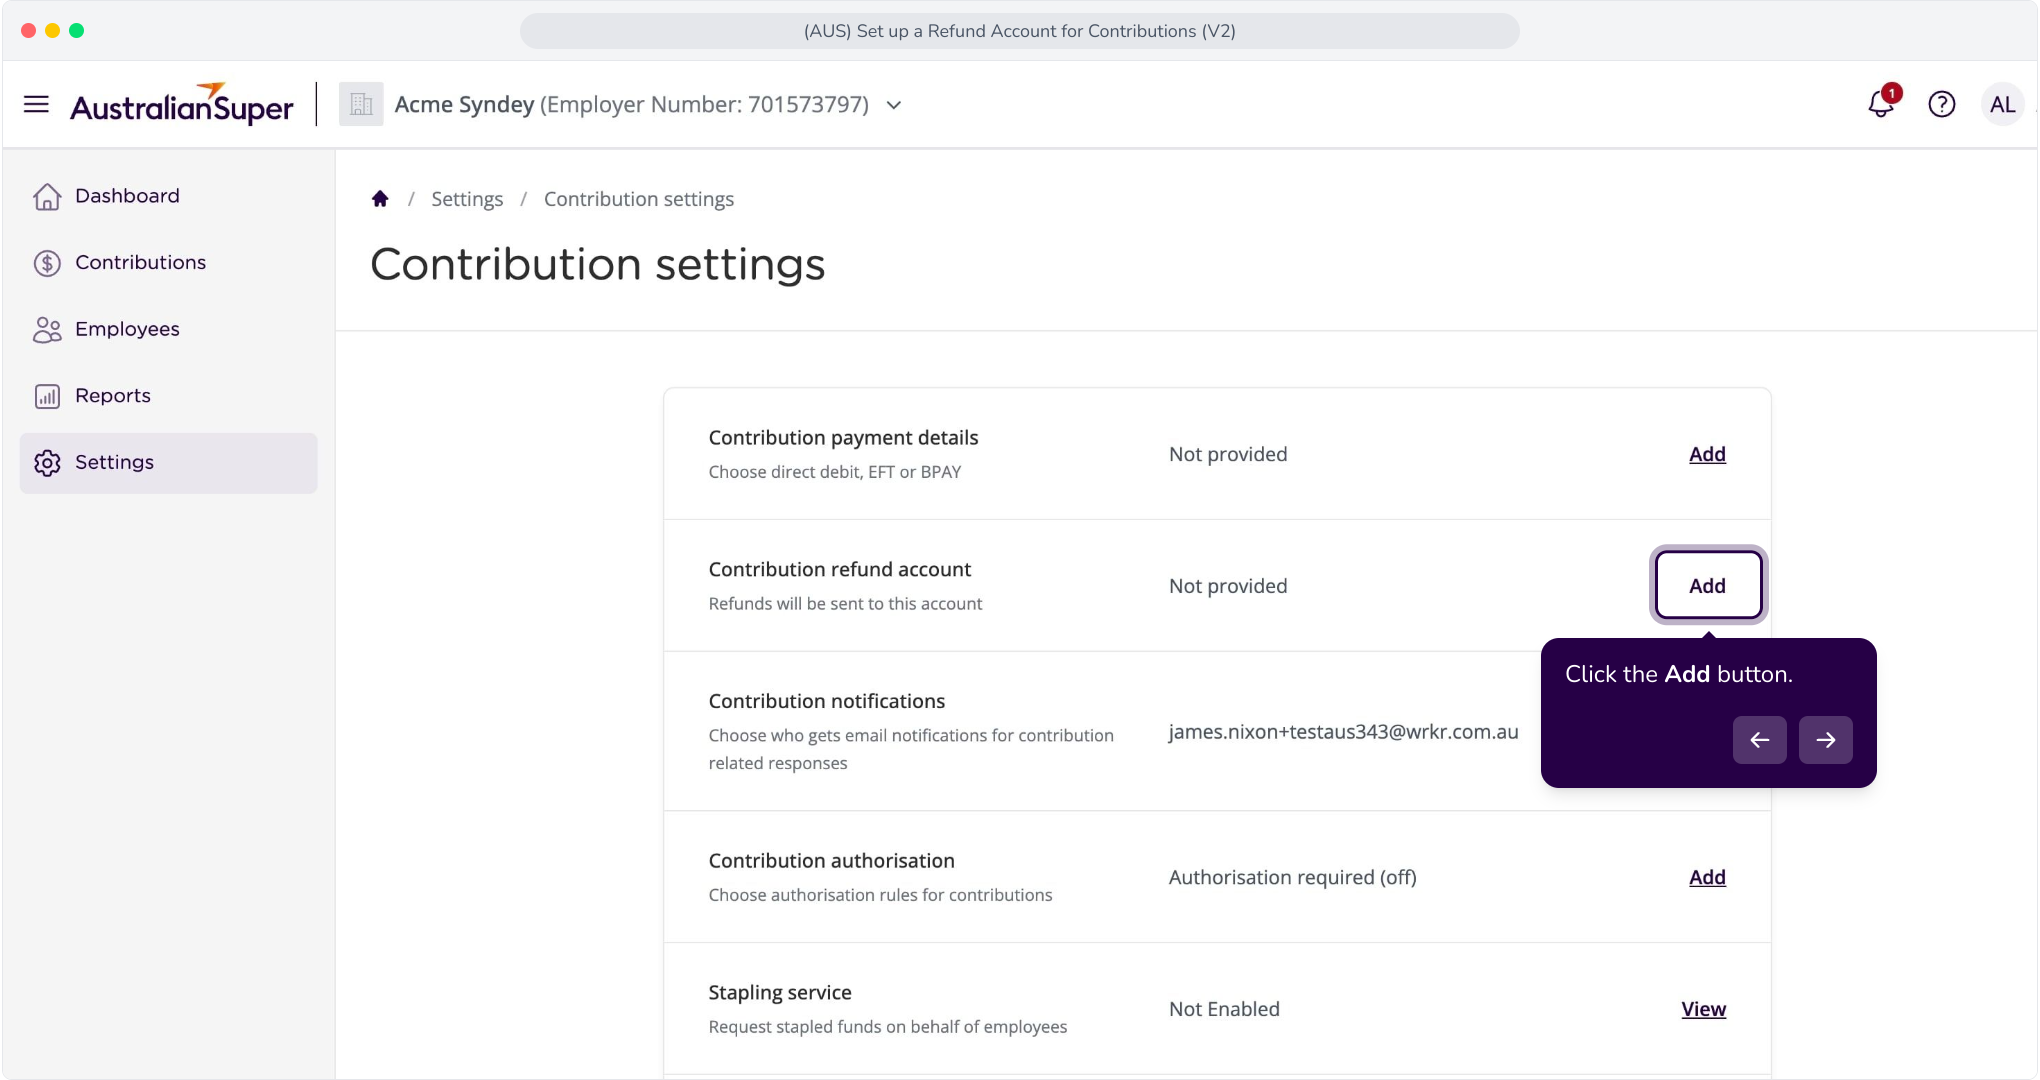
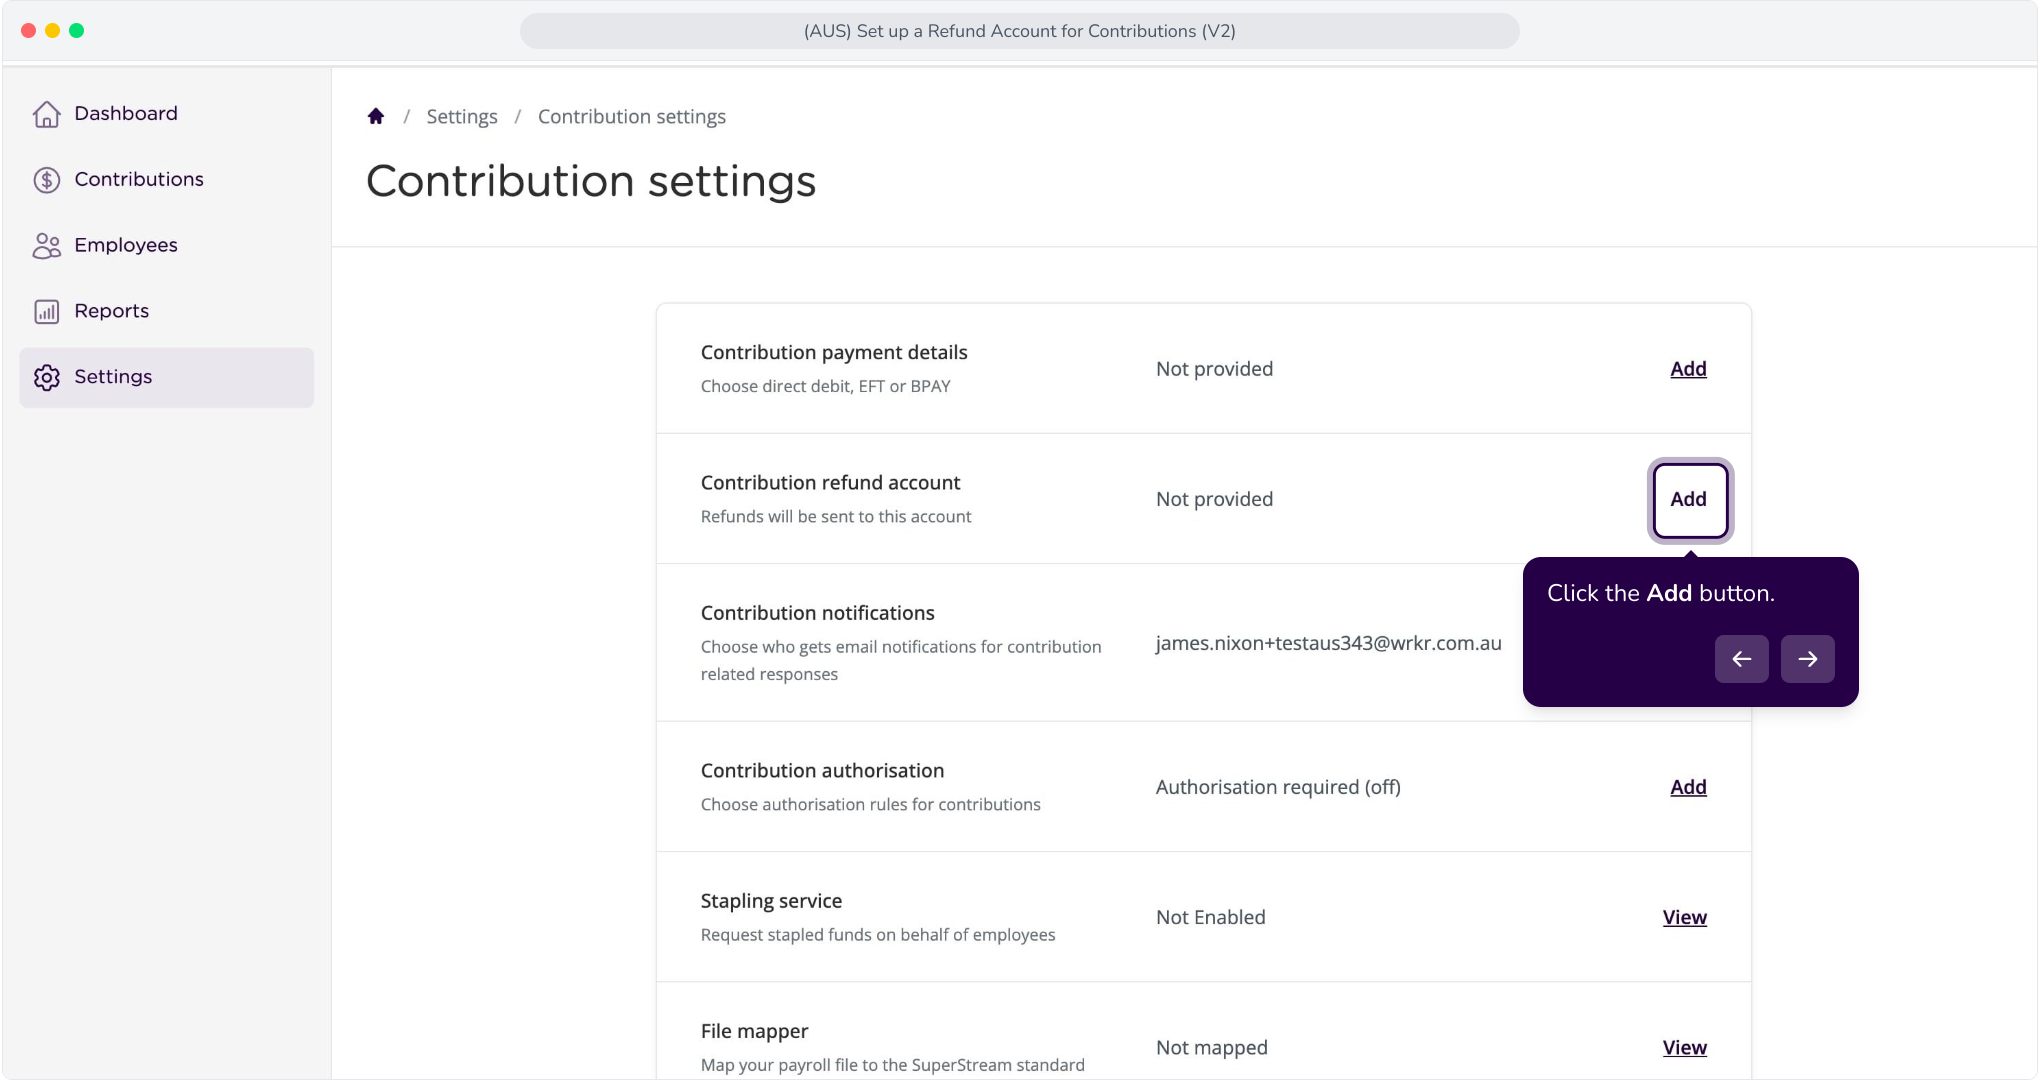
2. Click the Add button.
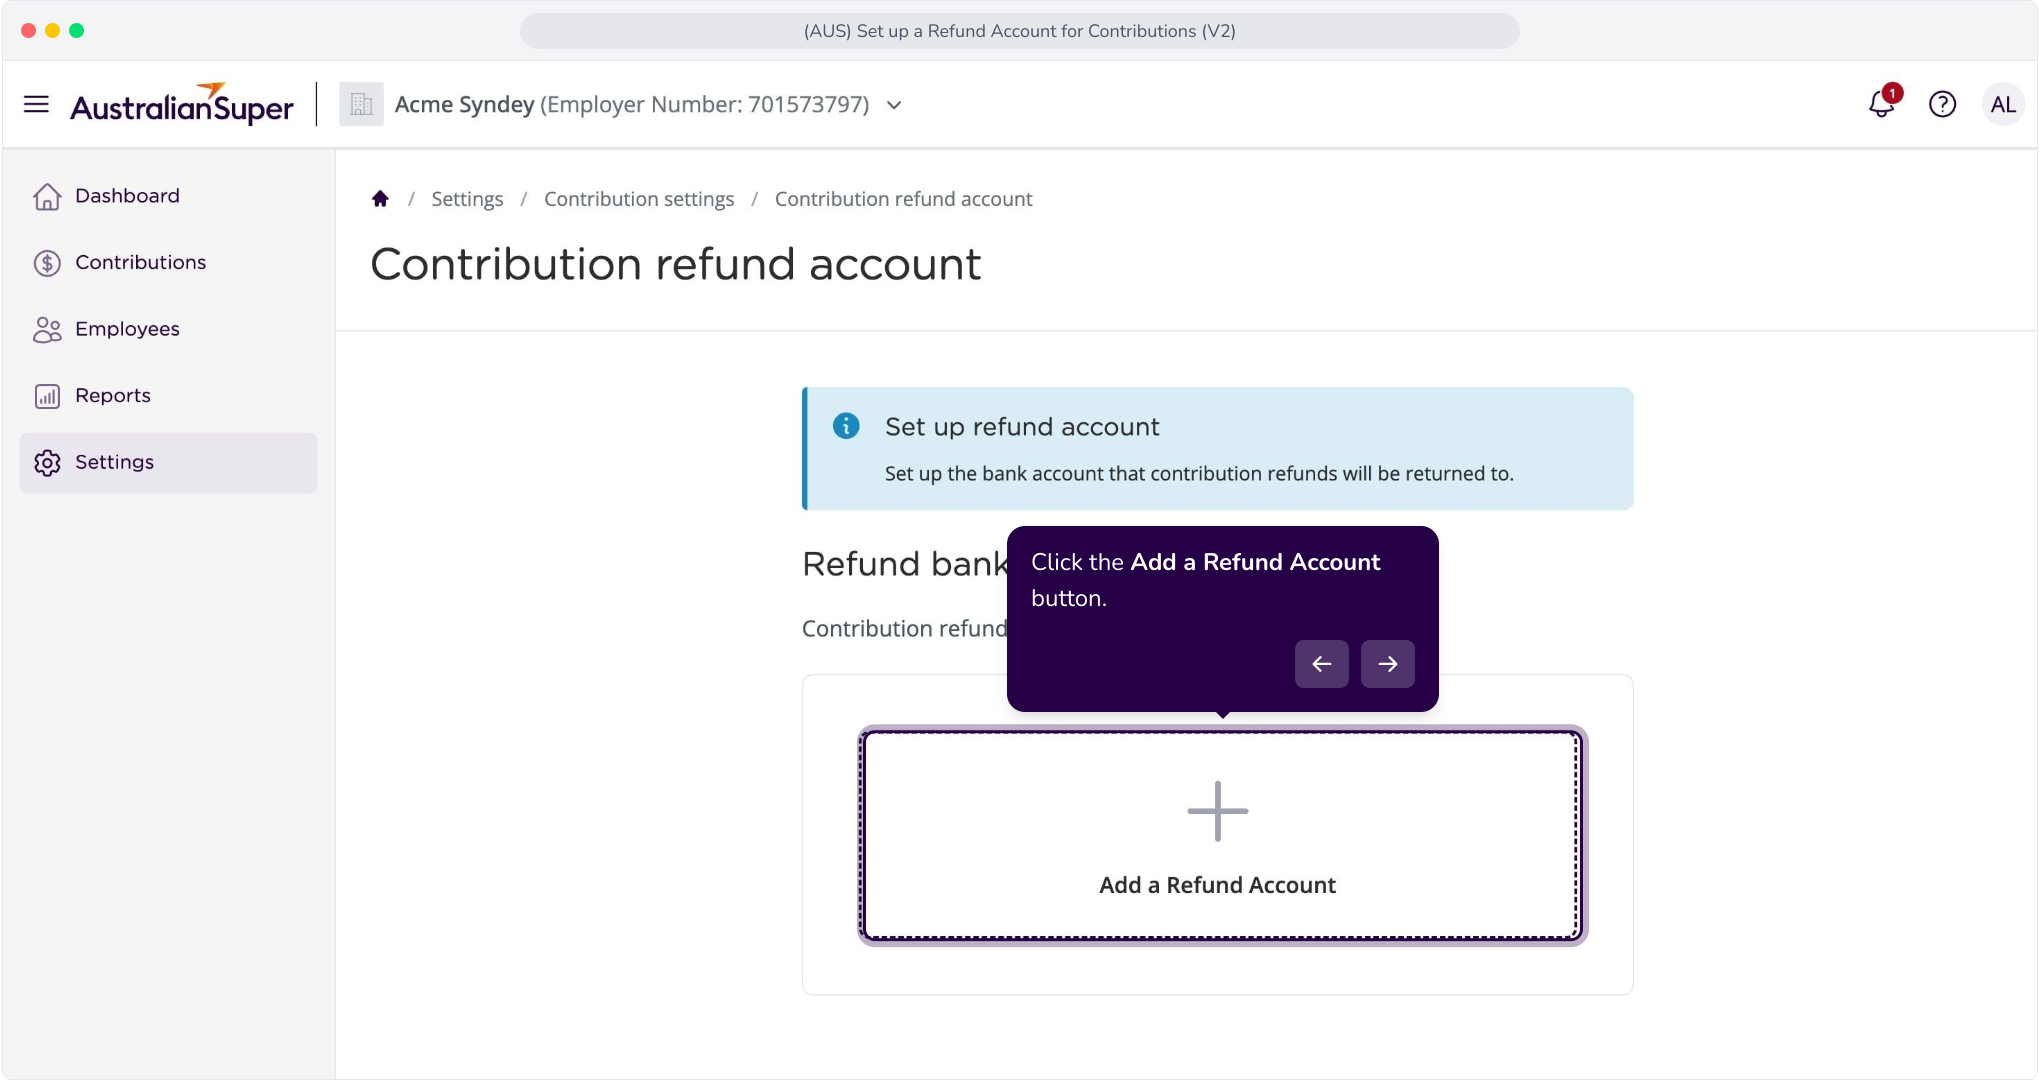
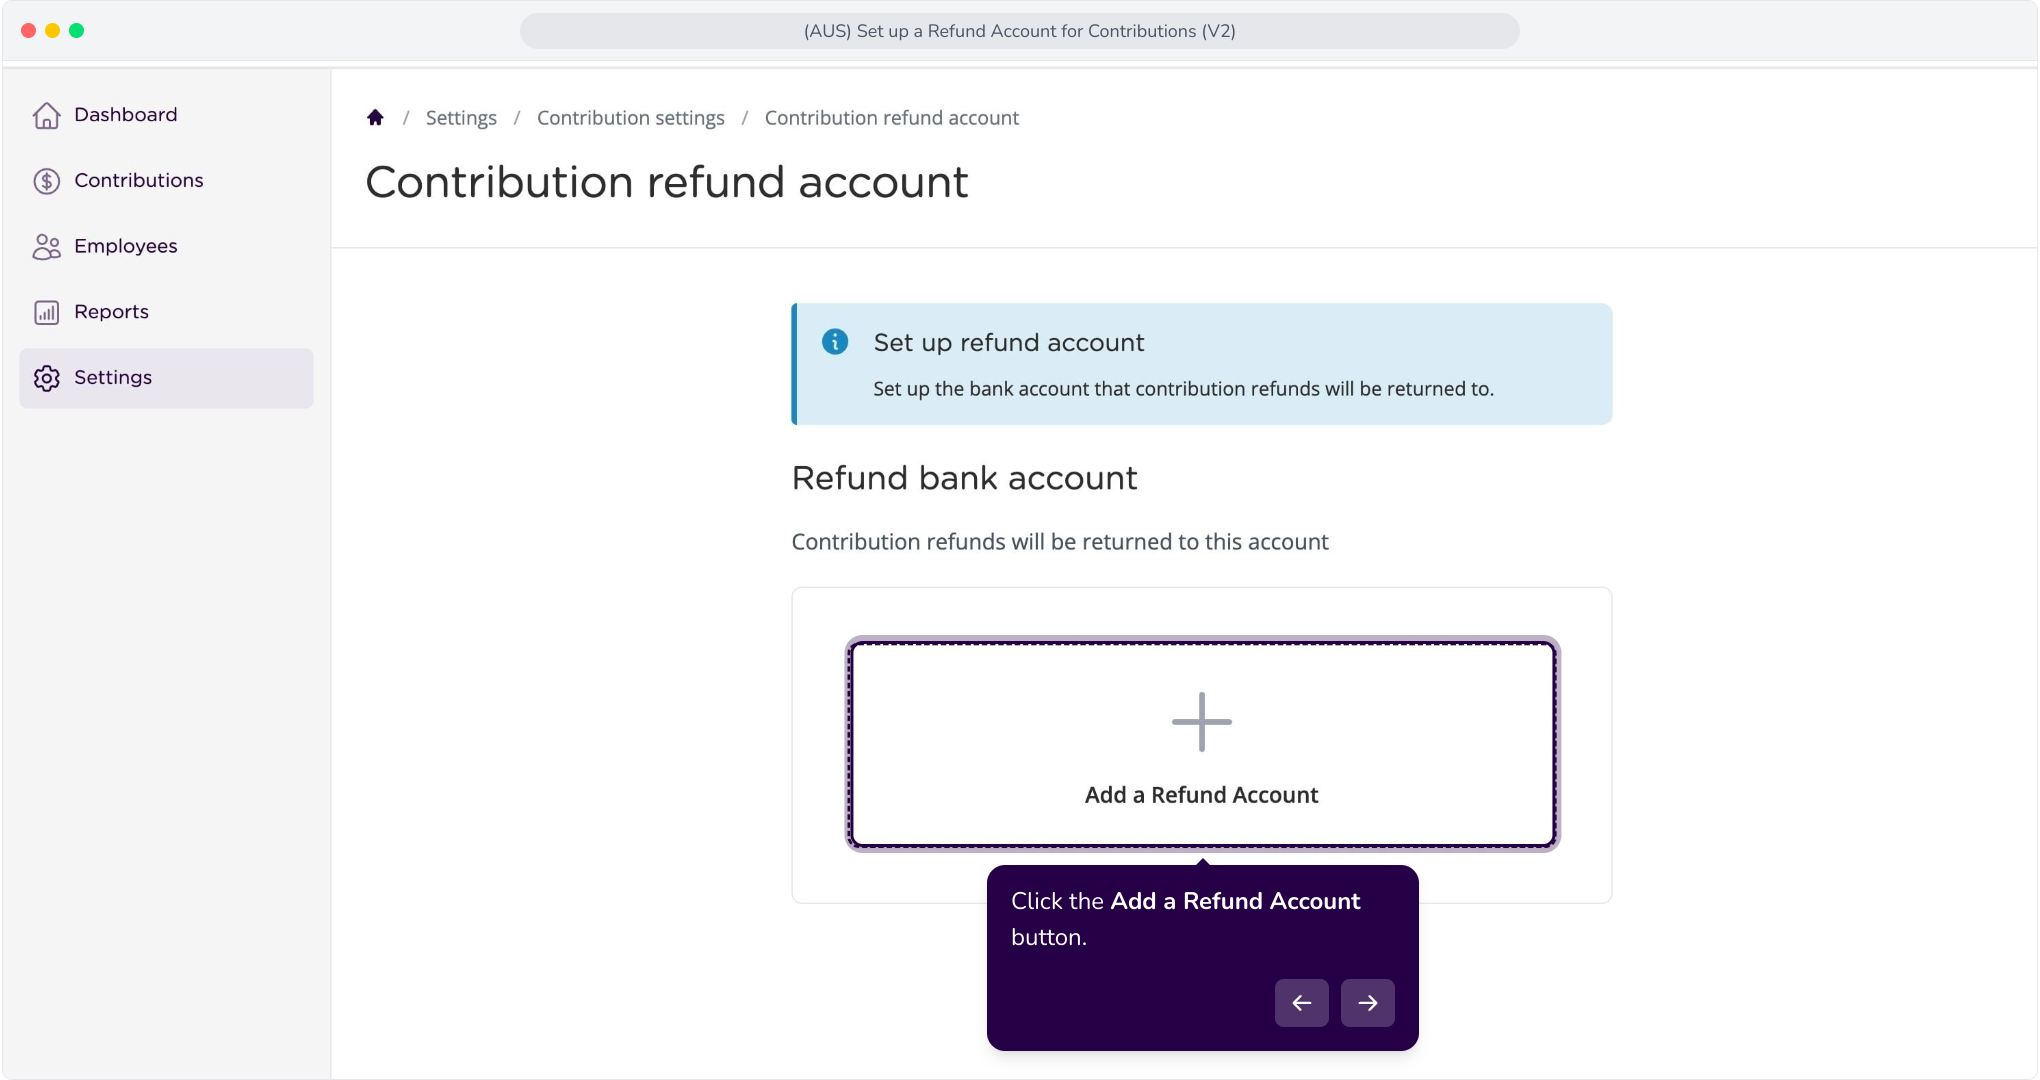
3. Click the Add a Refund Account button.
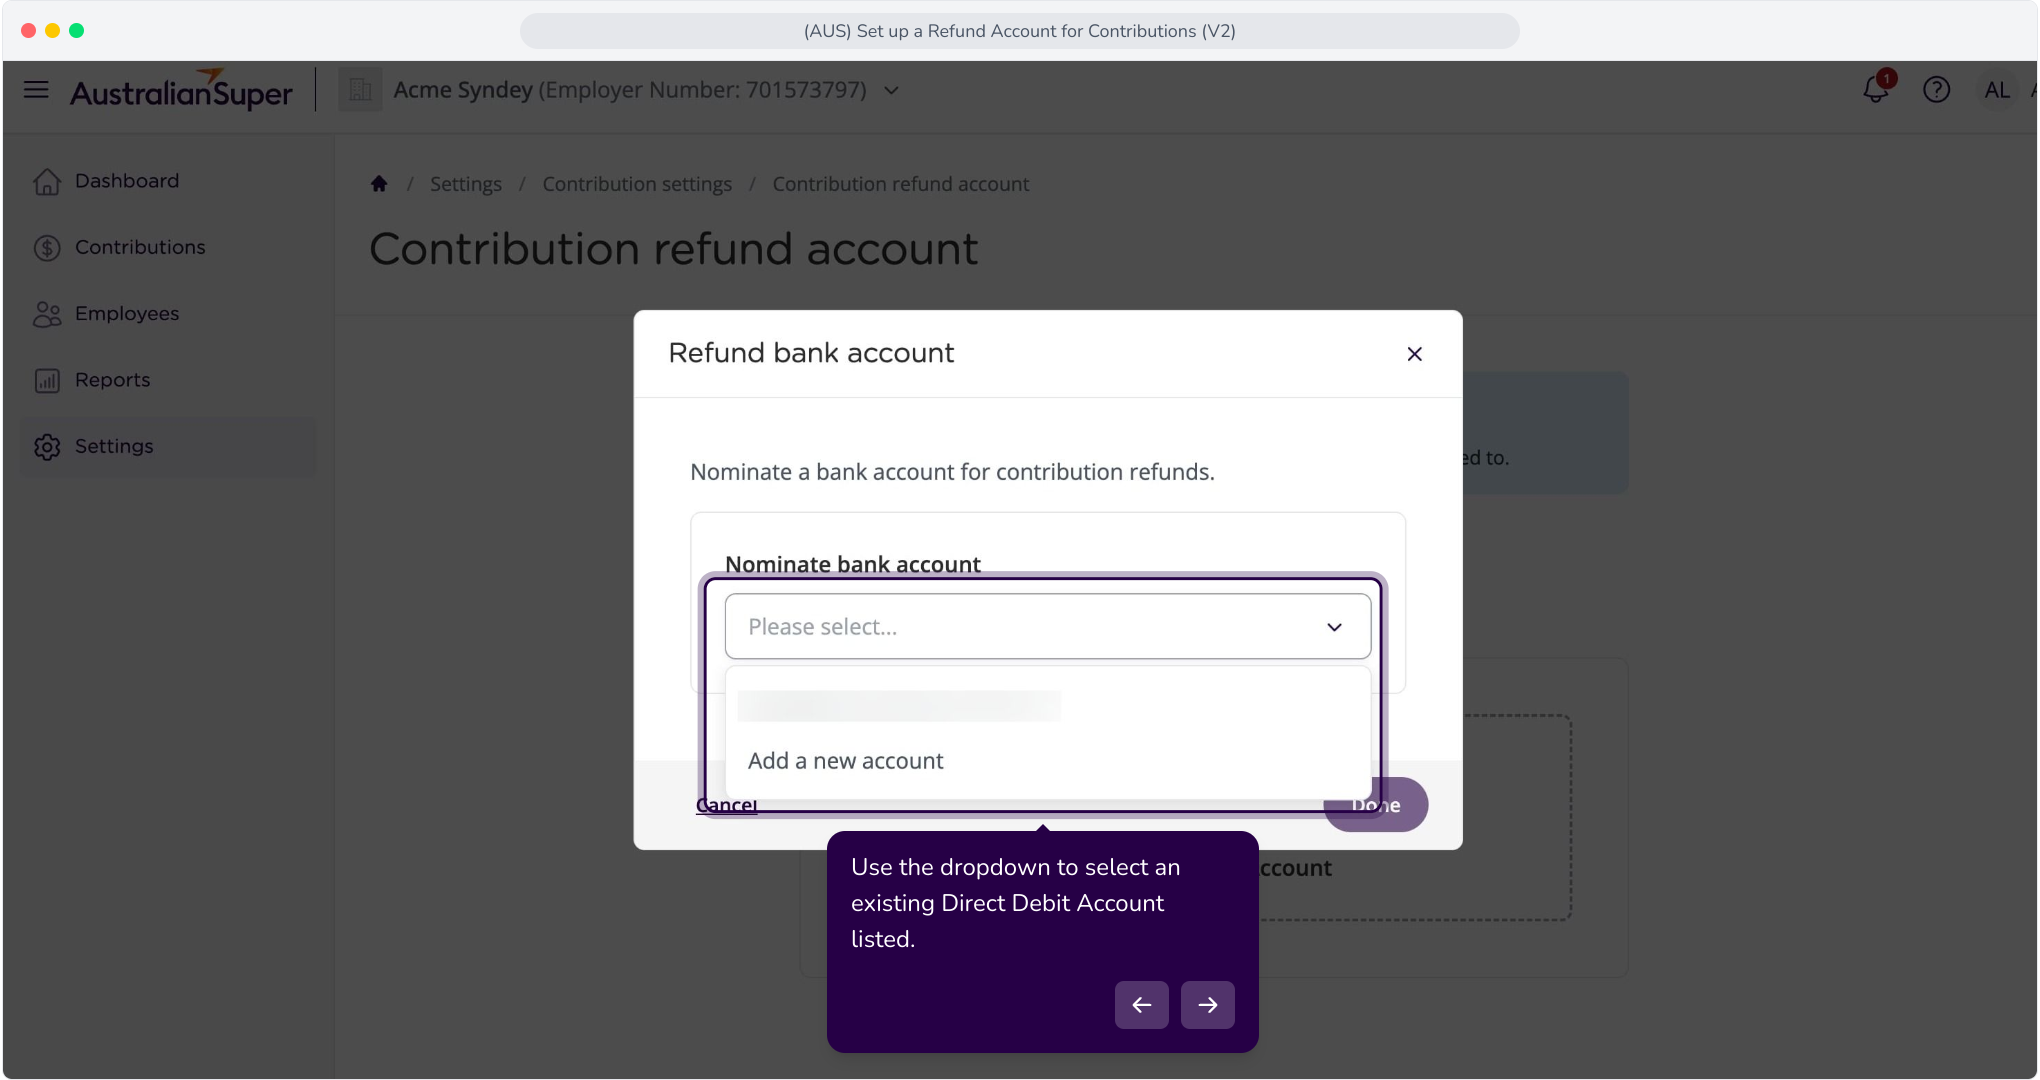
4. Use the dropdown to select an existing Direct Debit Account listed.
Refund Account Setup: Full flow
1. Click the Contribution Settings button
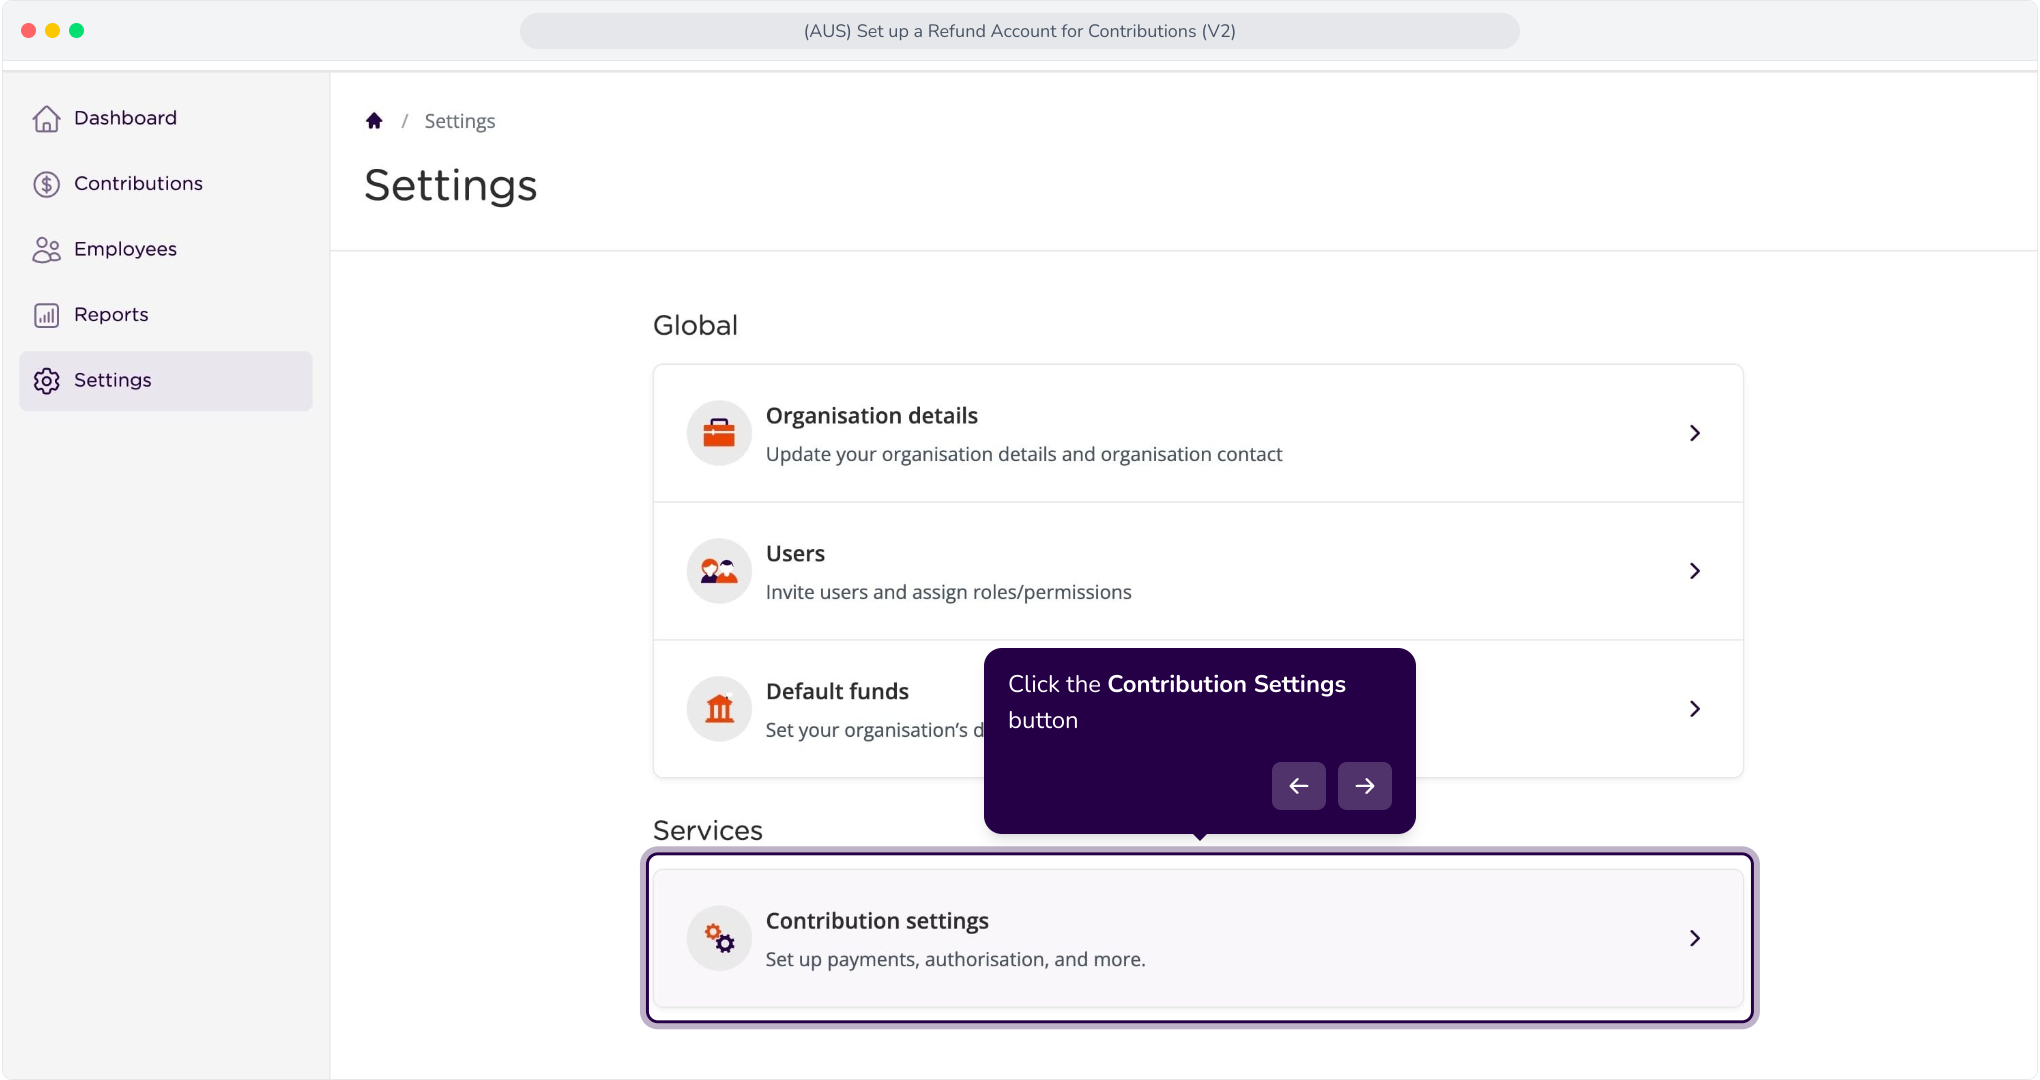
2. Click the Add button
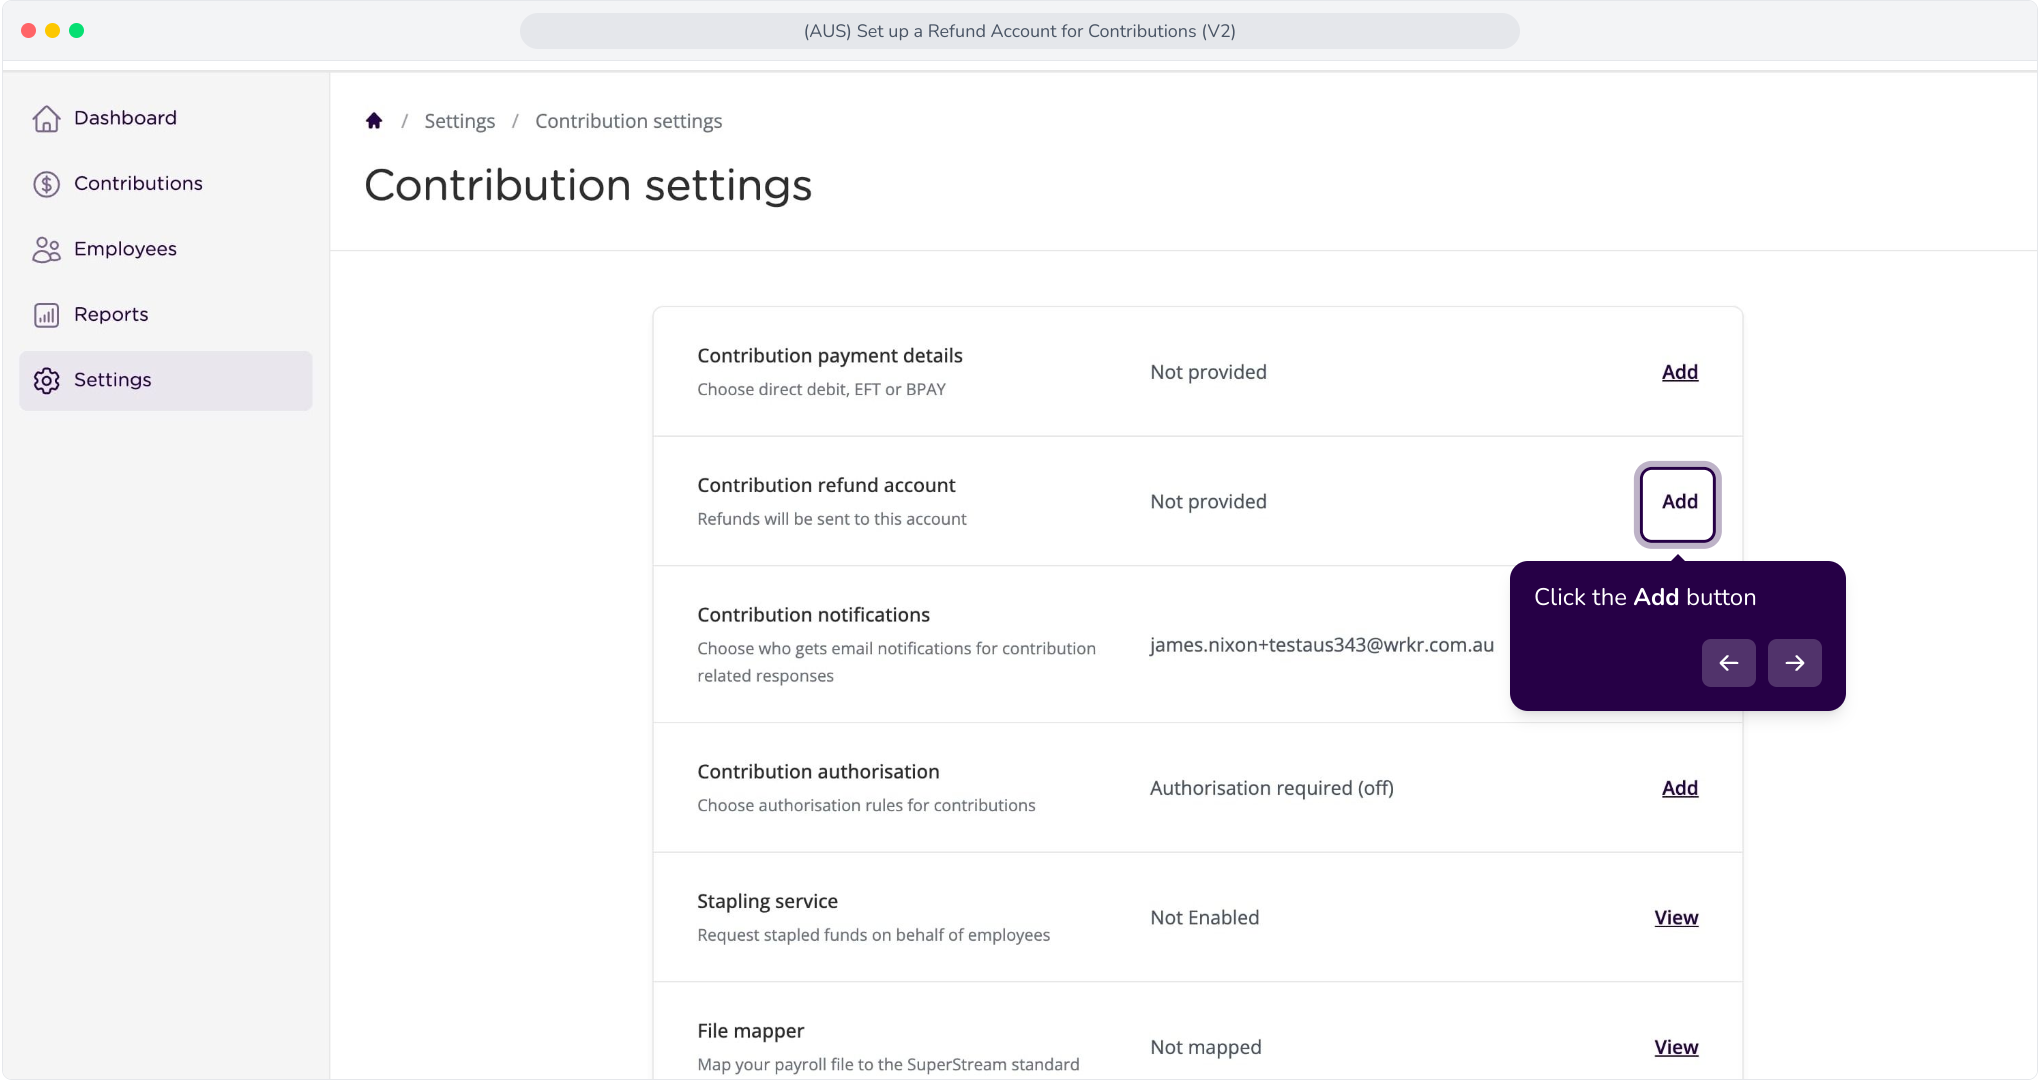
3. Click the Add a Refund Account button.
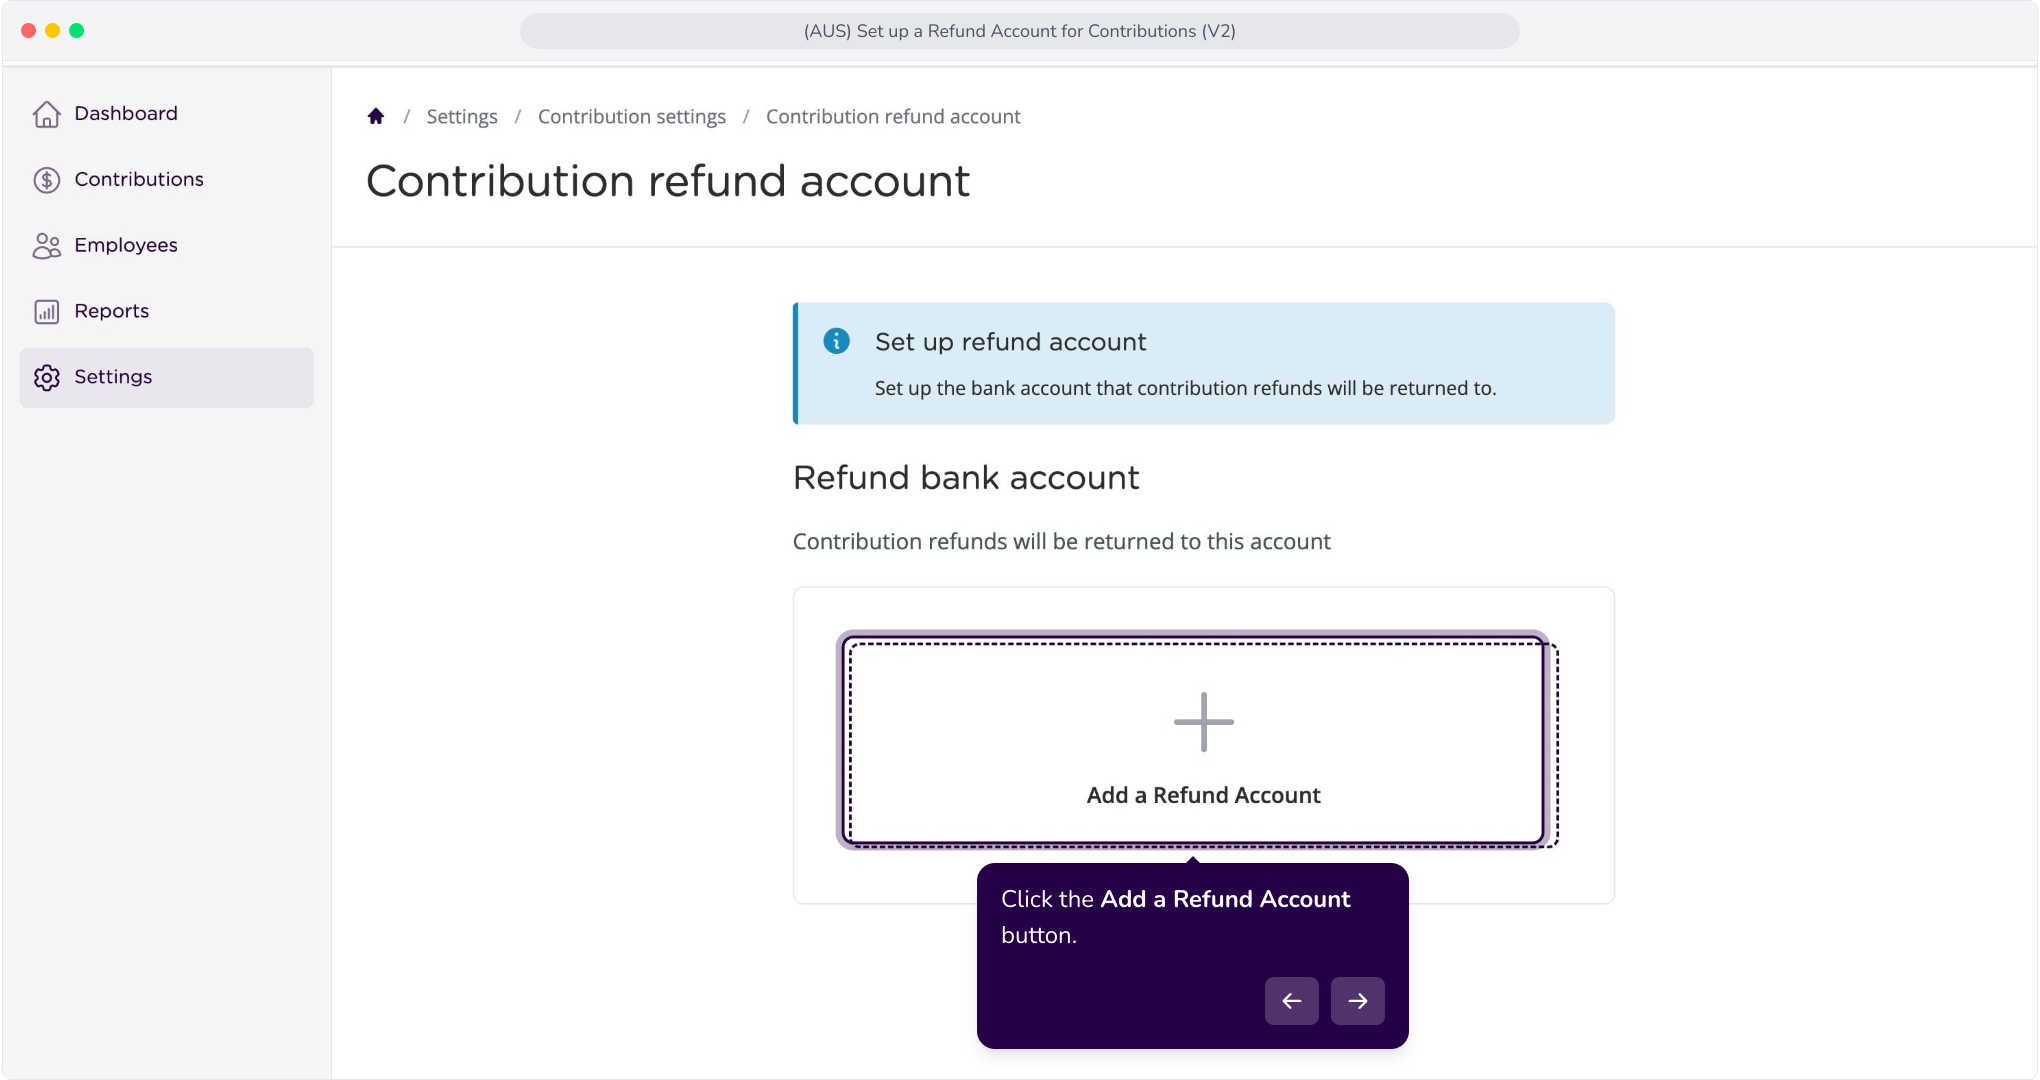
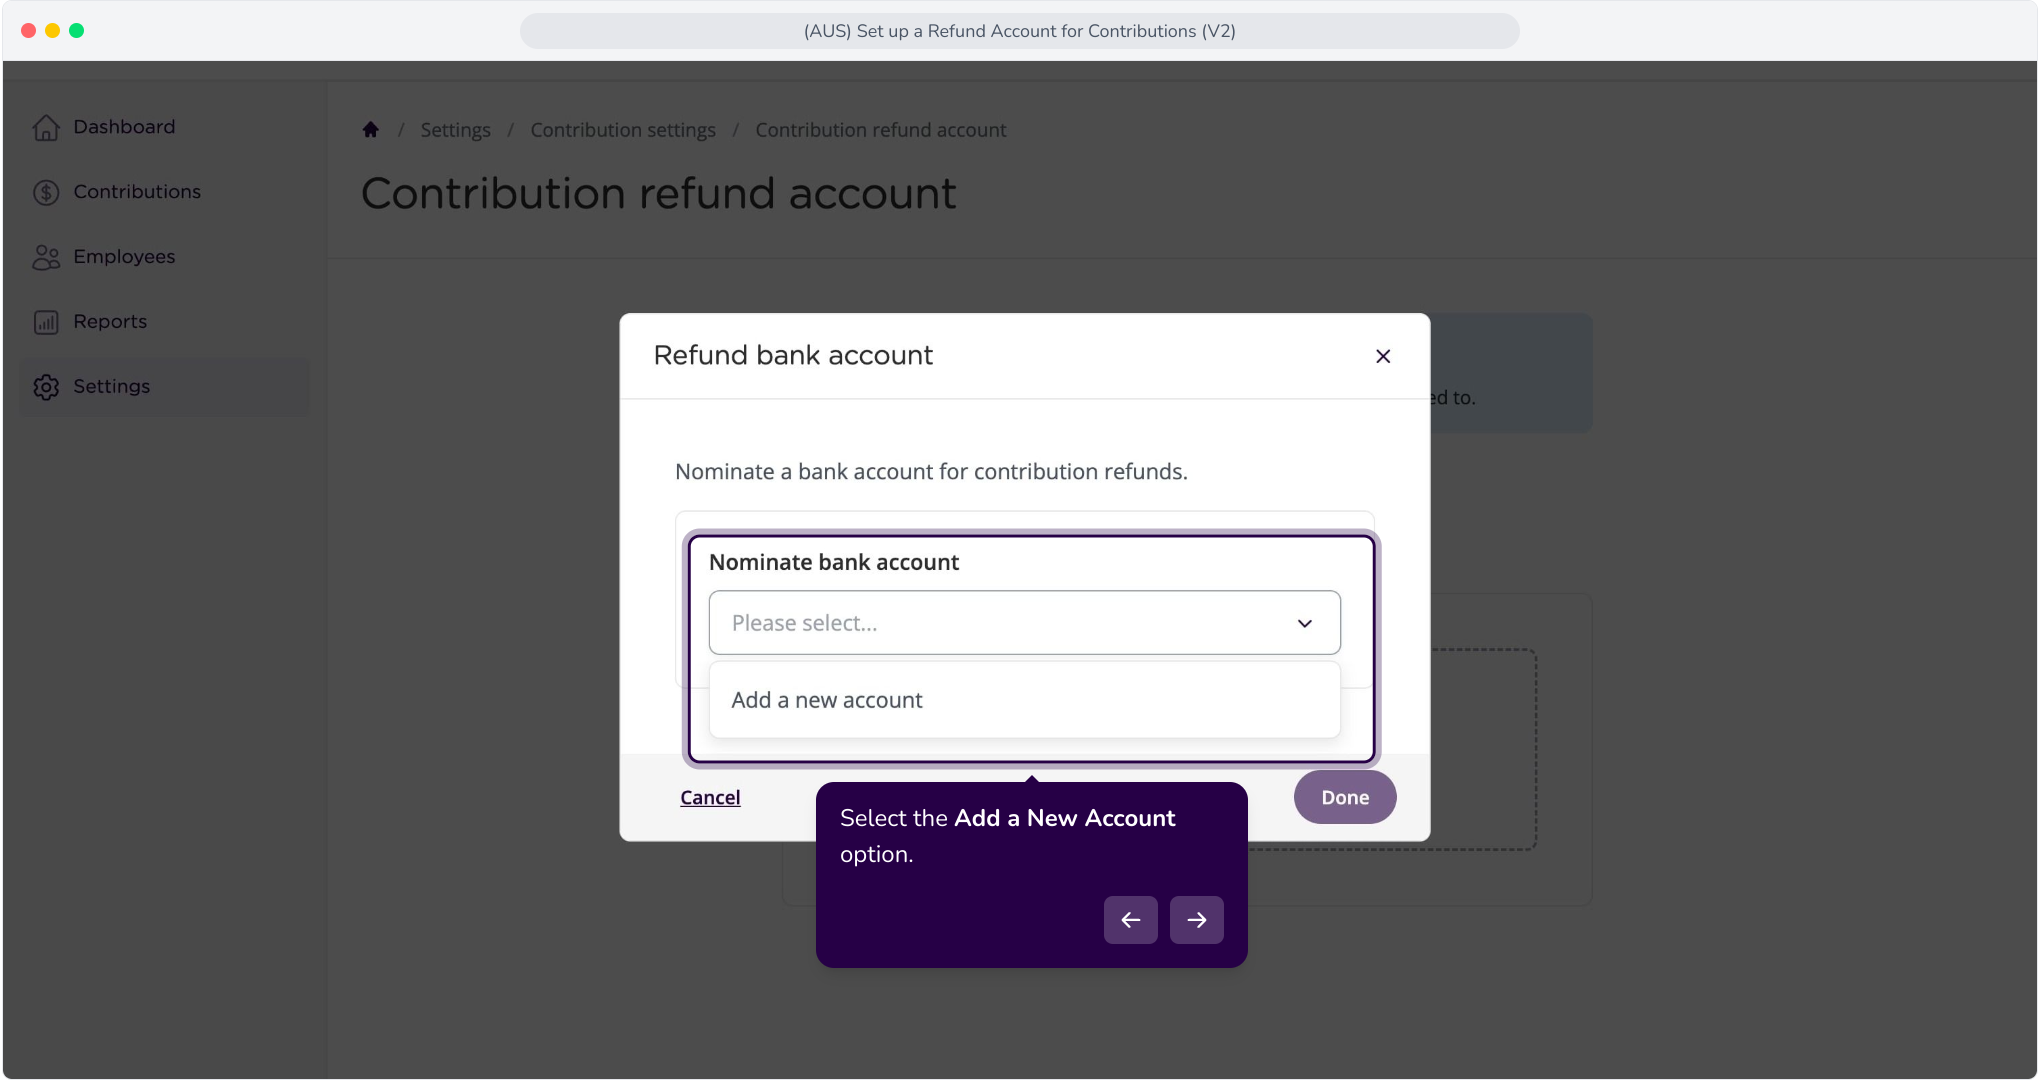
4. Select the Add a New Account option.
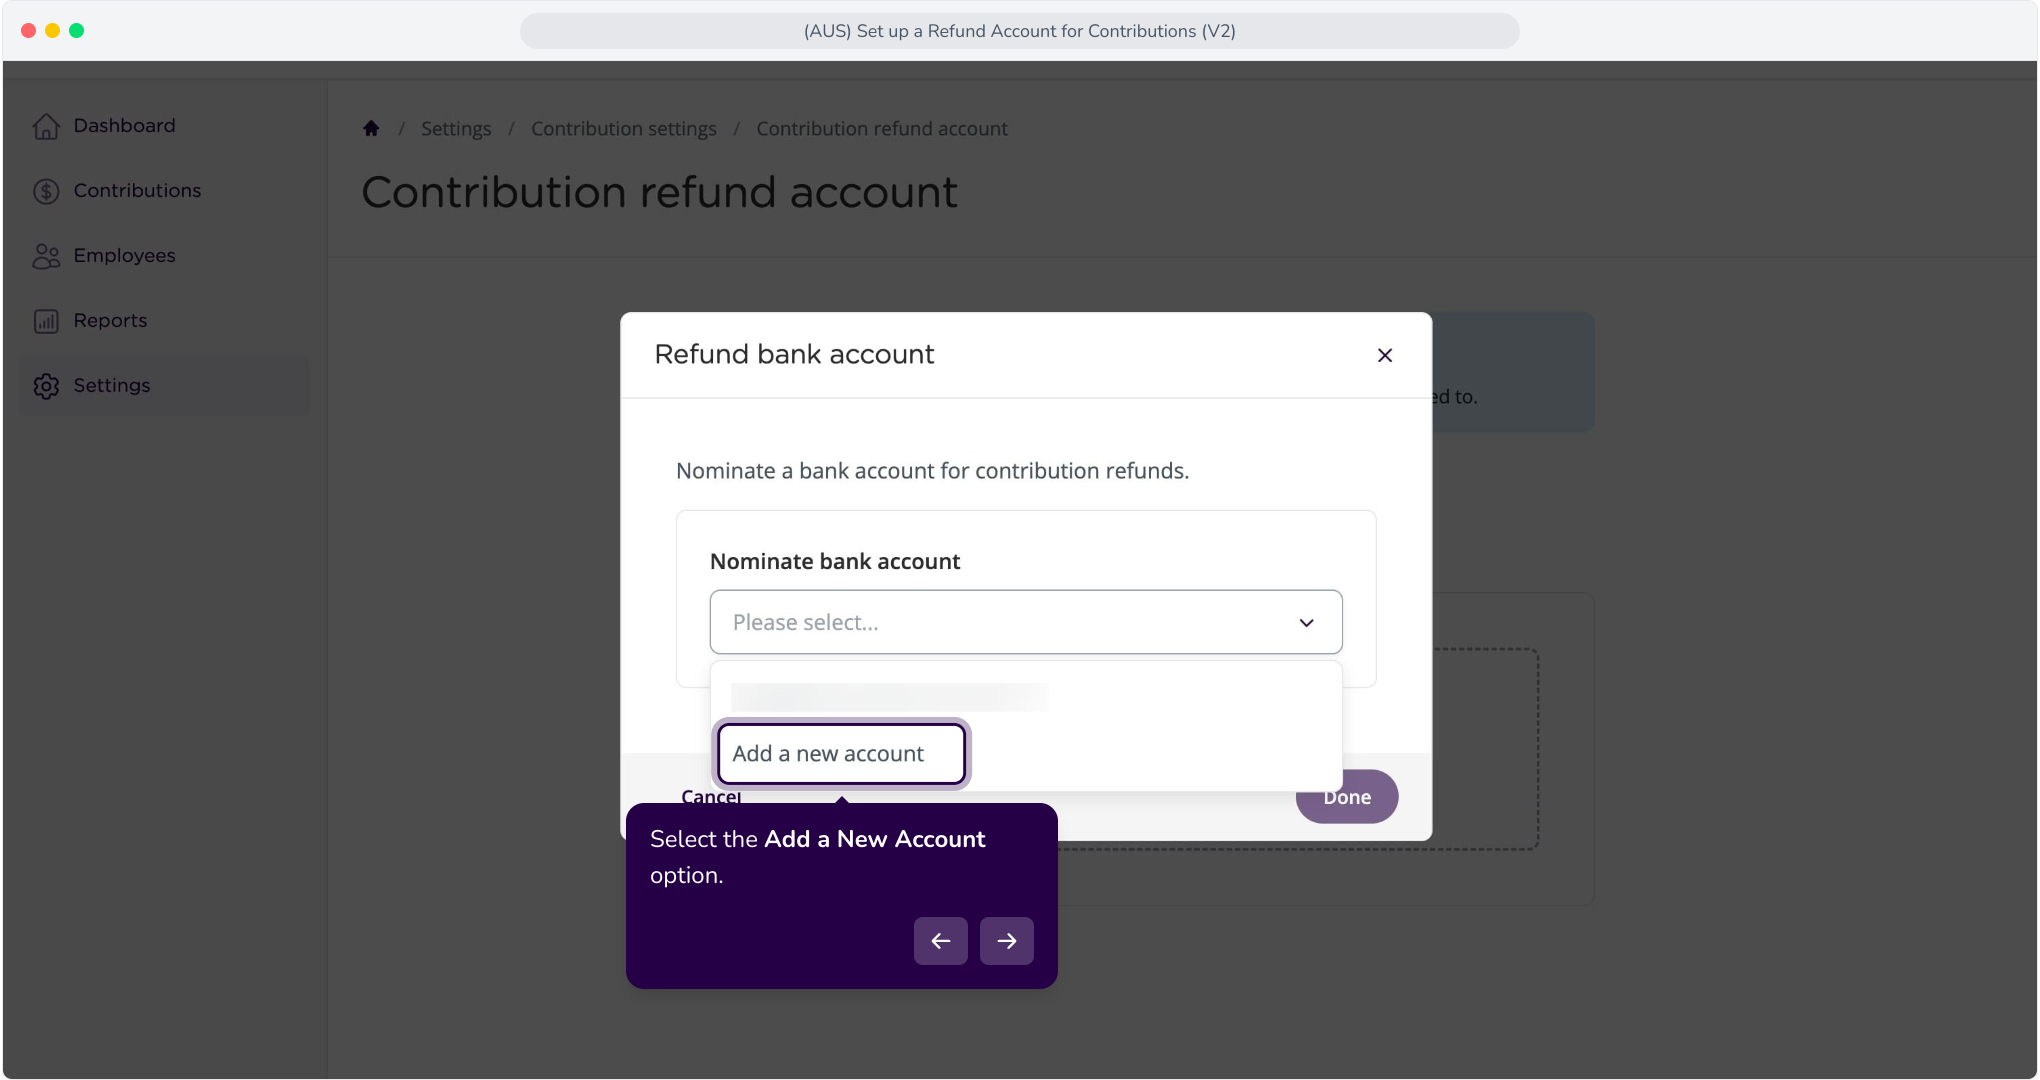
5. Select the I am the Authorised Person option.
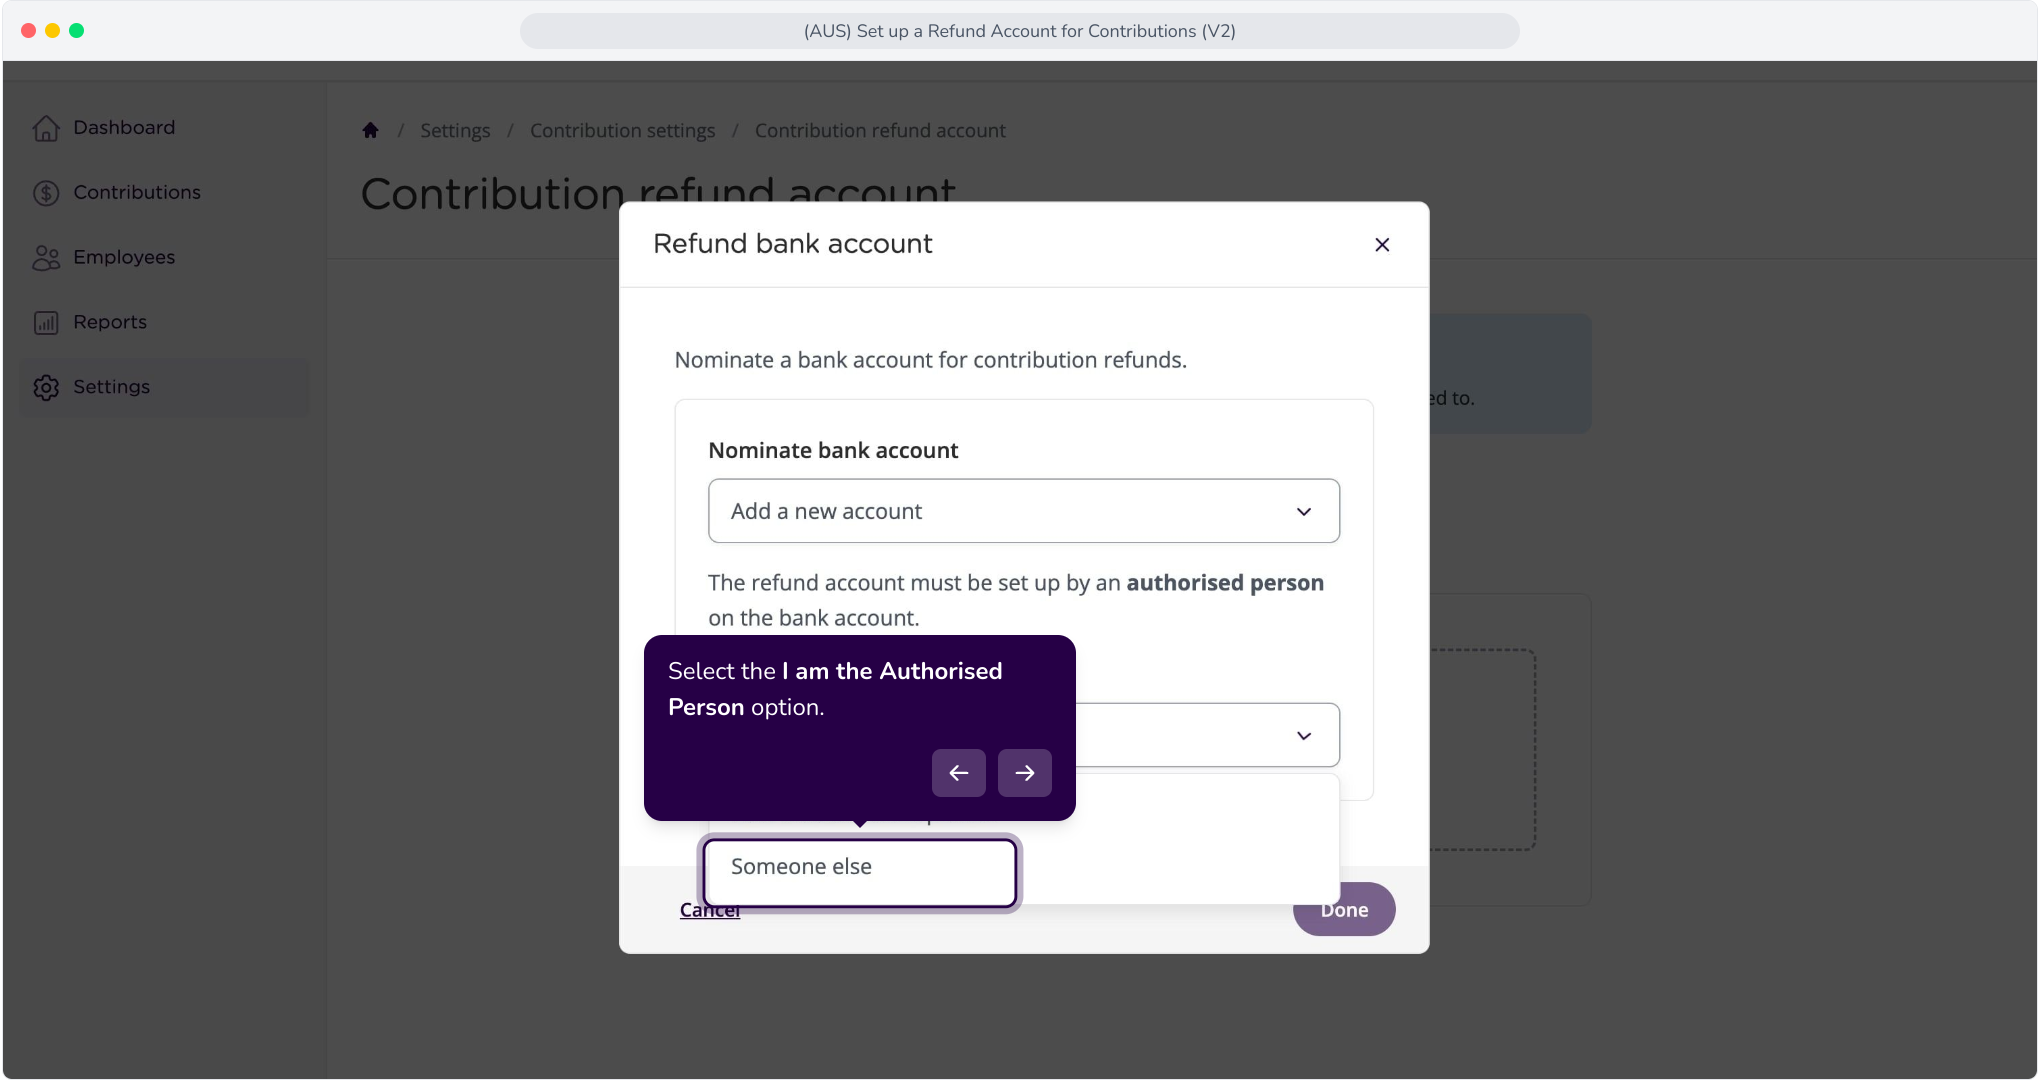
6. Click the Done button.
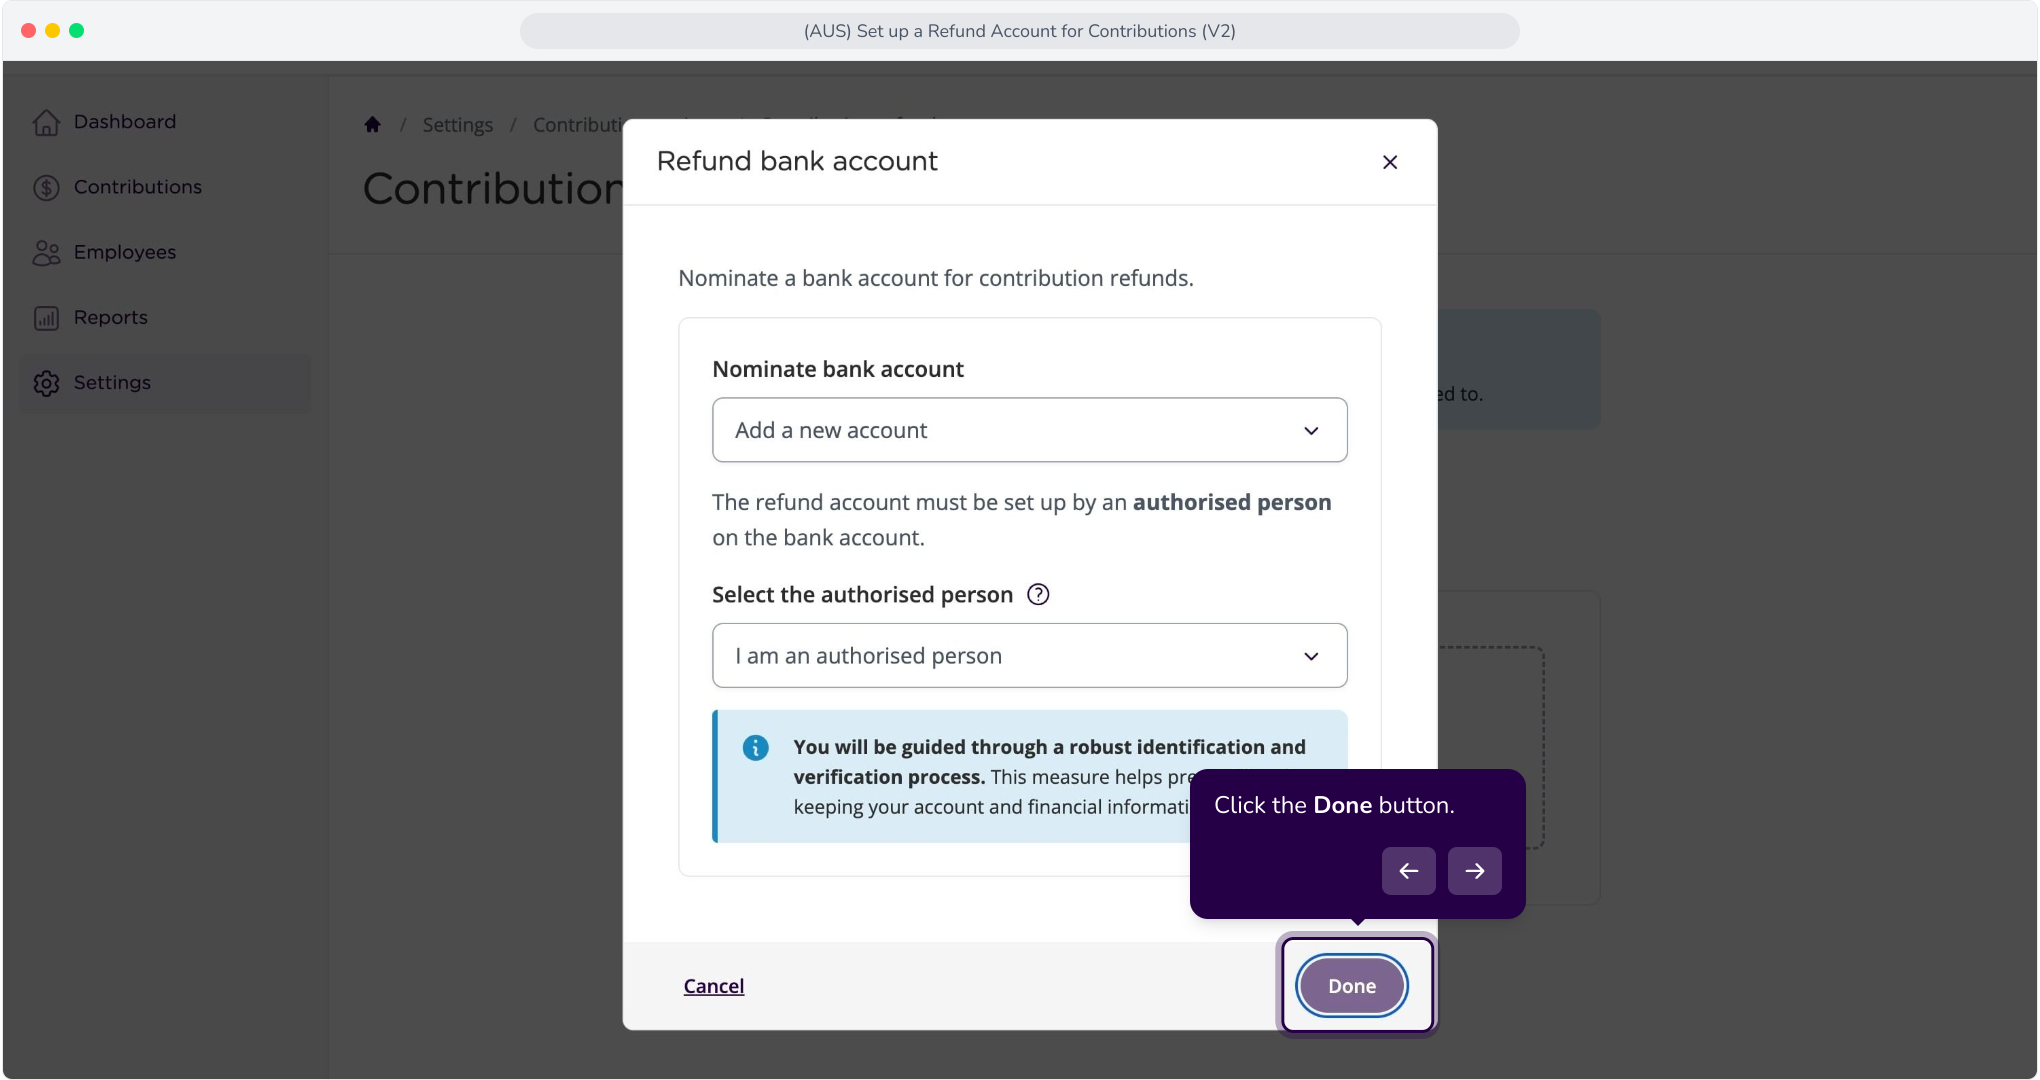
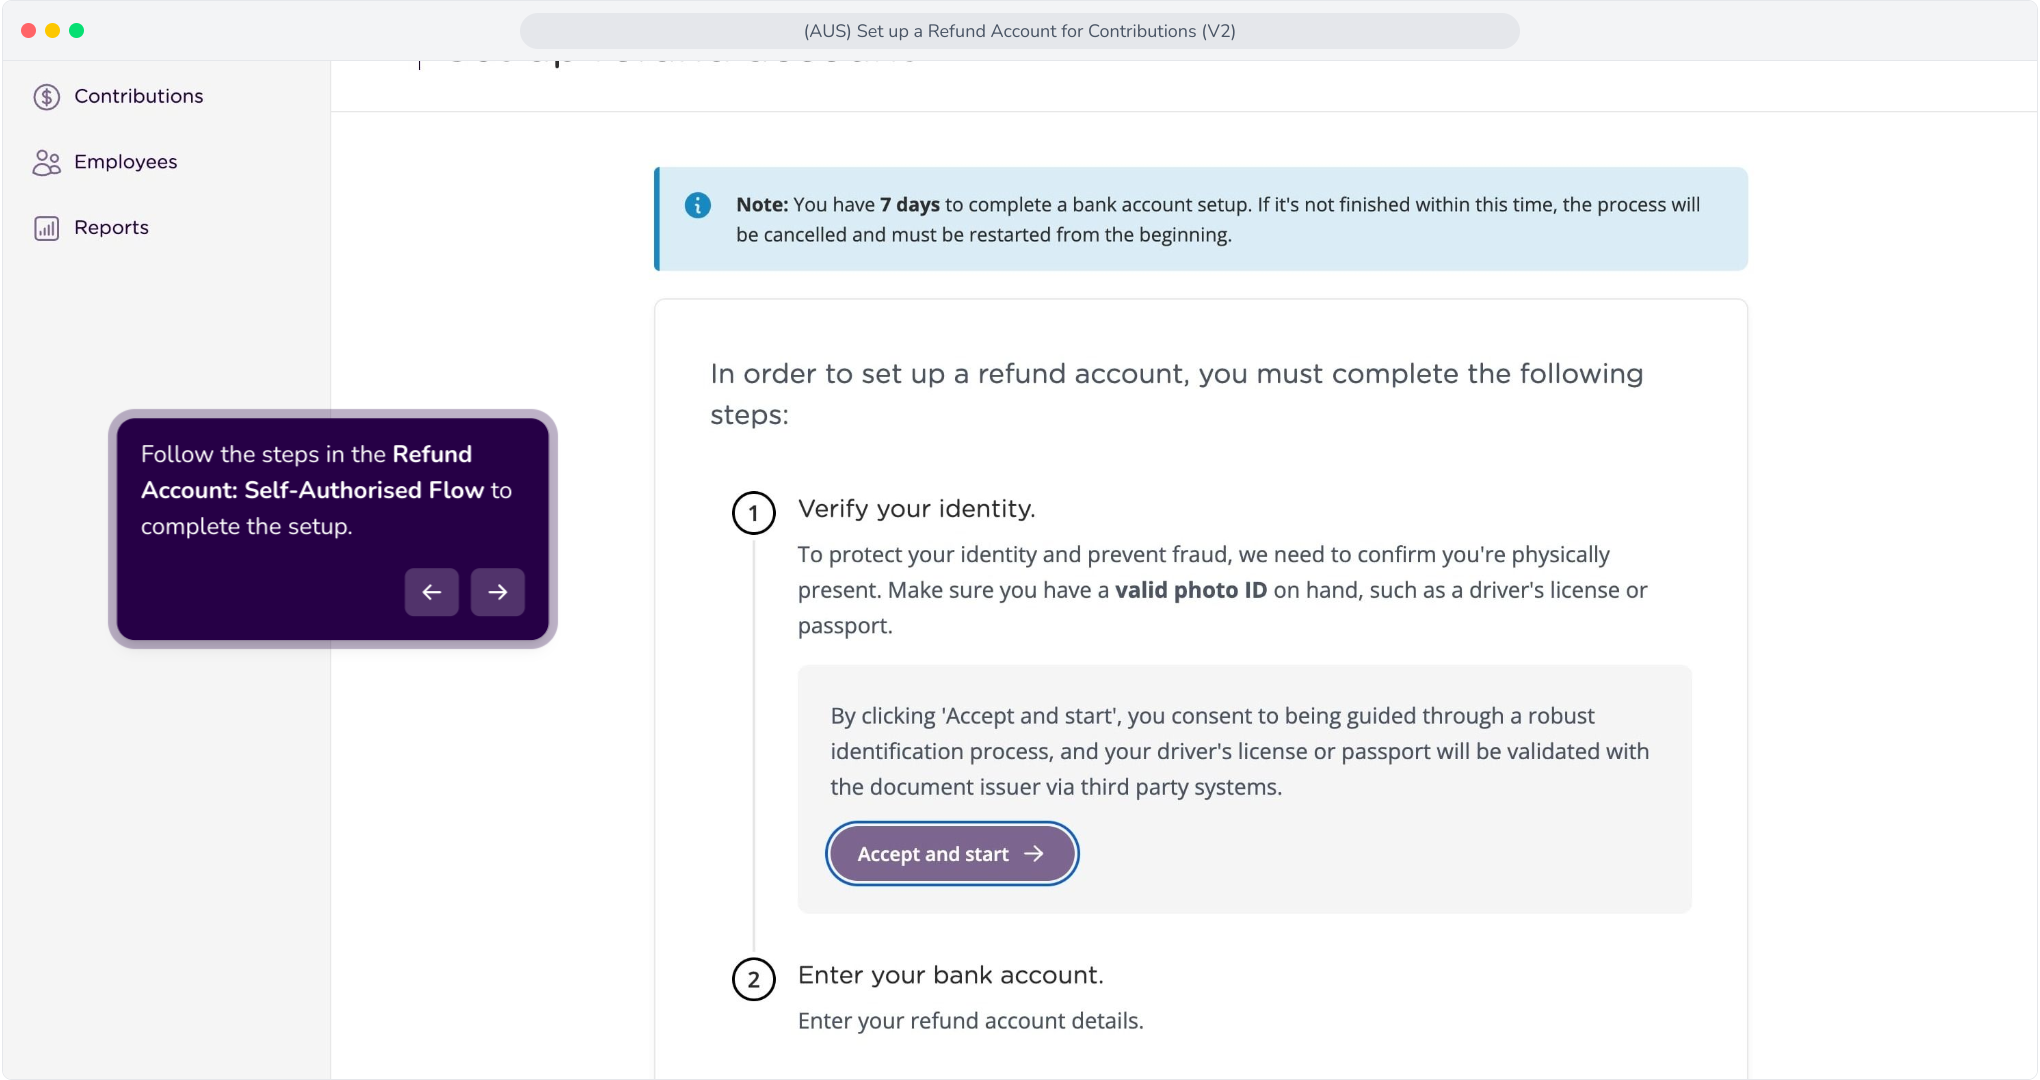
7. Click the Accept and Start button.
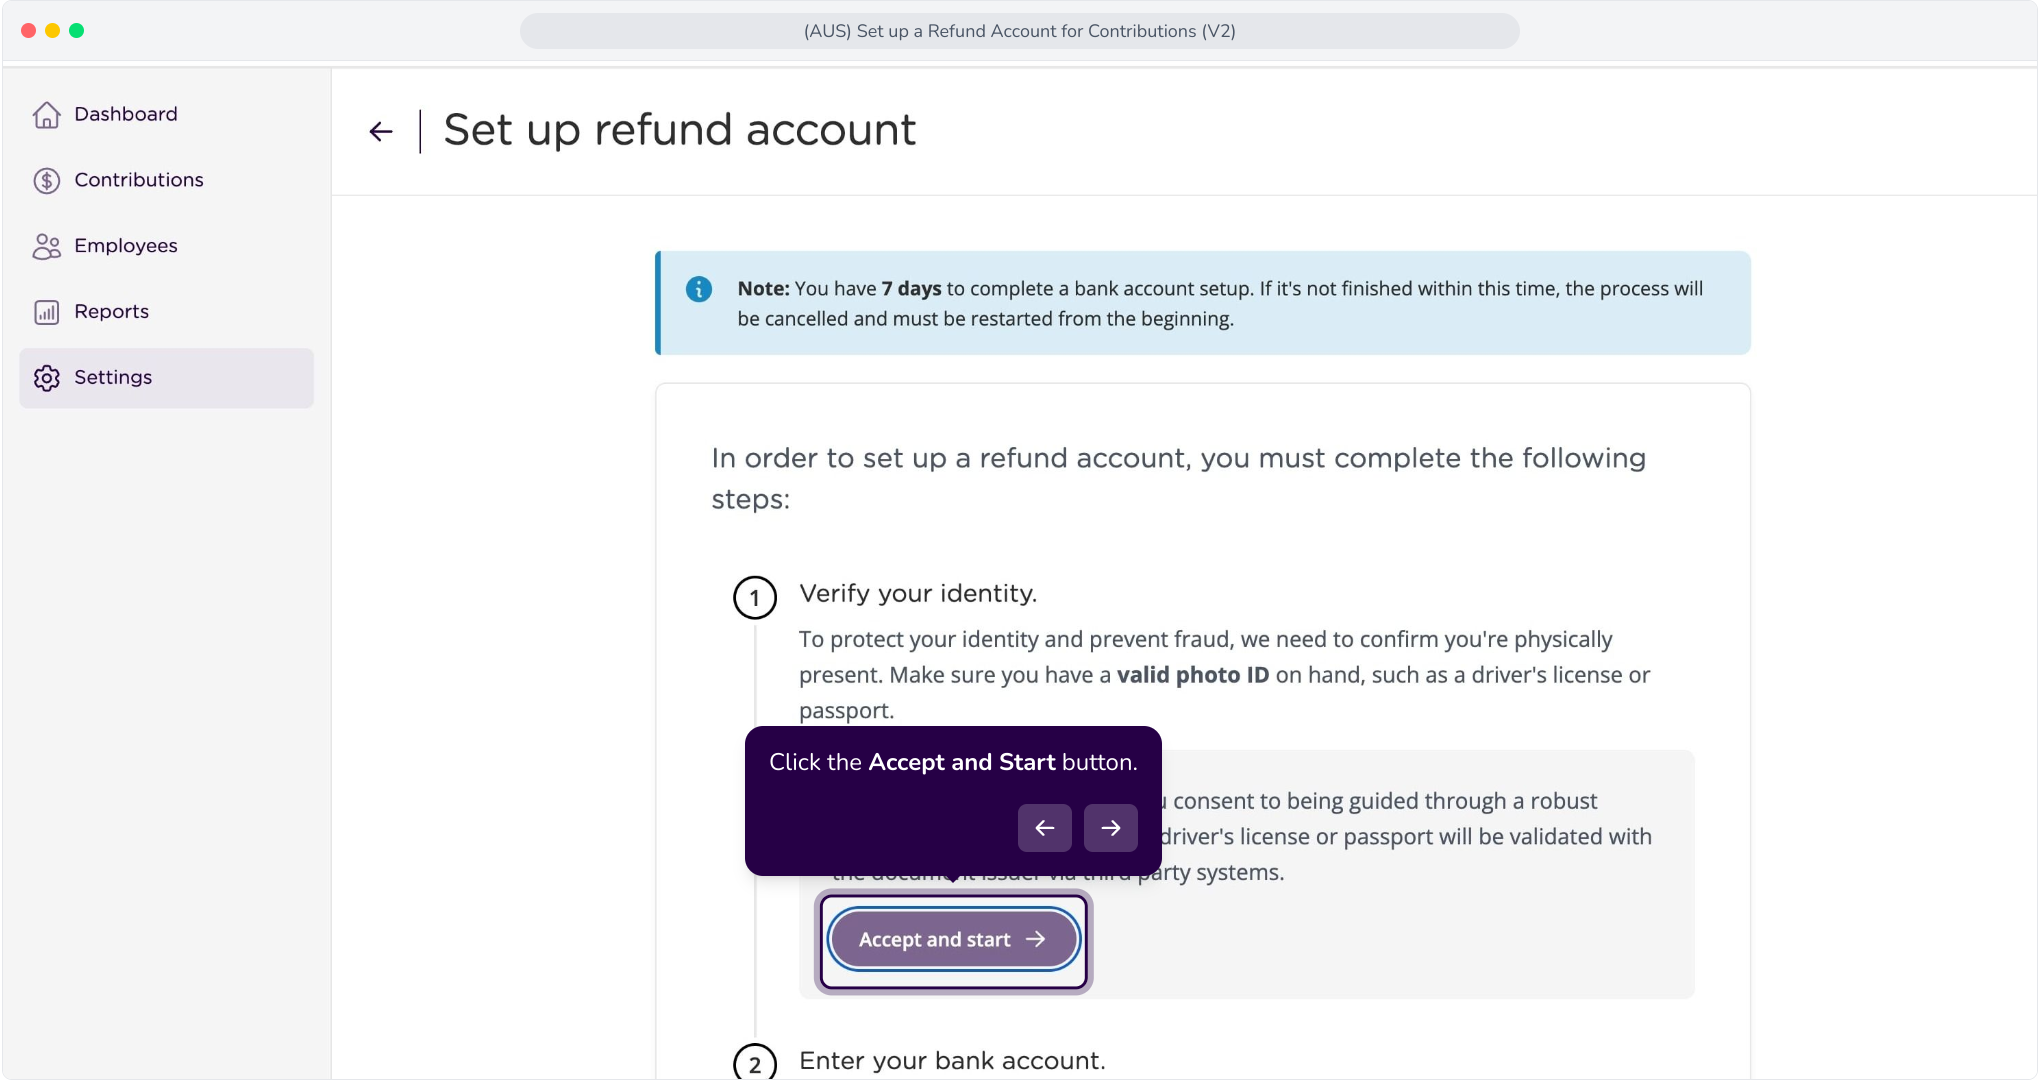
8. You will be navigated to the Verify your identity screen, which displays a QR code and a link.
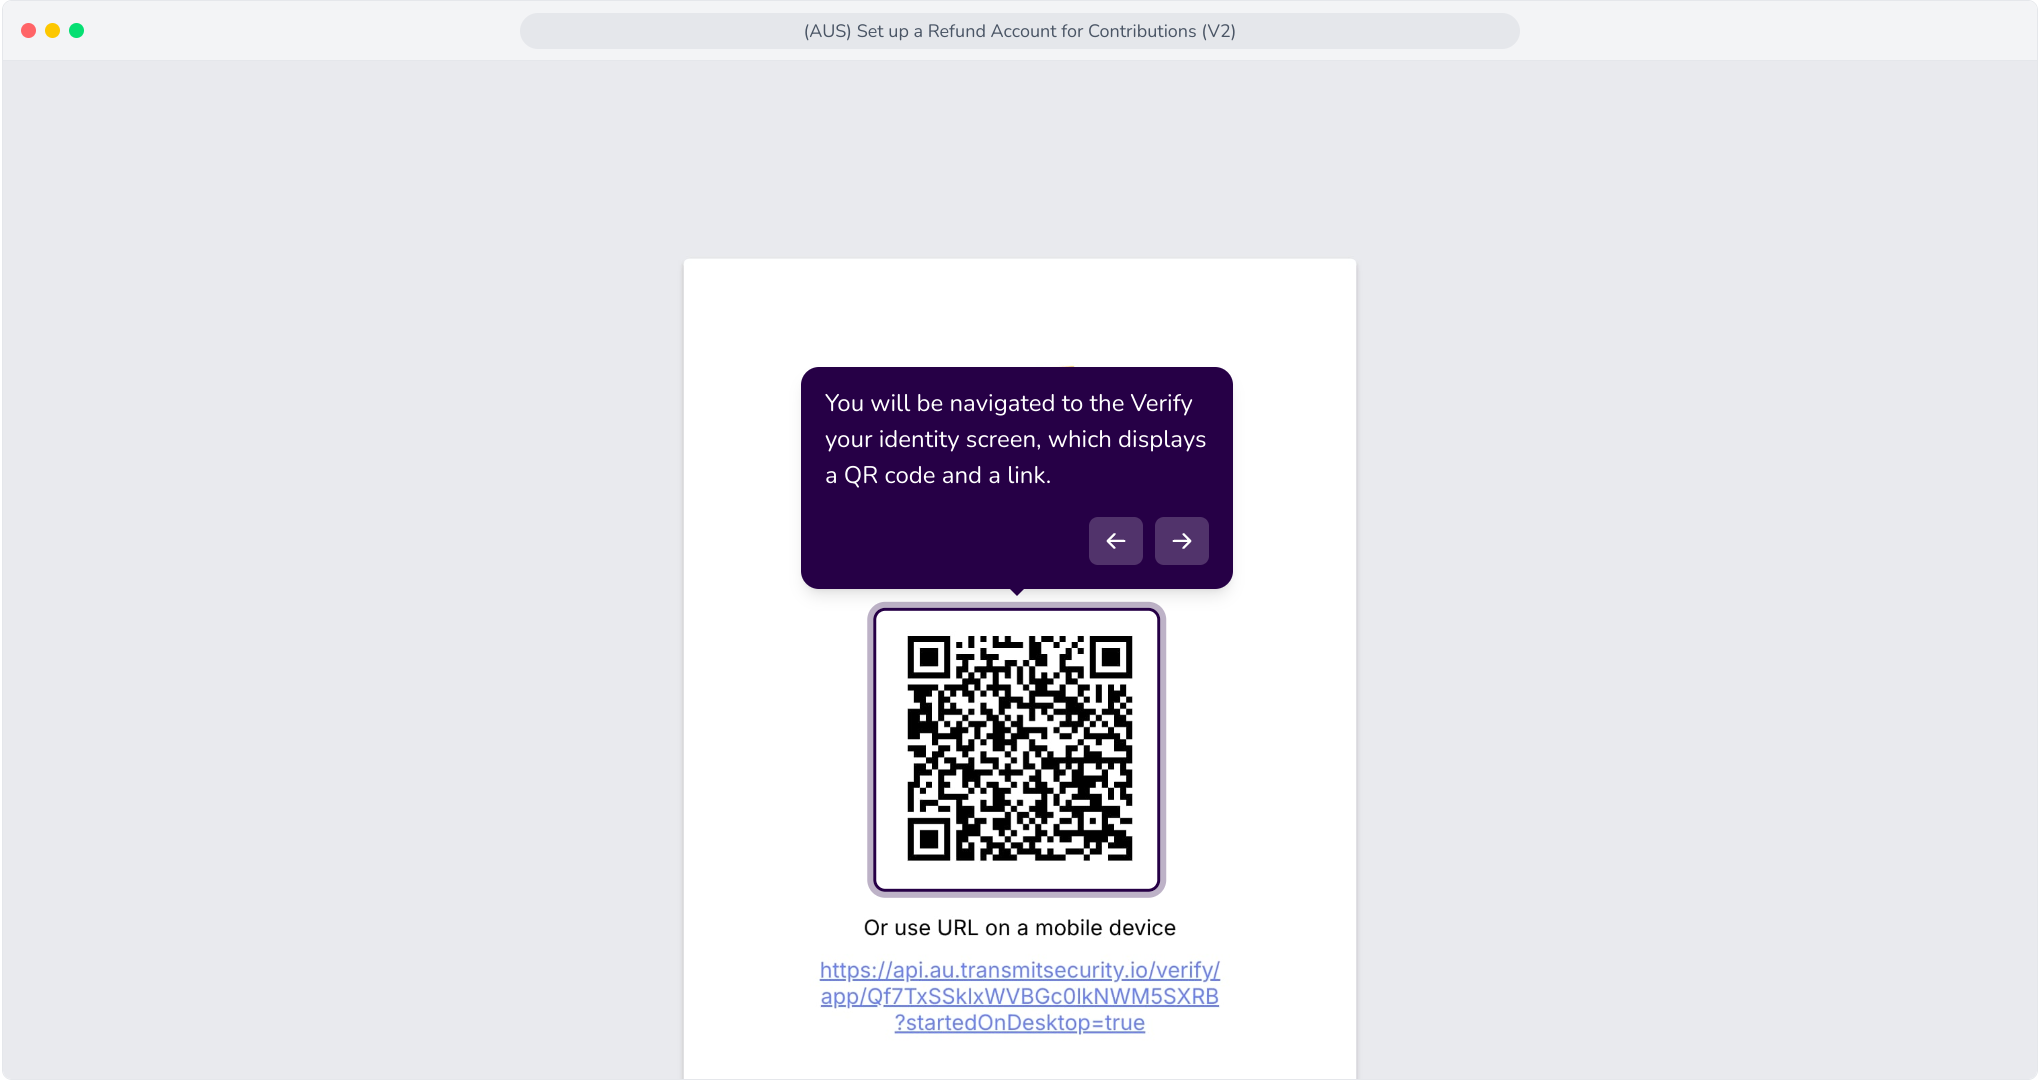
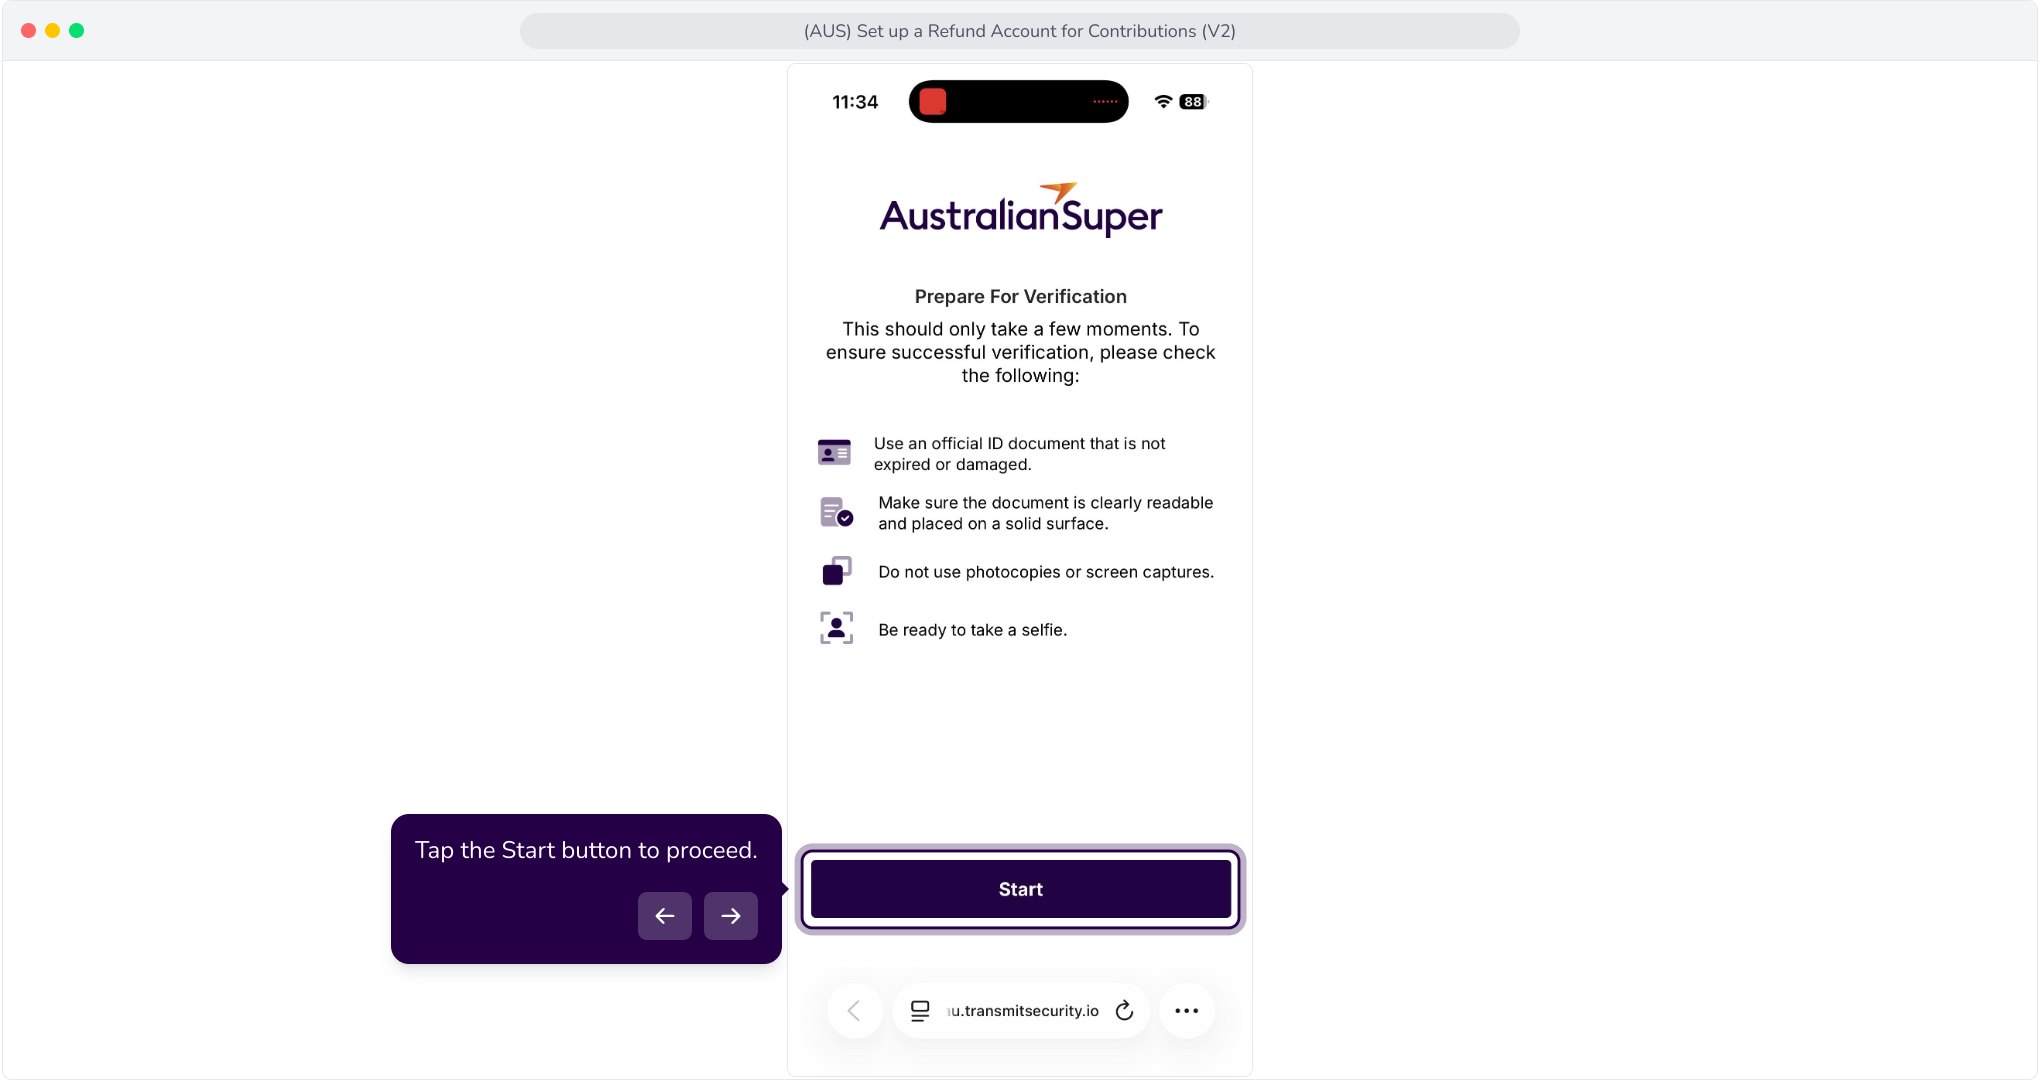
9. Tap the Start button to proceed.
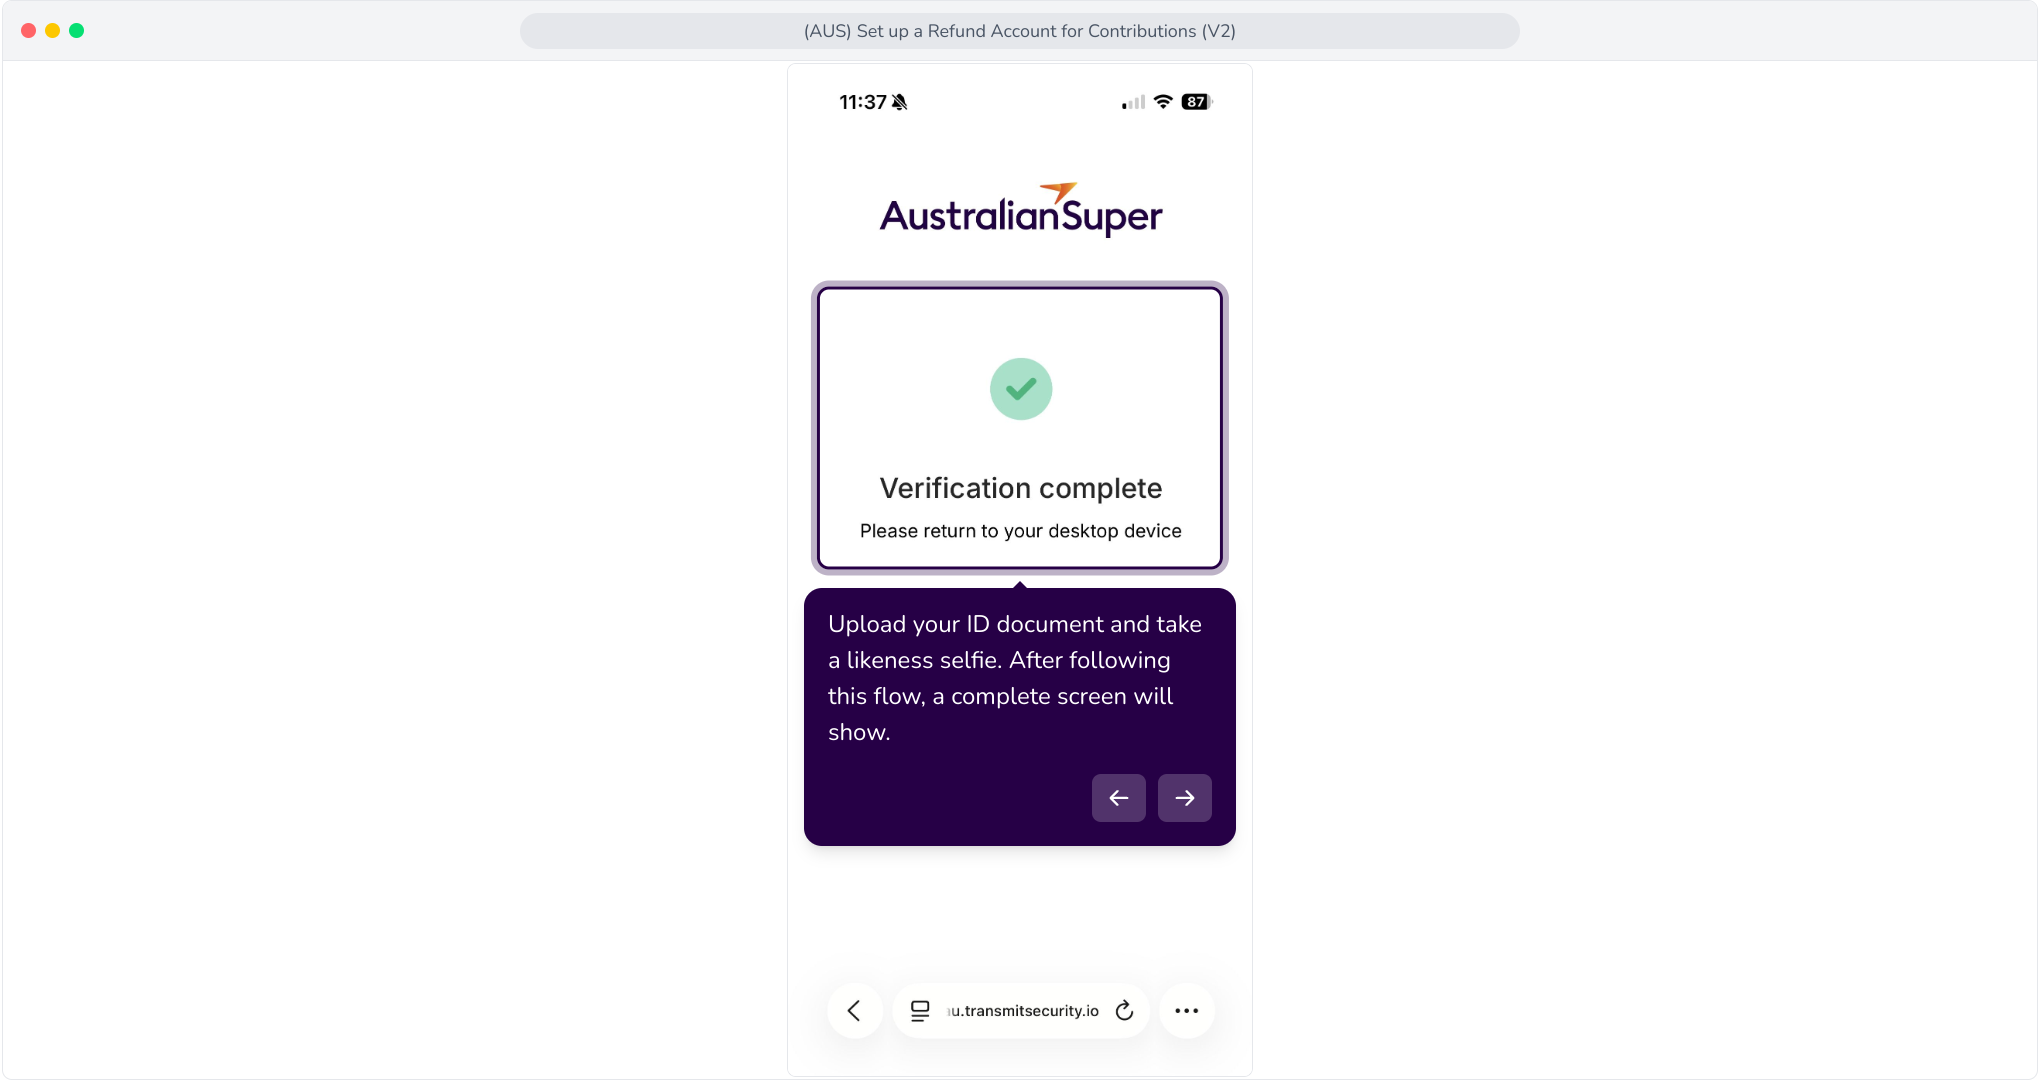
10. Upload your ID document and take a likeness selfie. After following this flow, a complete screen will show.
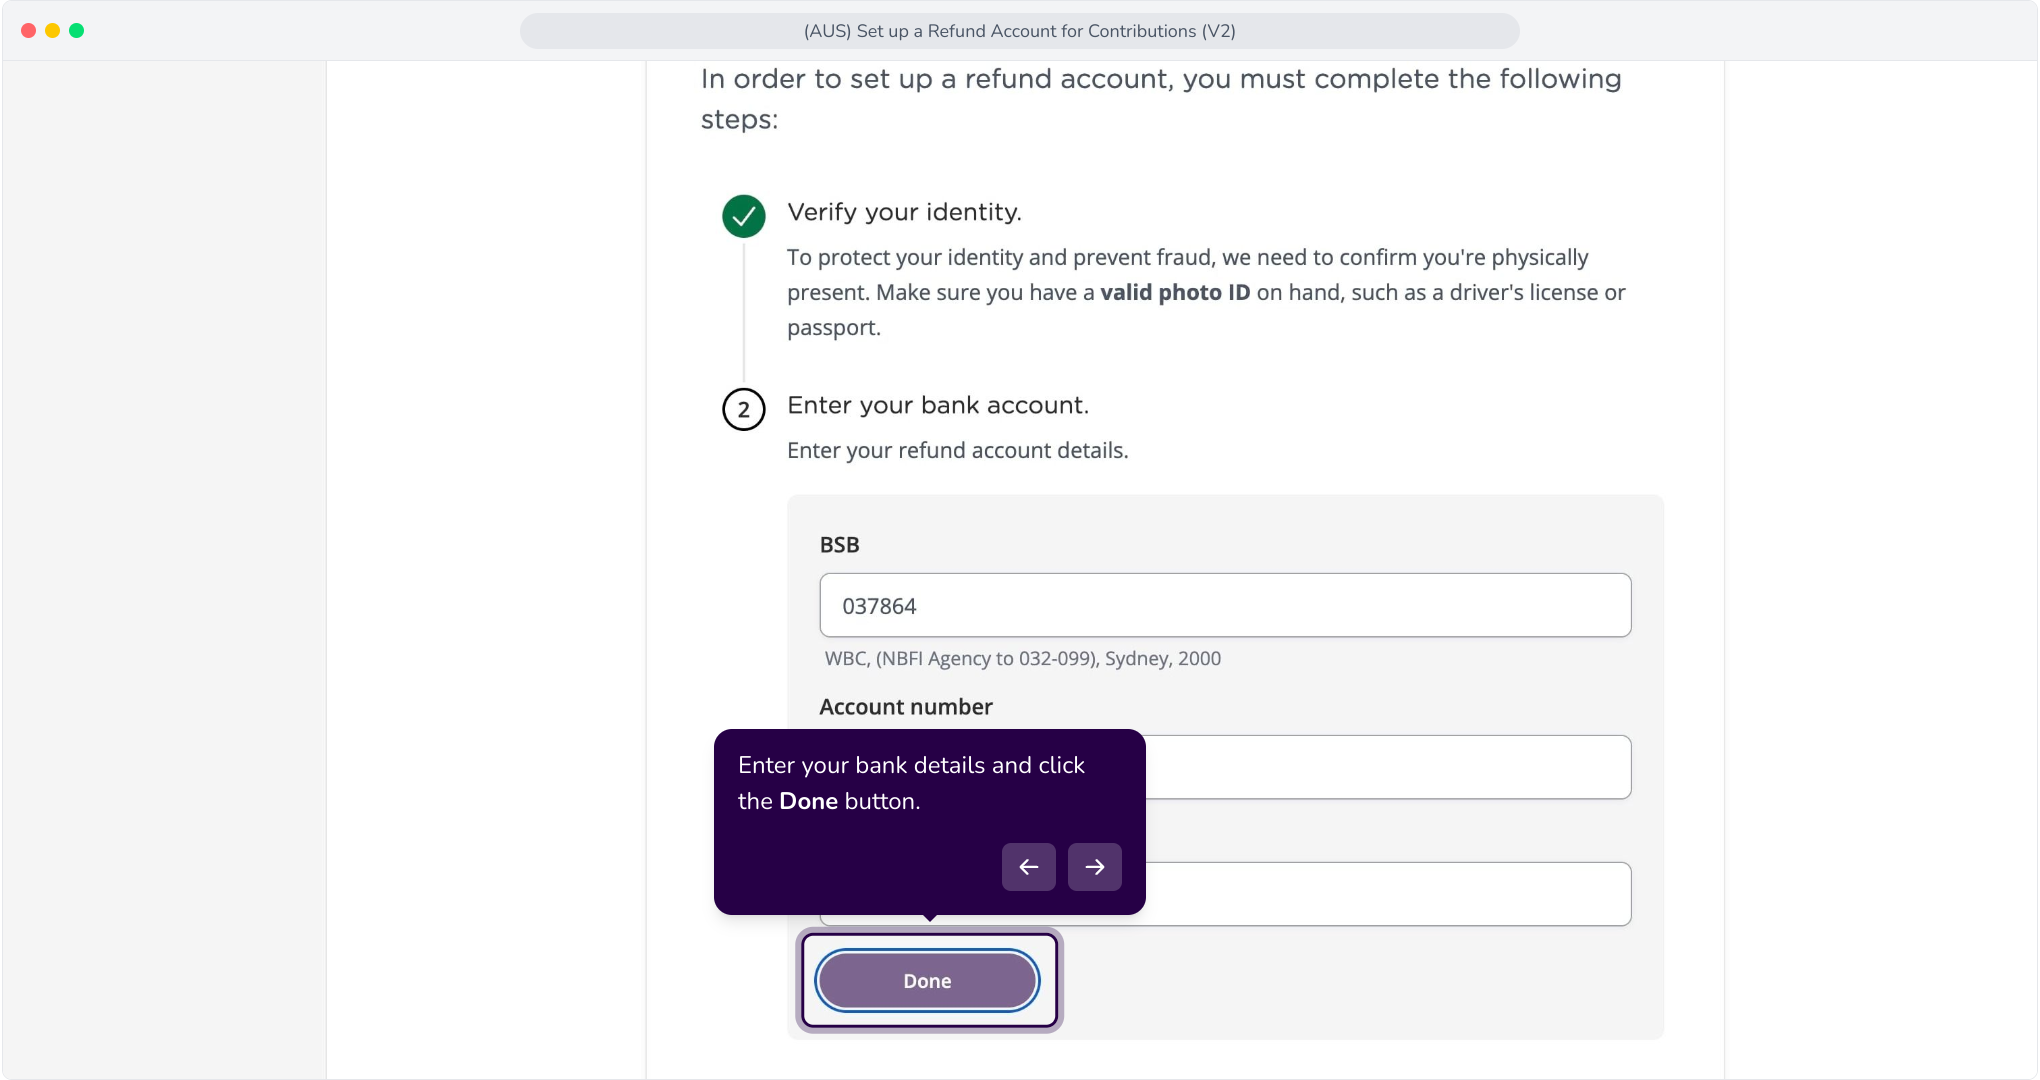
11. Enter your bank details and click the Done button.
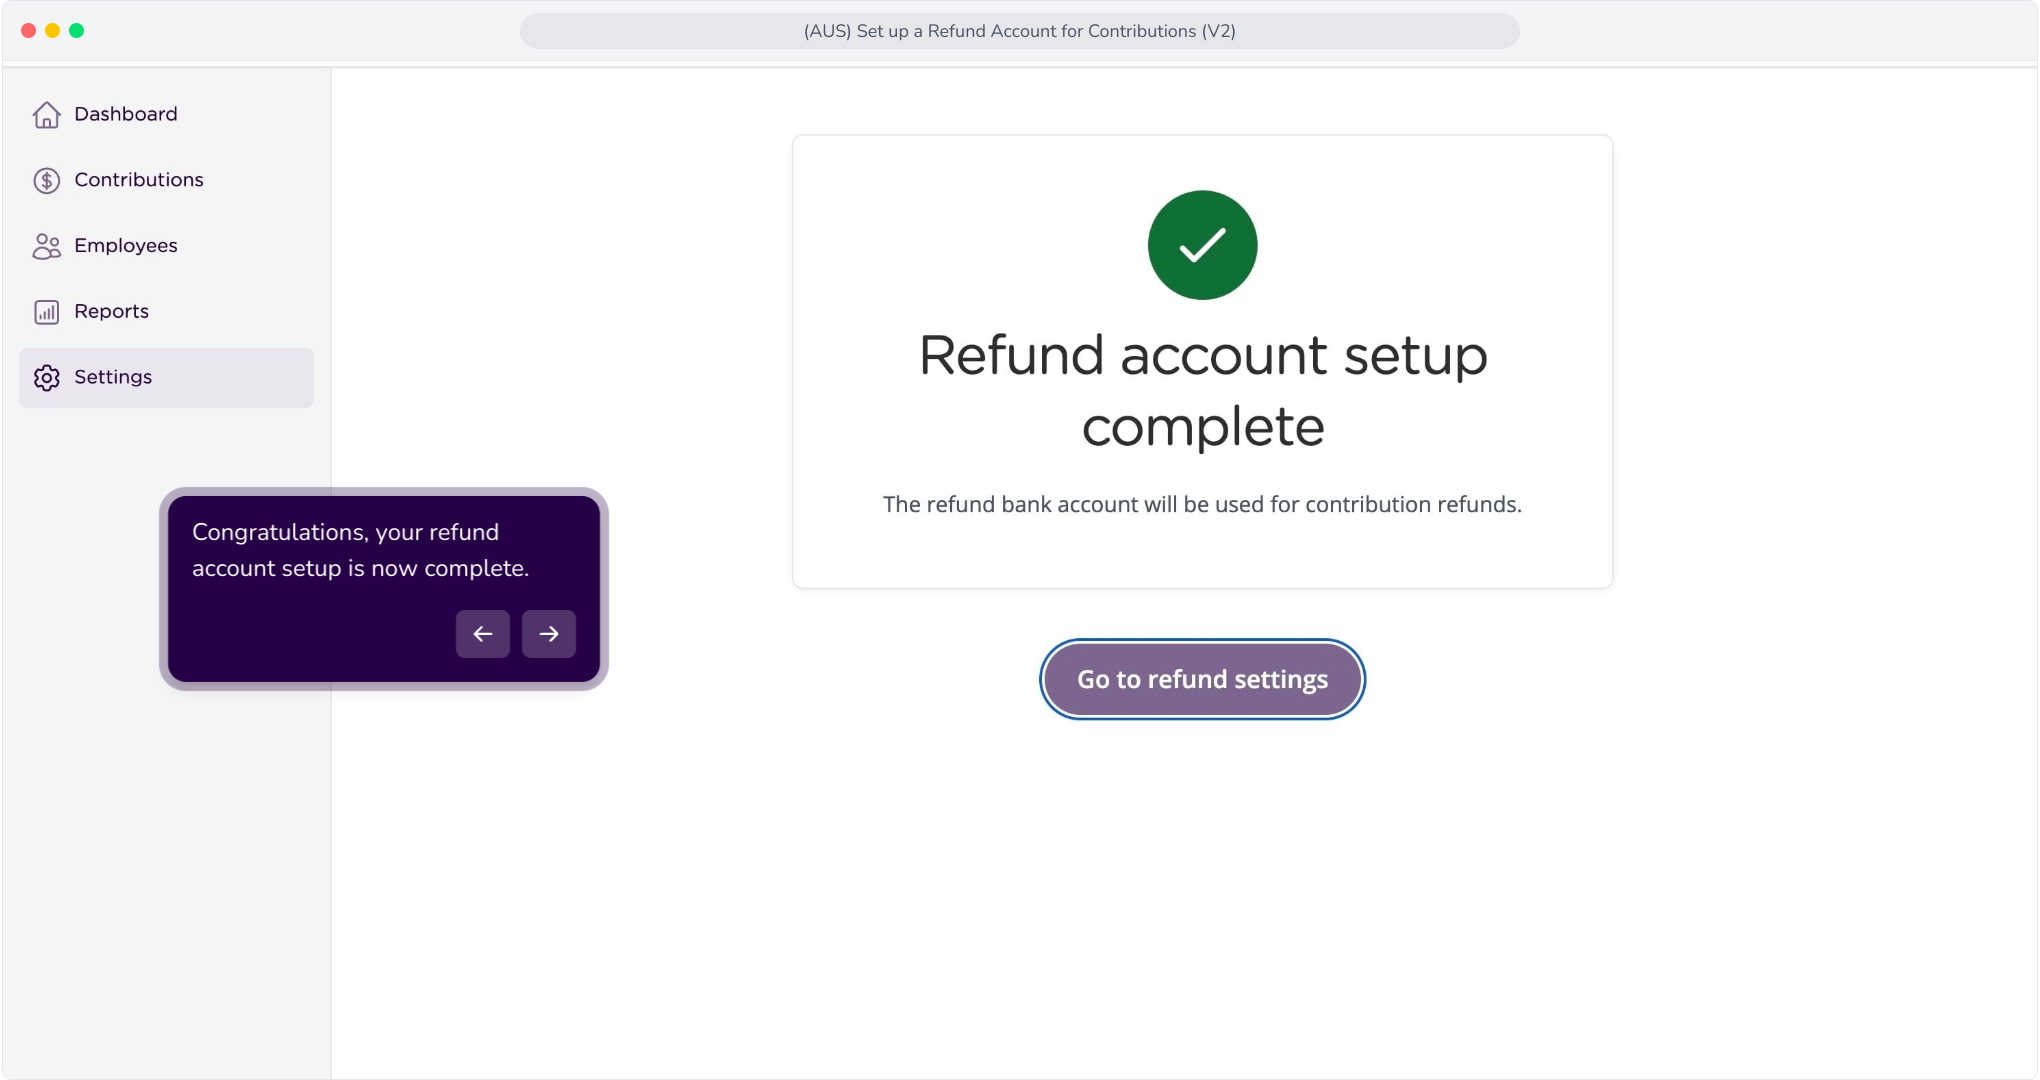
12. Congratulations, your refund account setup is now complete.
Refund Account Setup: Delegated Flow (Admim)
1. Click the Contribution Settings button
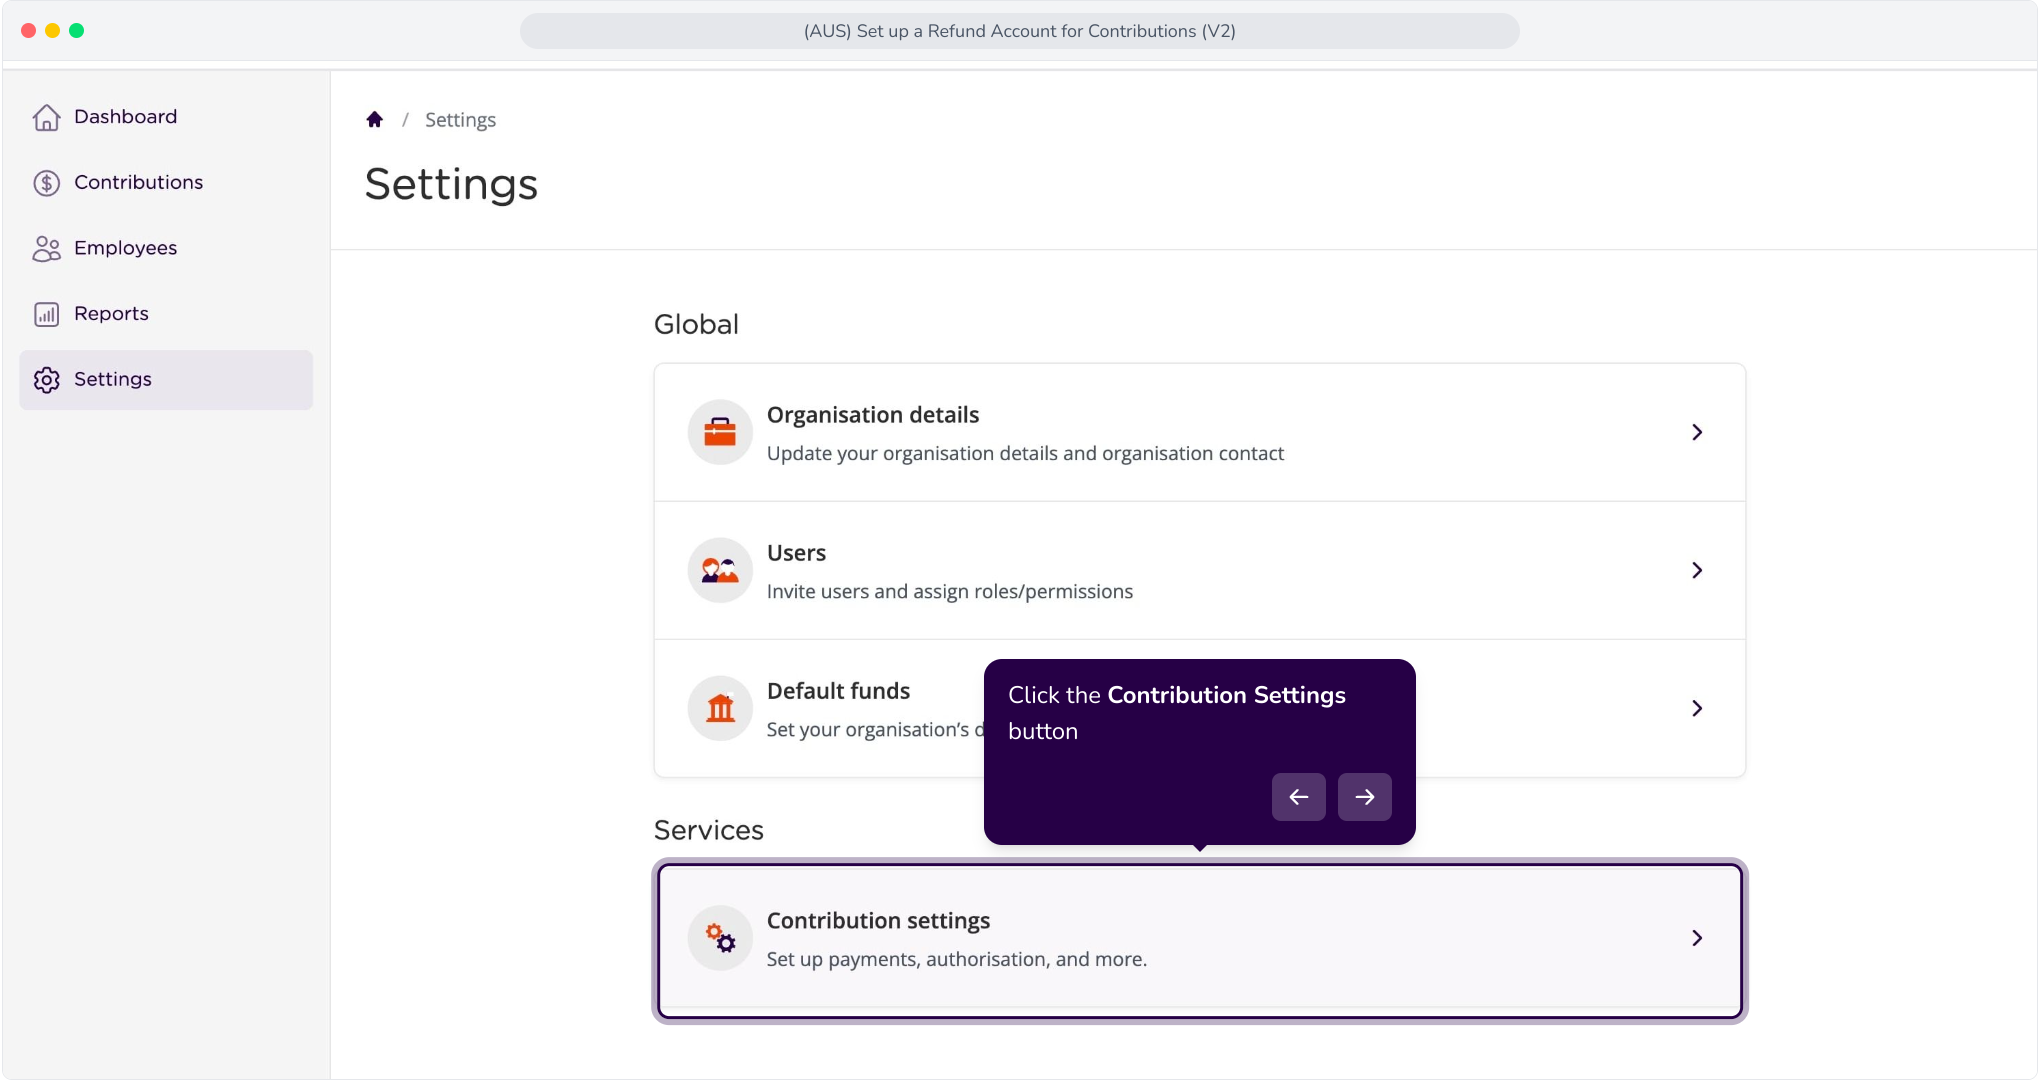
2. Click the Add button.
3. Click the Add a Refund Account button.
4. Select the Add a New Account option.
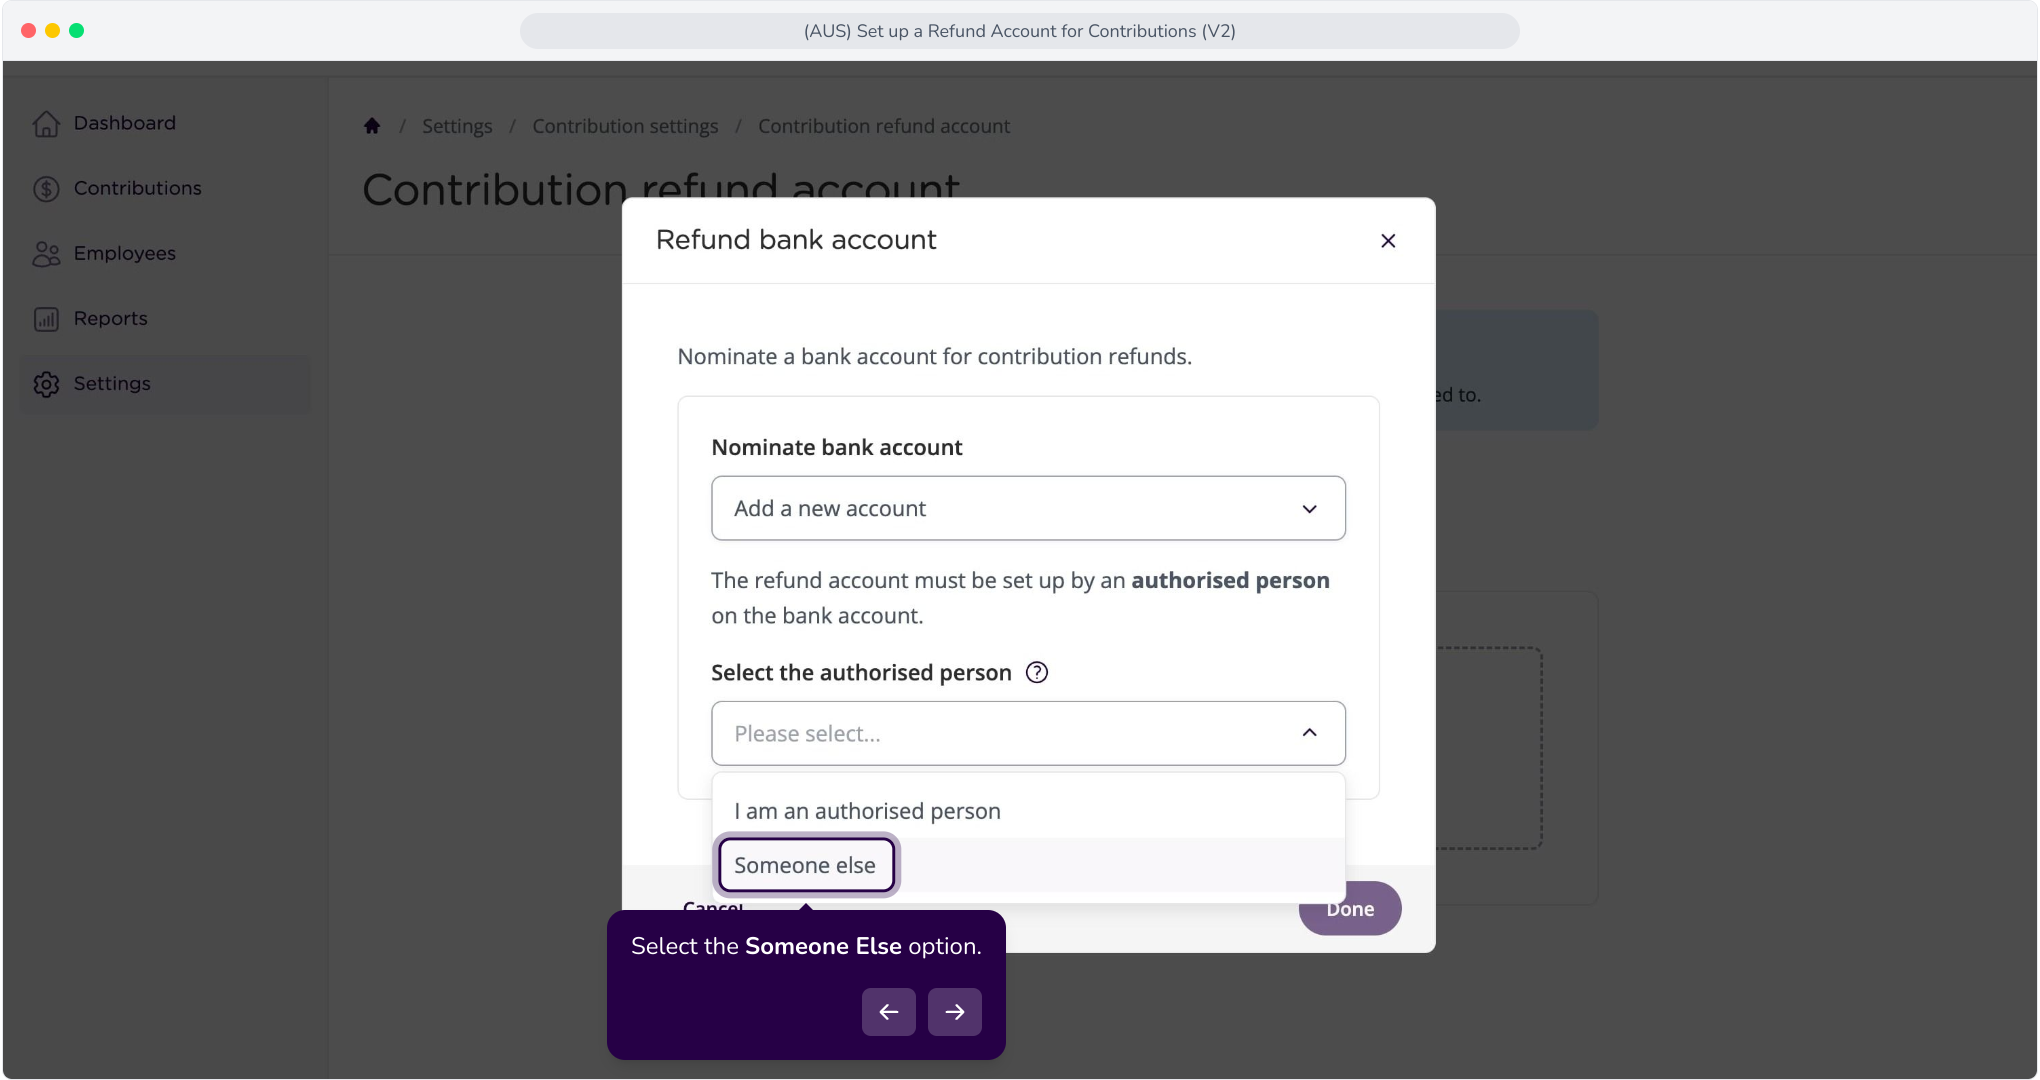
5. Select the Someone Else option.
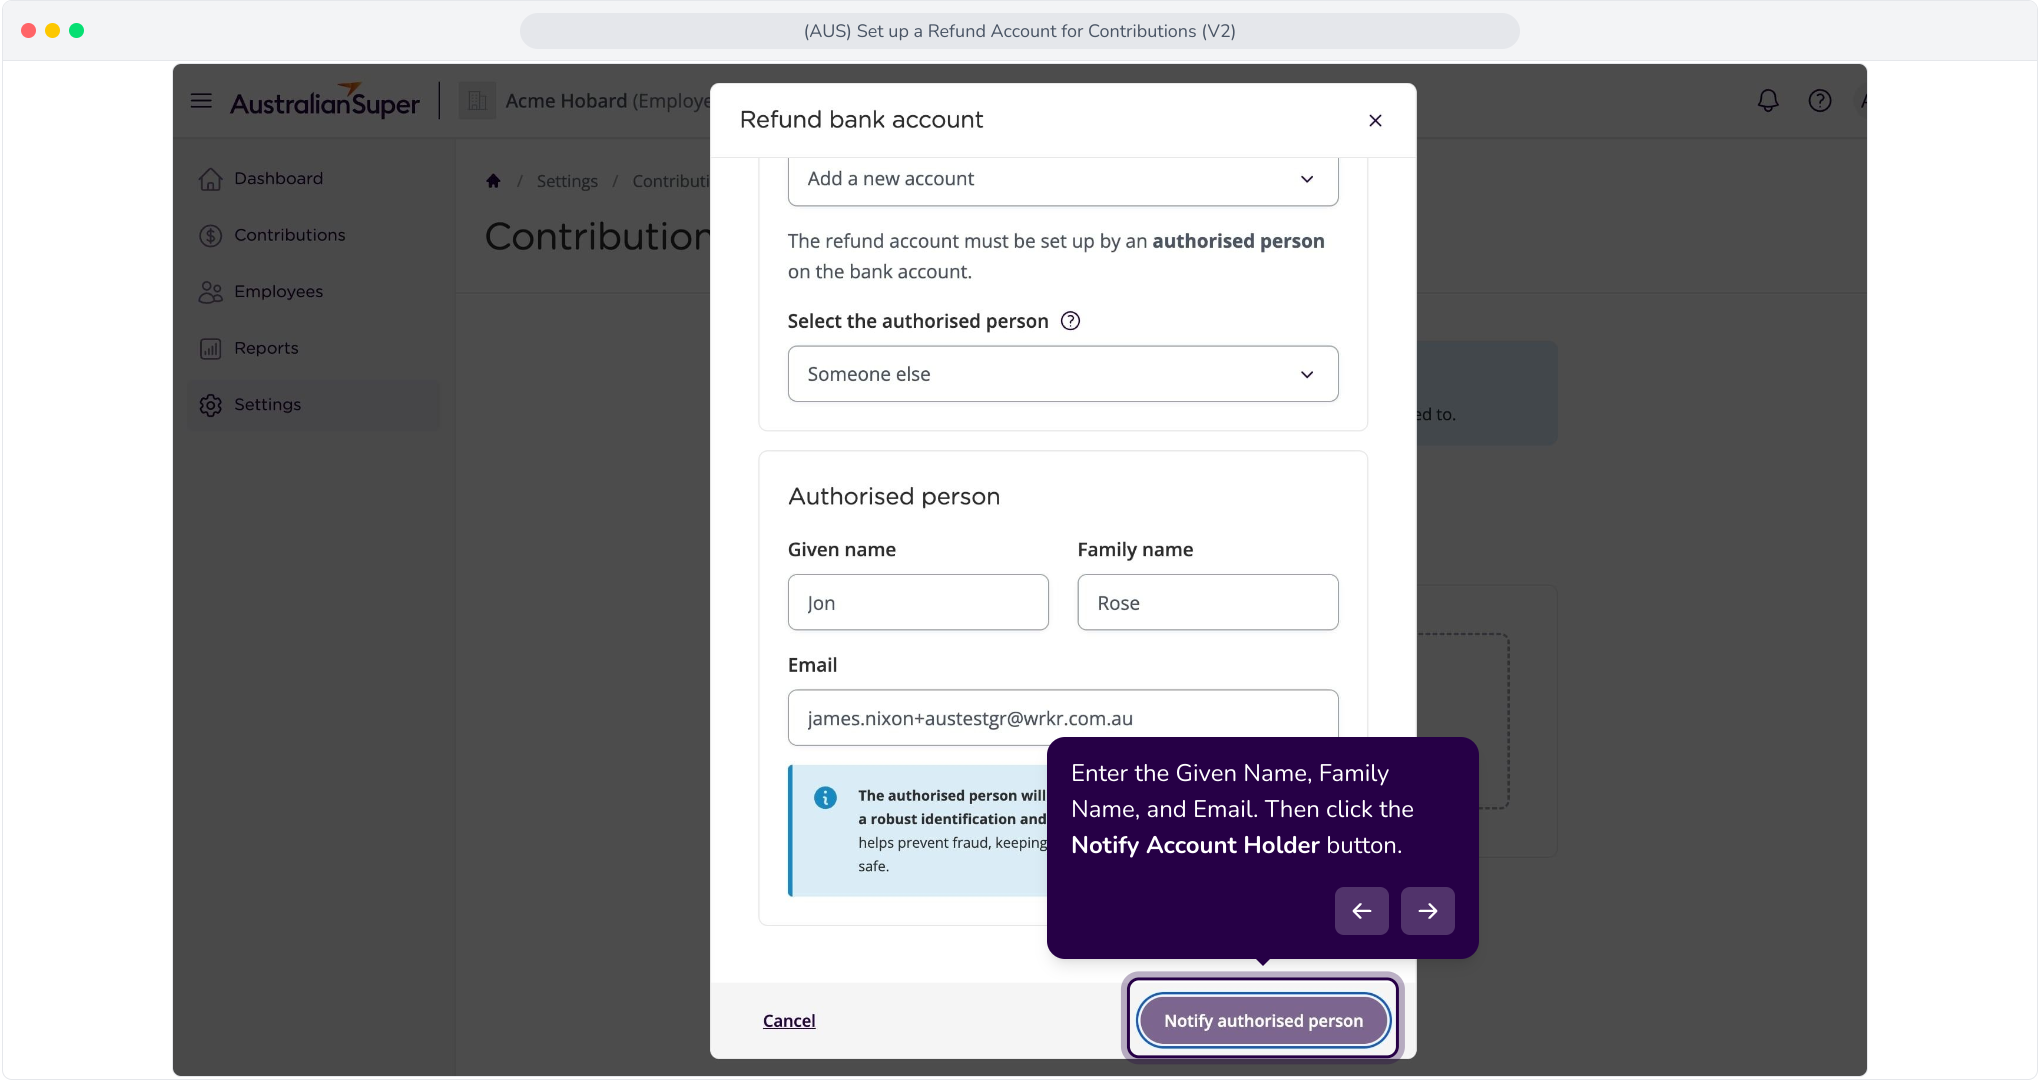
6. Enter the Given Name, Family Name, and Email. Then click the Notify Account Holder button.
Refund Account Setup: Delegated Flow (Nominee)
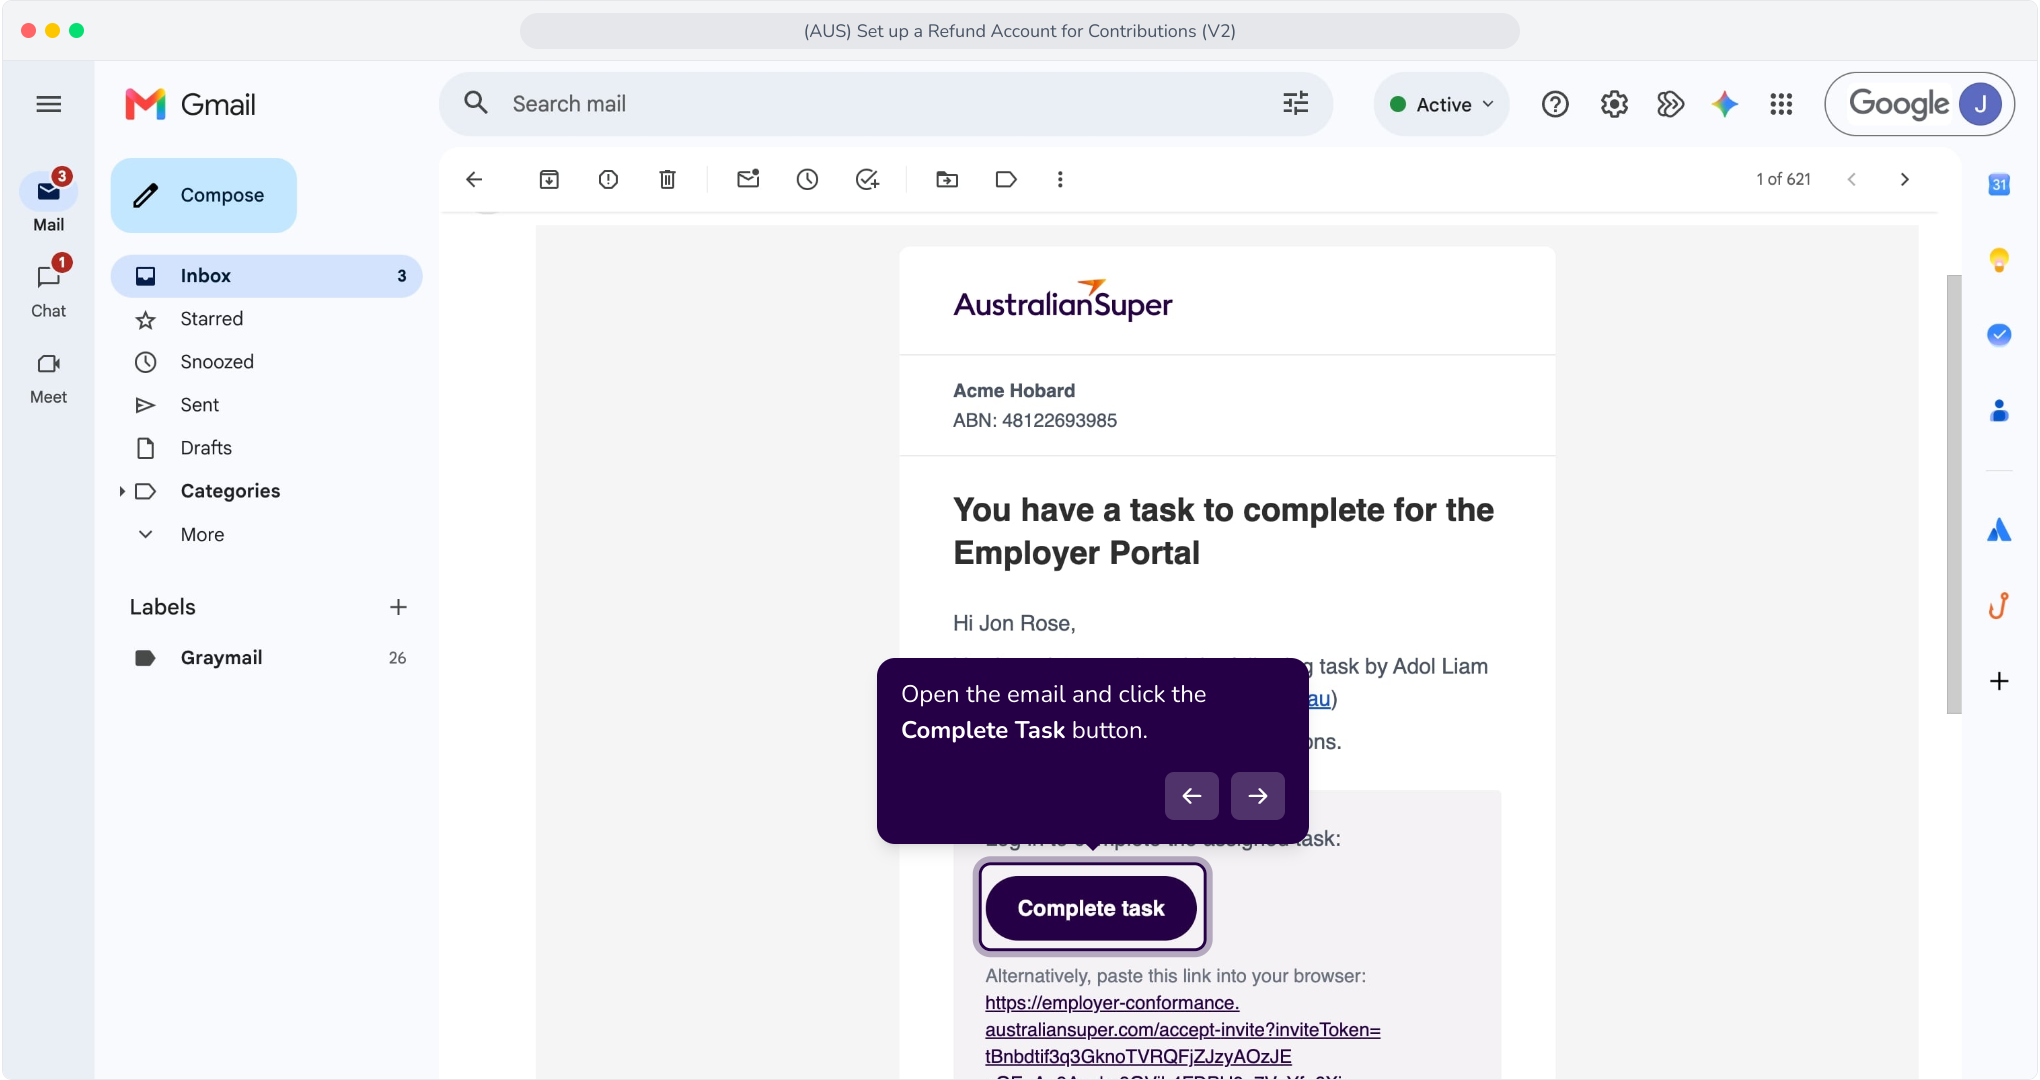
1. Open the email and click the Complete Task button.
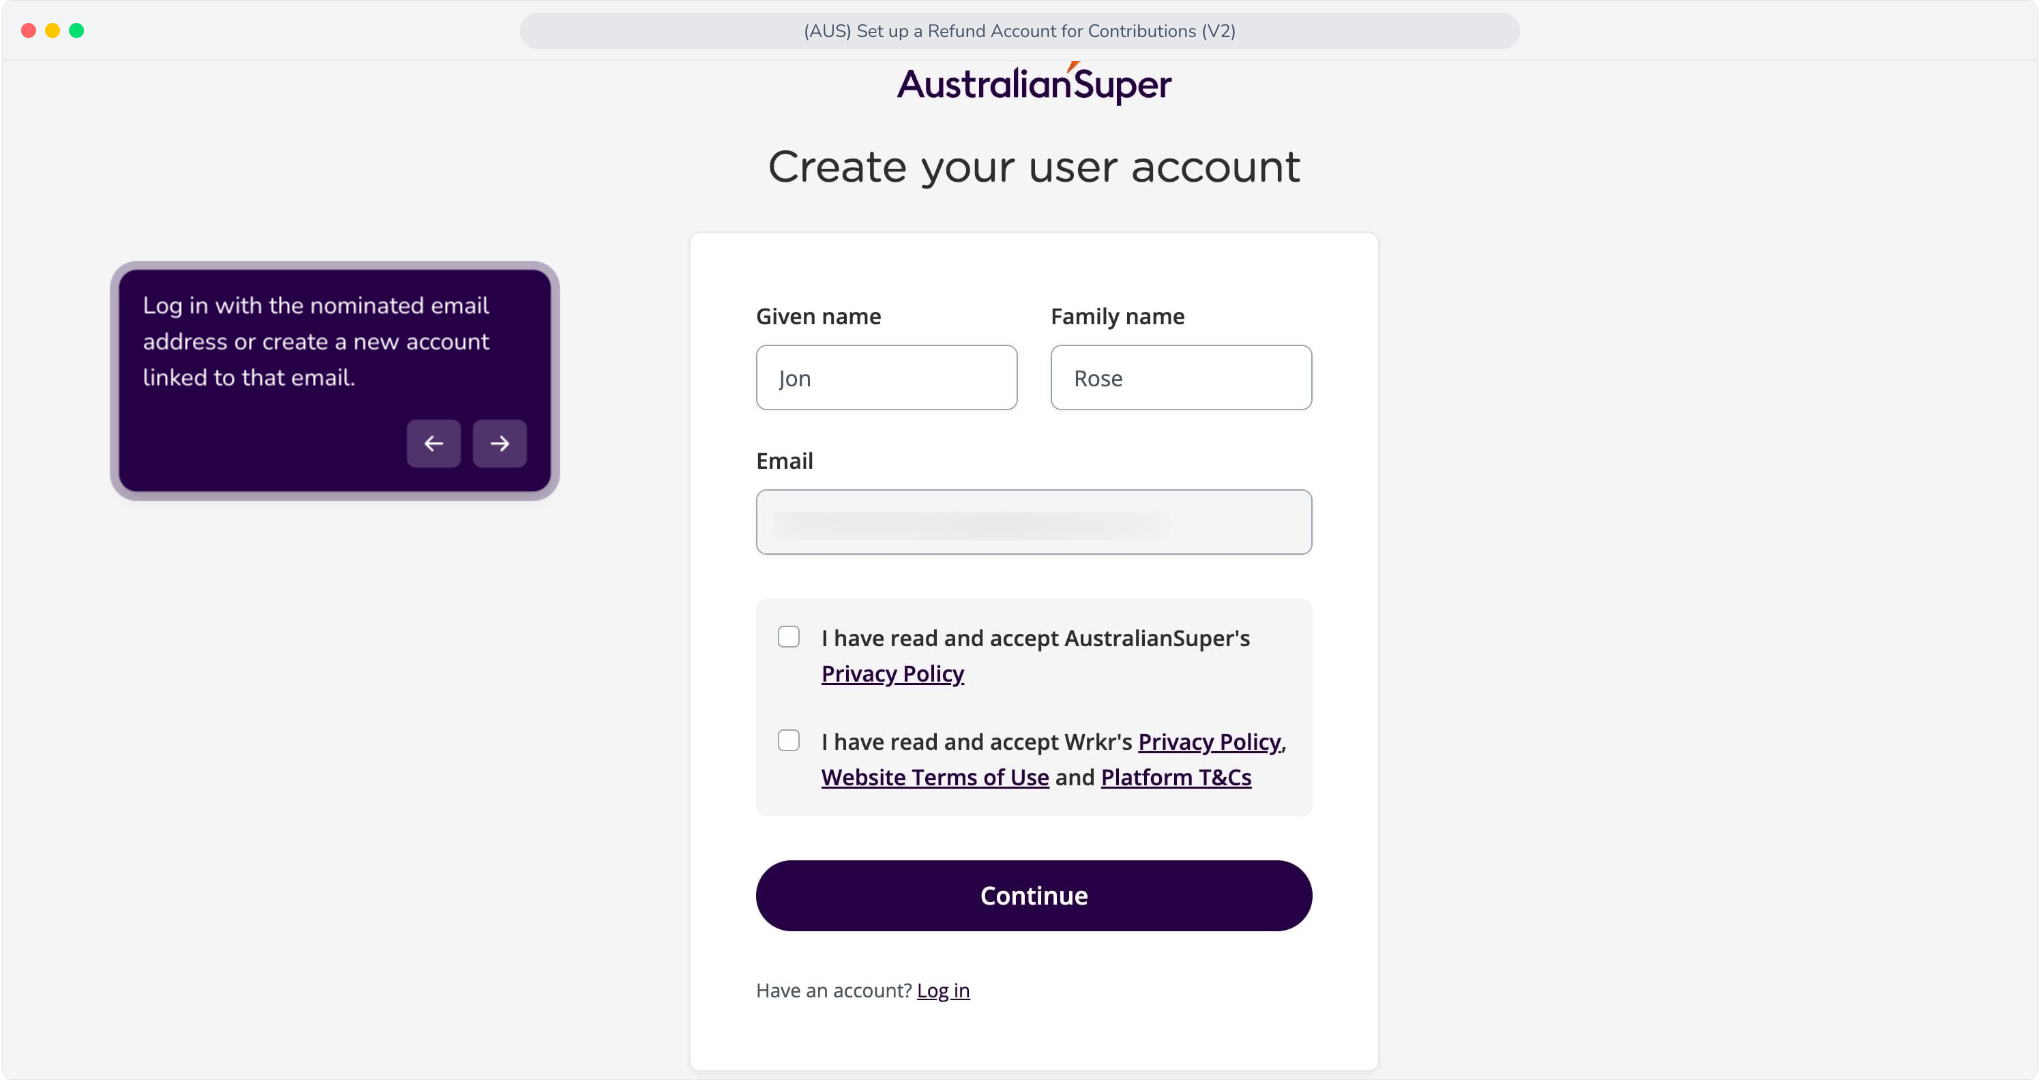
2. Log in with the nominated email address or create a new account linked to that email.
3. Follow the steps in the Refund Account: Self-Authorised Flow to complete the setup.
Update Your Refund Account
1. Click the Contribution Settings button
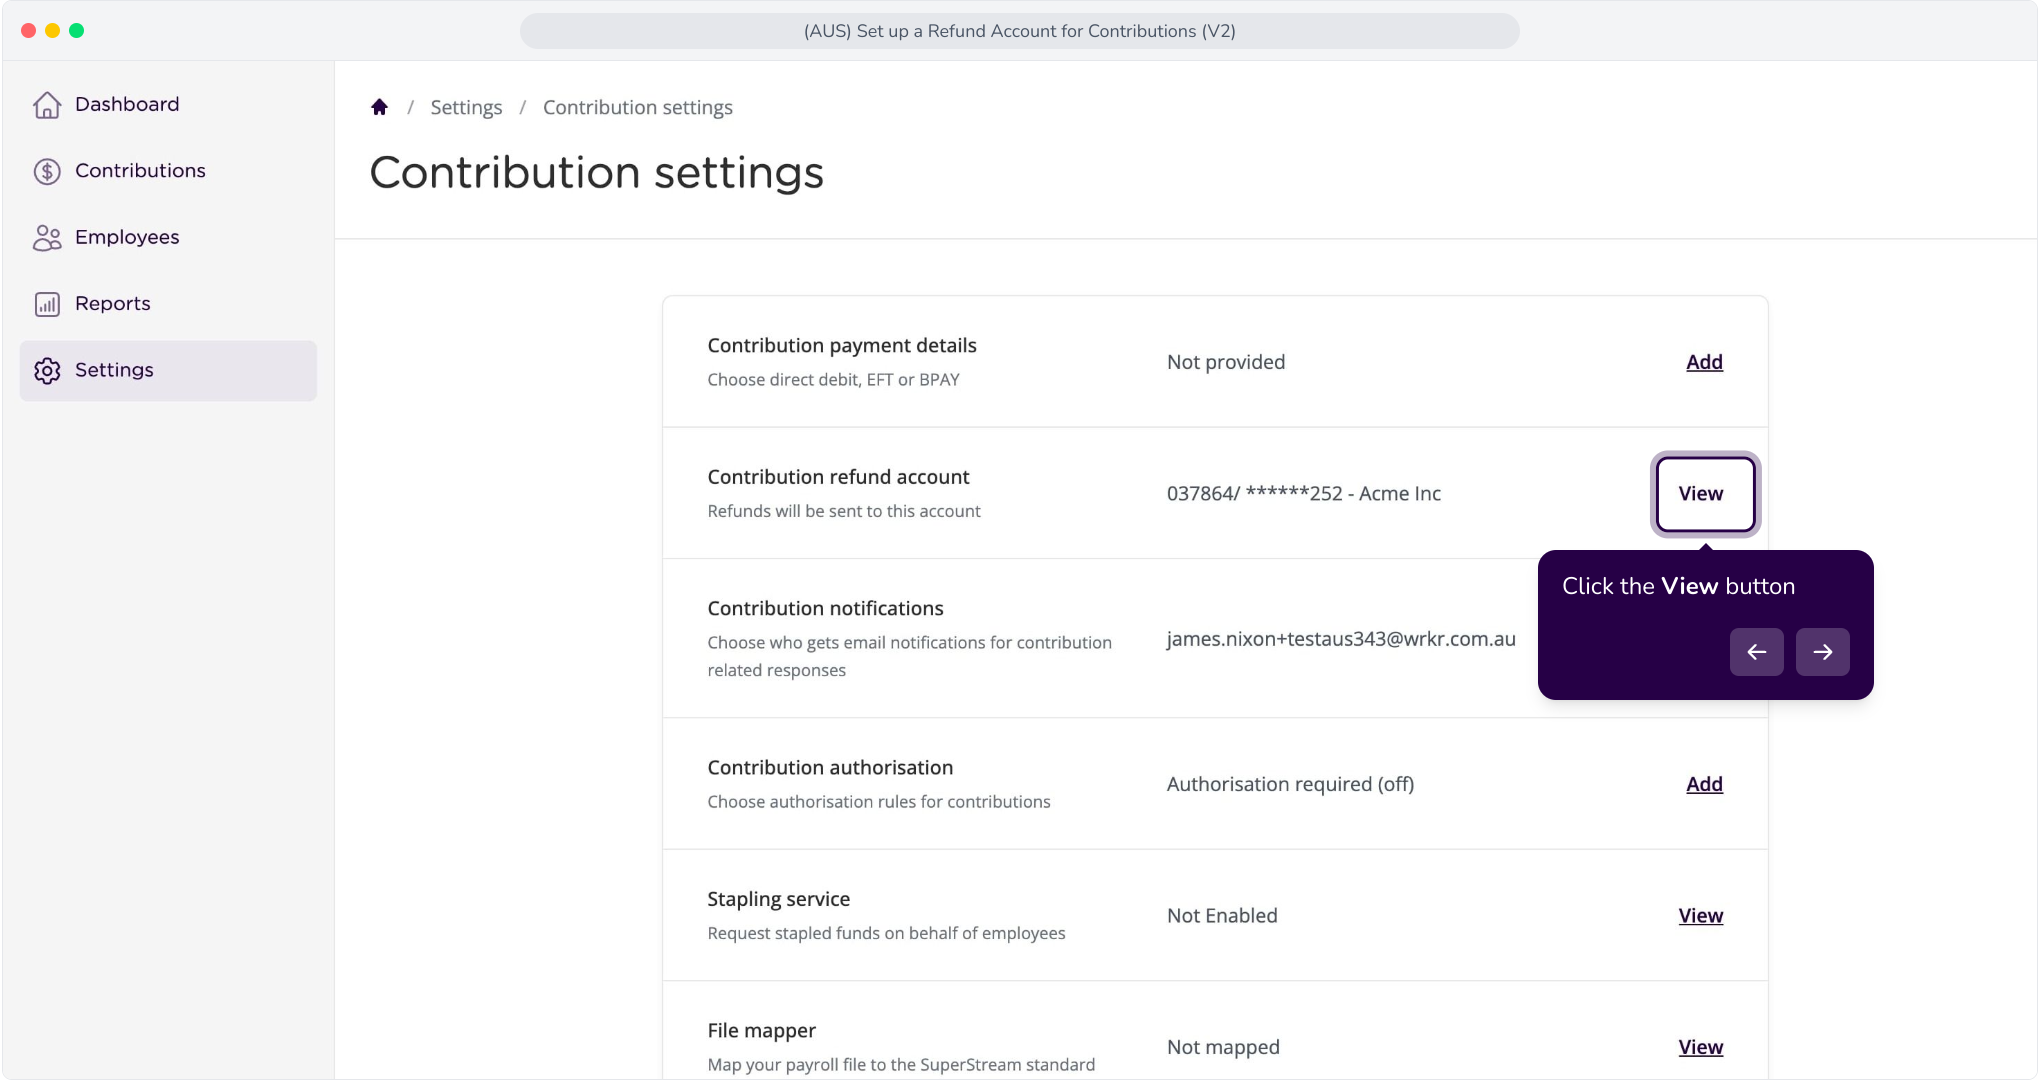
2. Click the View button
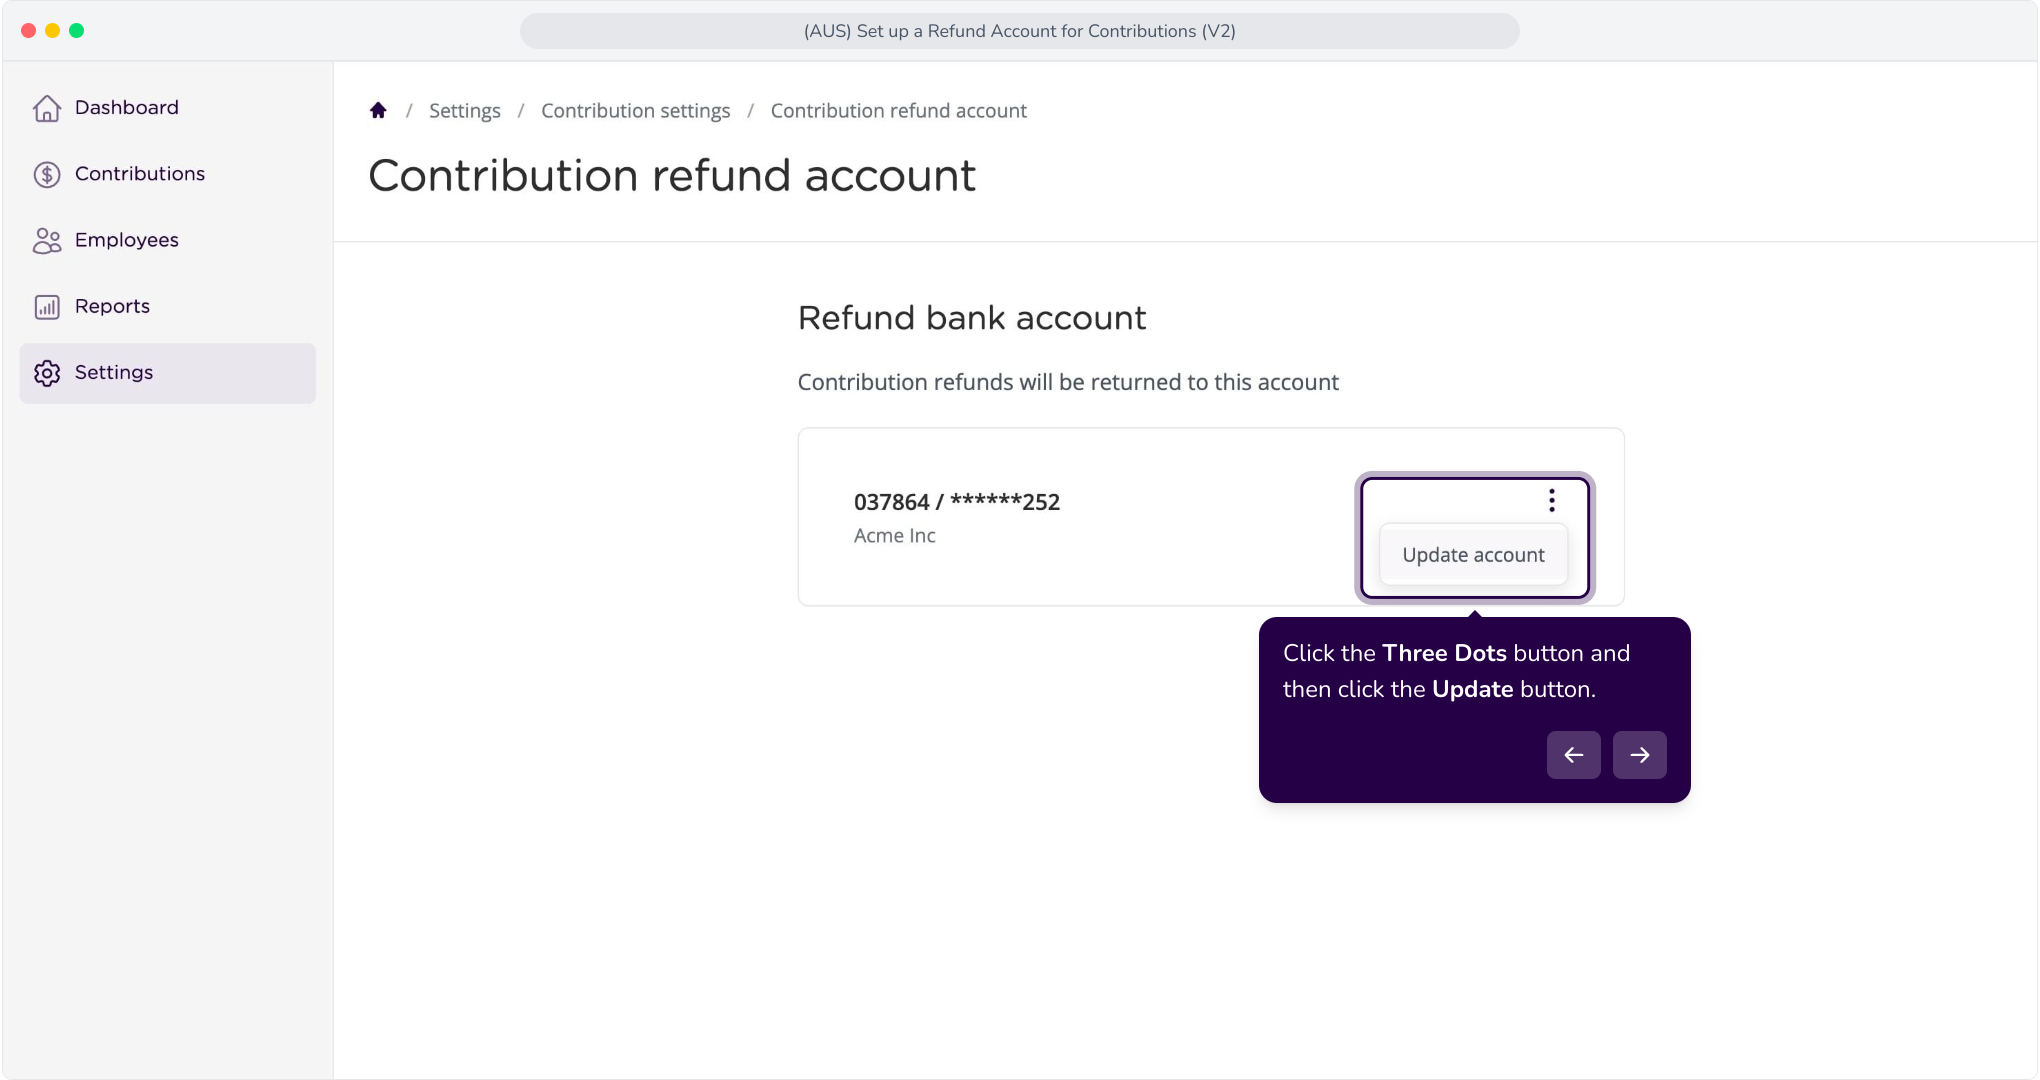
3. Click the Three Dots button and then click the Update button.