Context: This guide covers the steps required to enable the stapling service within the Employer Portal. If you do not know your employee's superfund details, you can use the ATO stapling service to confirm if a fund choice is on record, and apply it for your employee – if found.
Interactive Demo
Note: Make the demo full-screen for a better experience. You can mute/un-mute narration to suit your preferences.
Step by Step
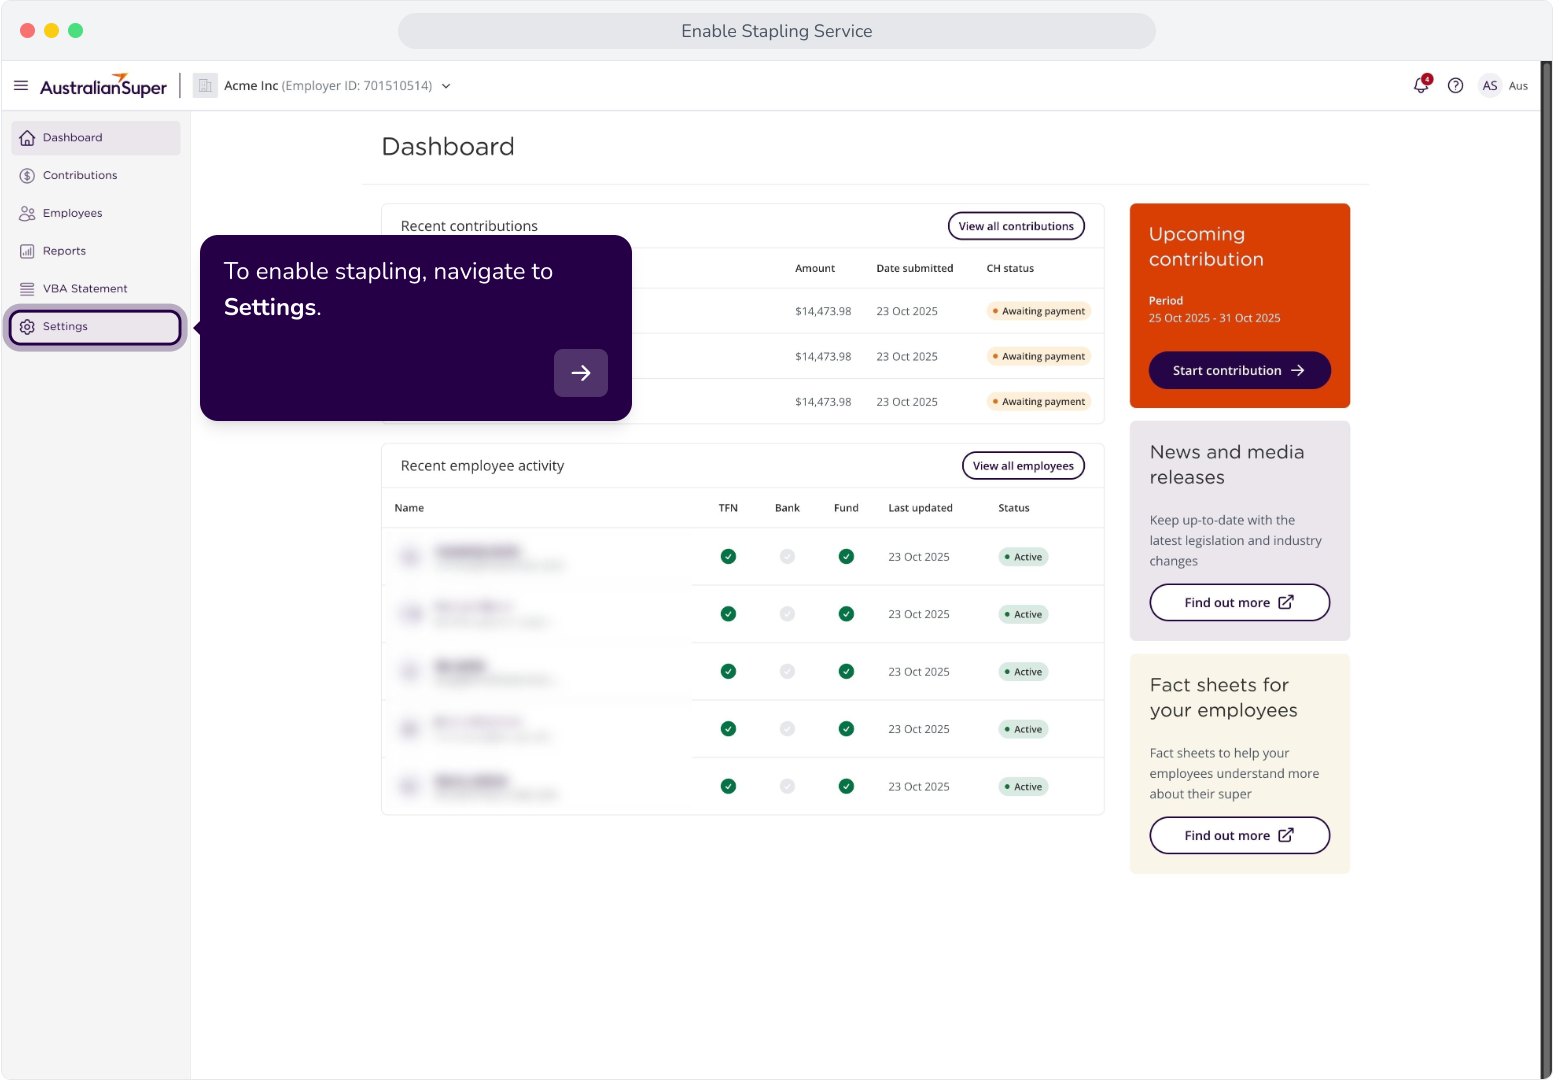
1. To enable stapling, navigate to Settings.
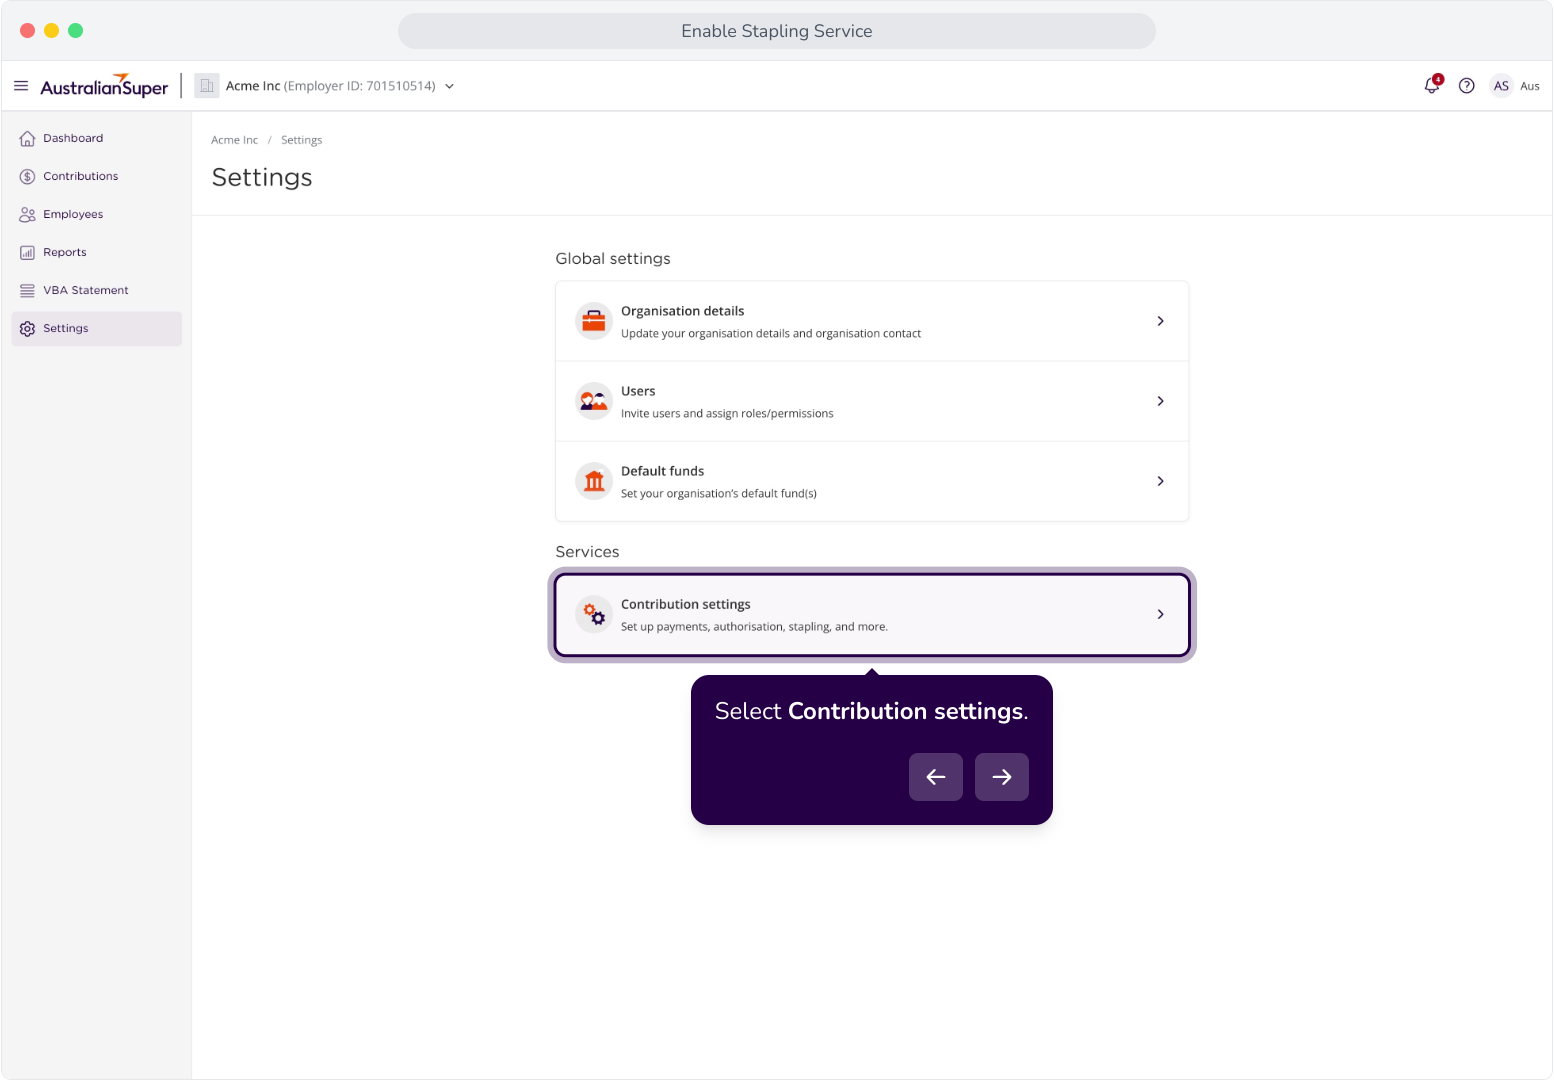
2. Select Contribution settings.
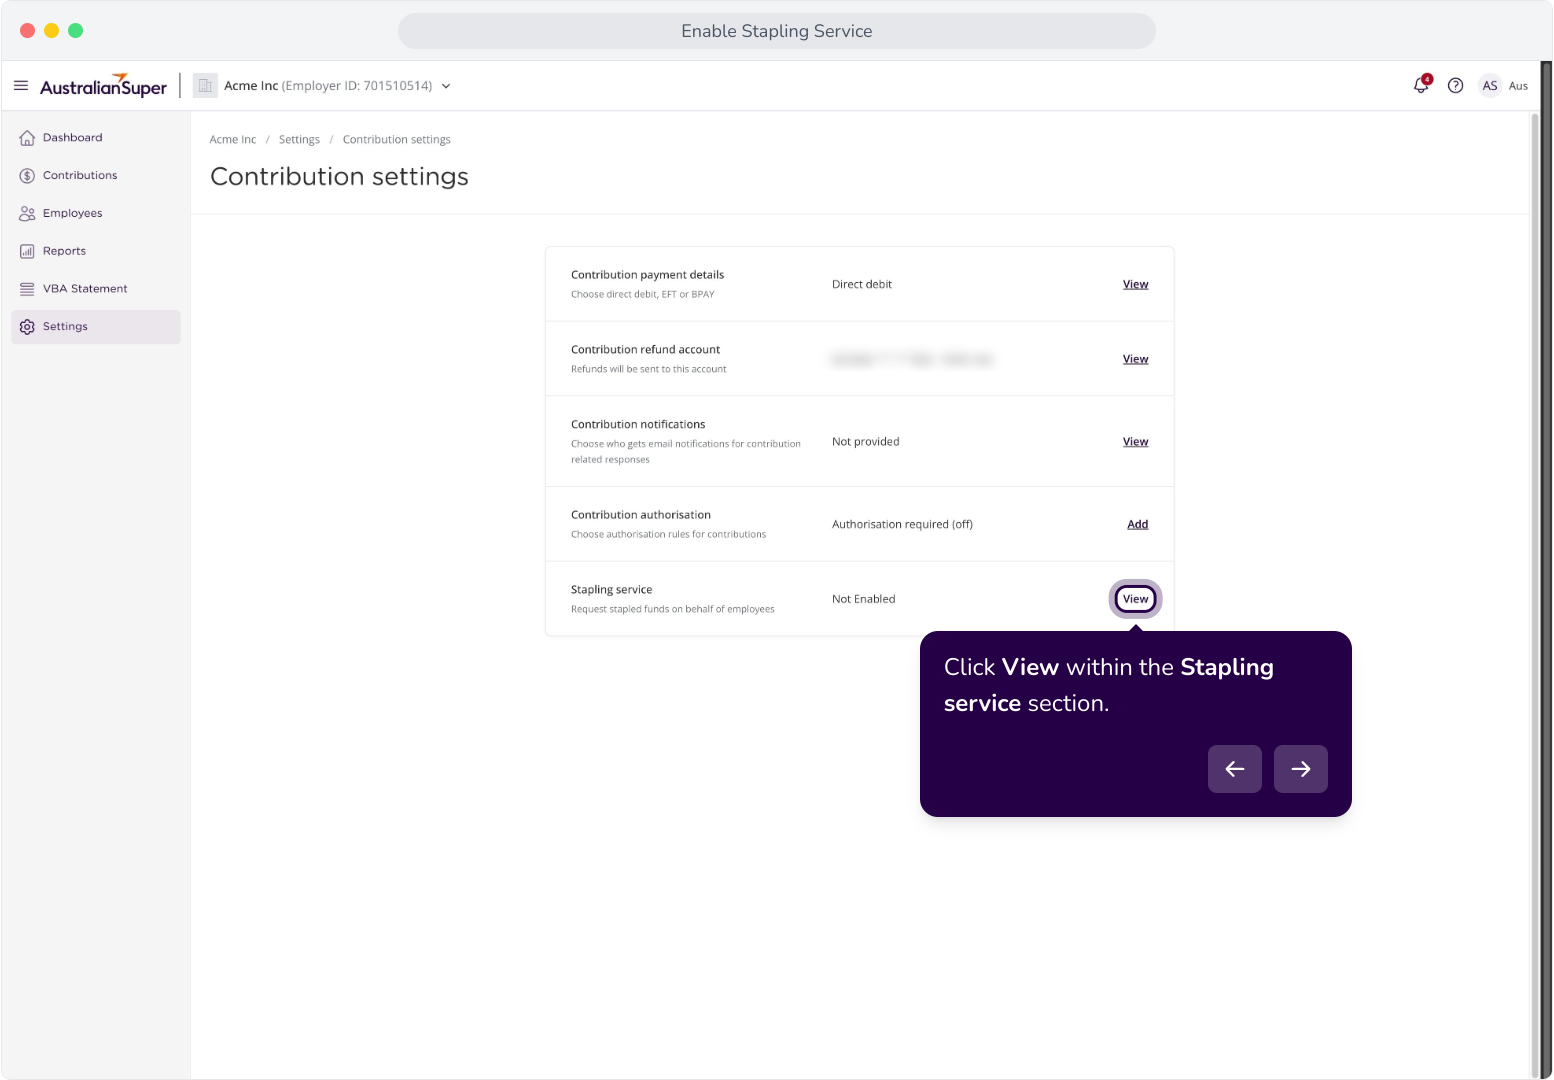
3. Click View within the Stapling service section.
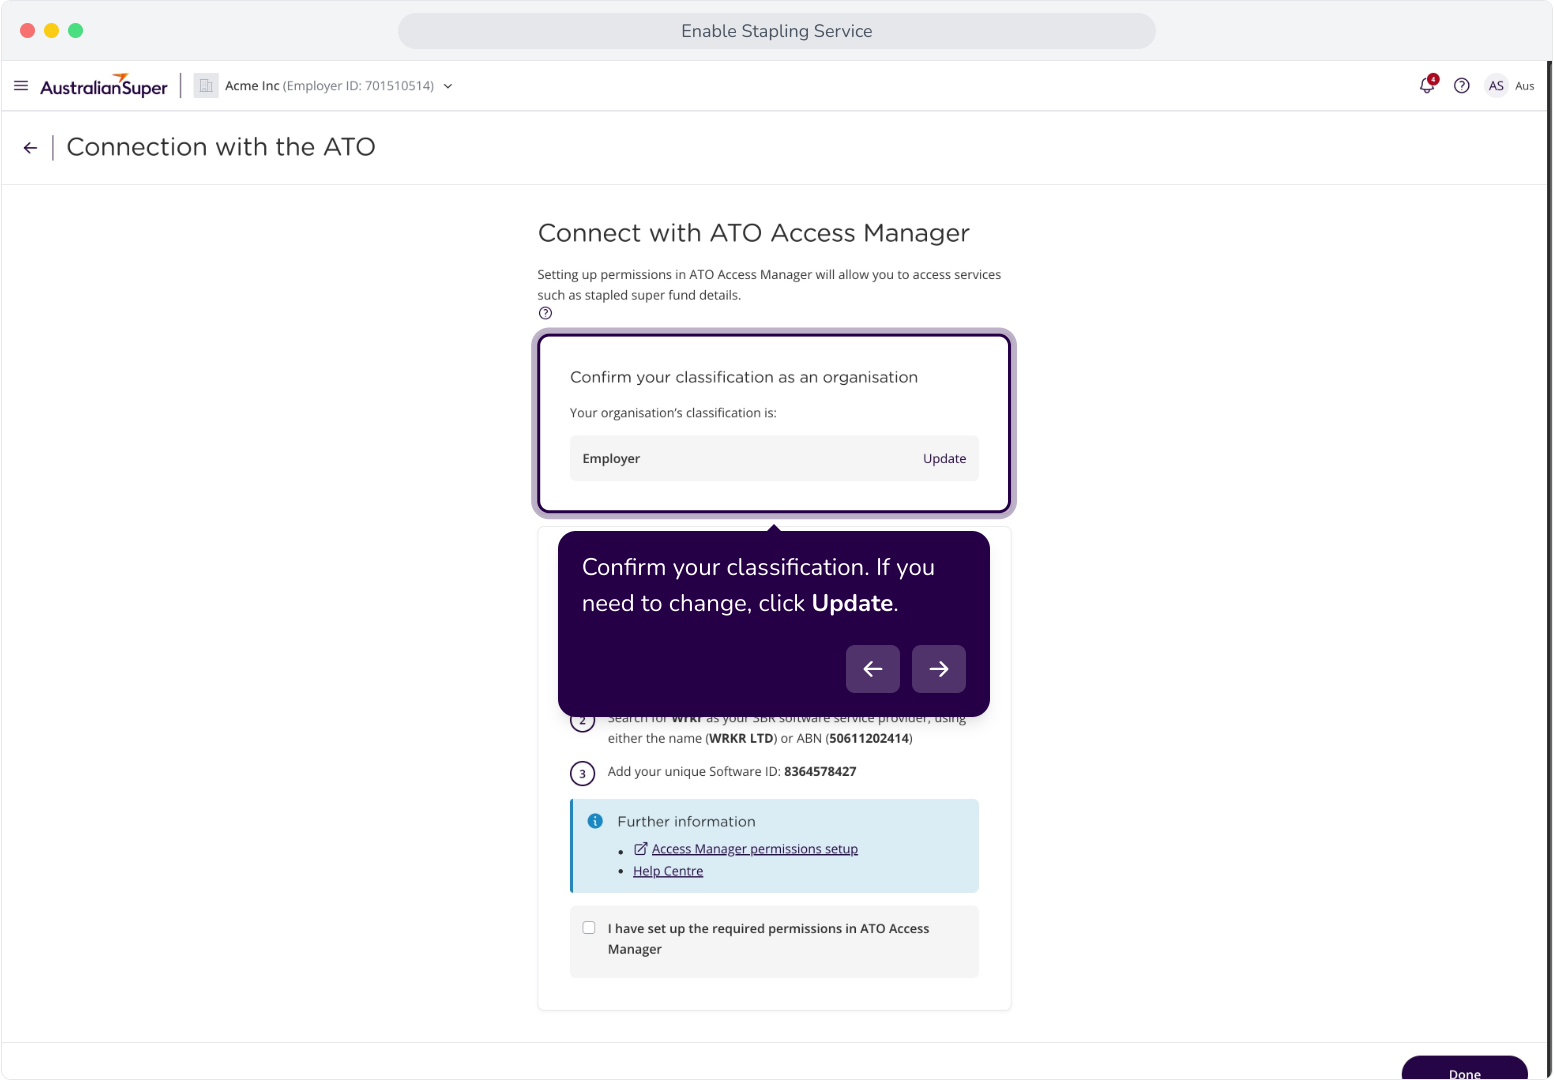
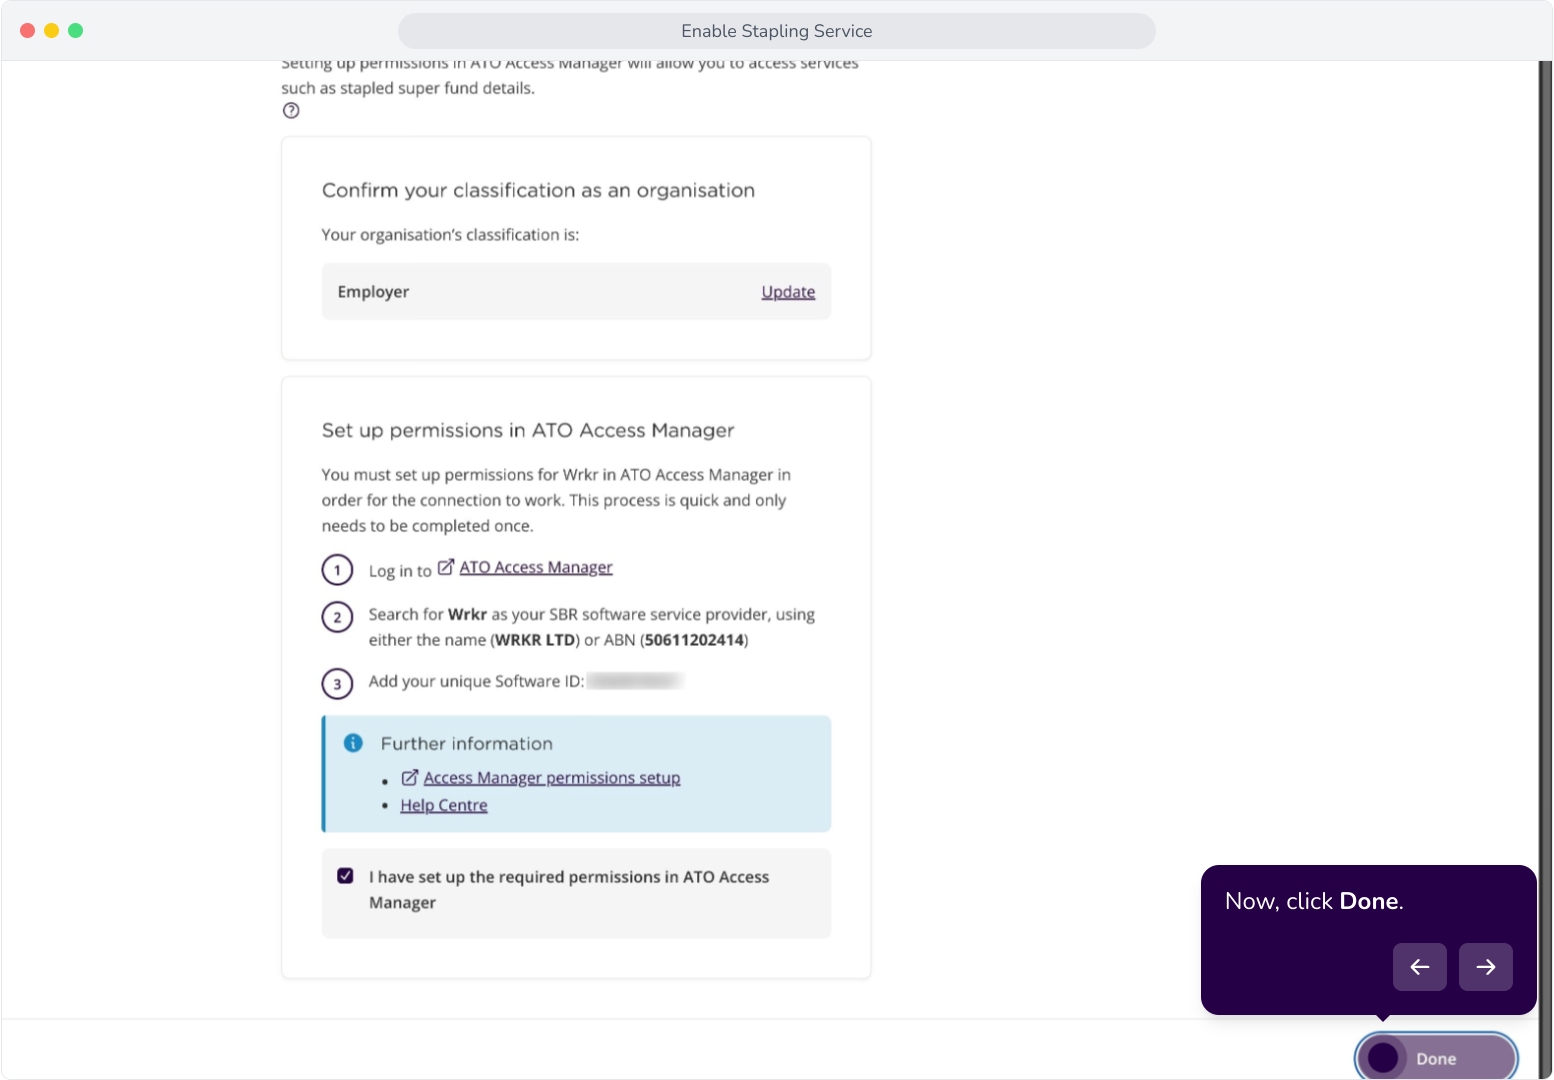
4. Confirm your classification. If you need to change, click Update.
5. You can select Employer or Tax/BAS agent. Change and Save, or click Cancel.
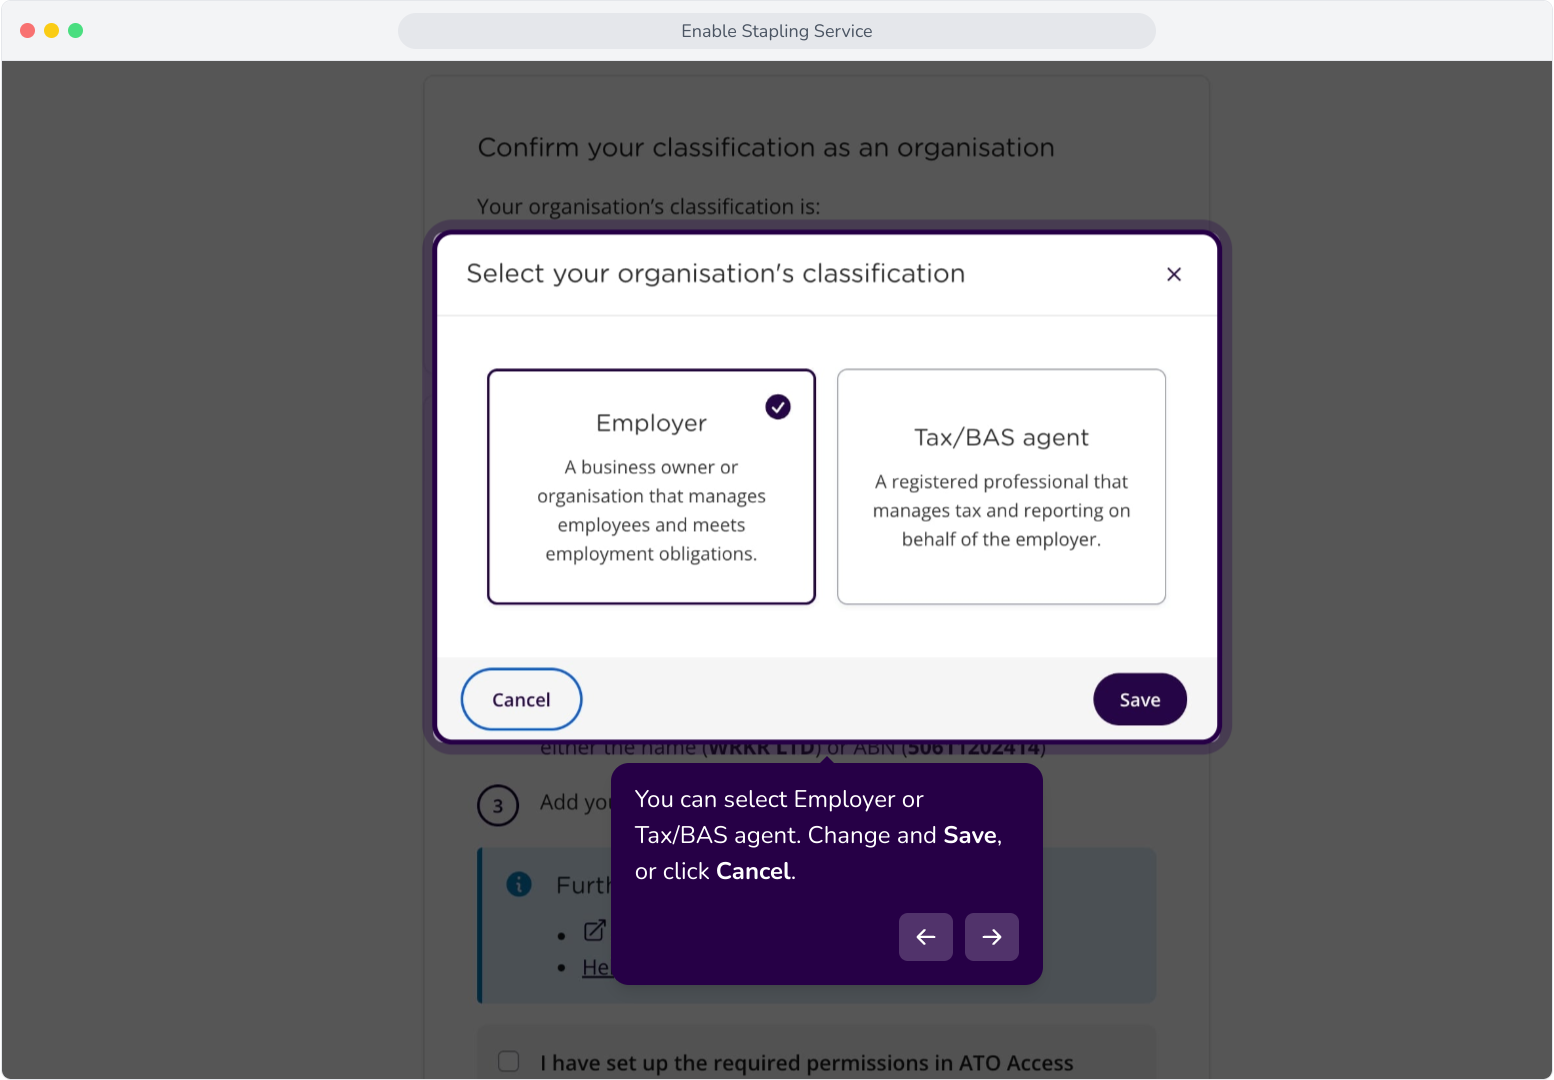
6. Follow the steps below to set up permissions in ATO Access Manager.
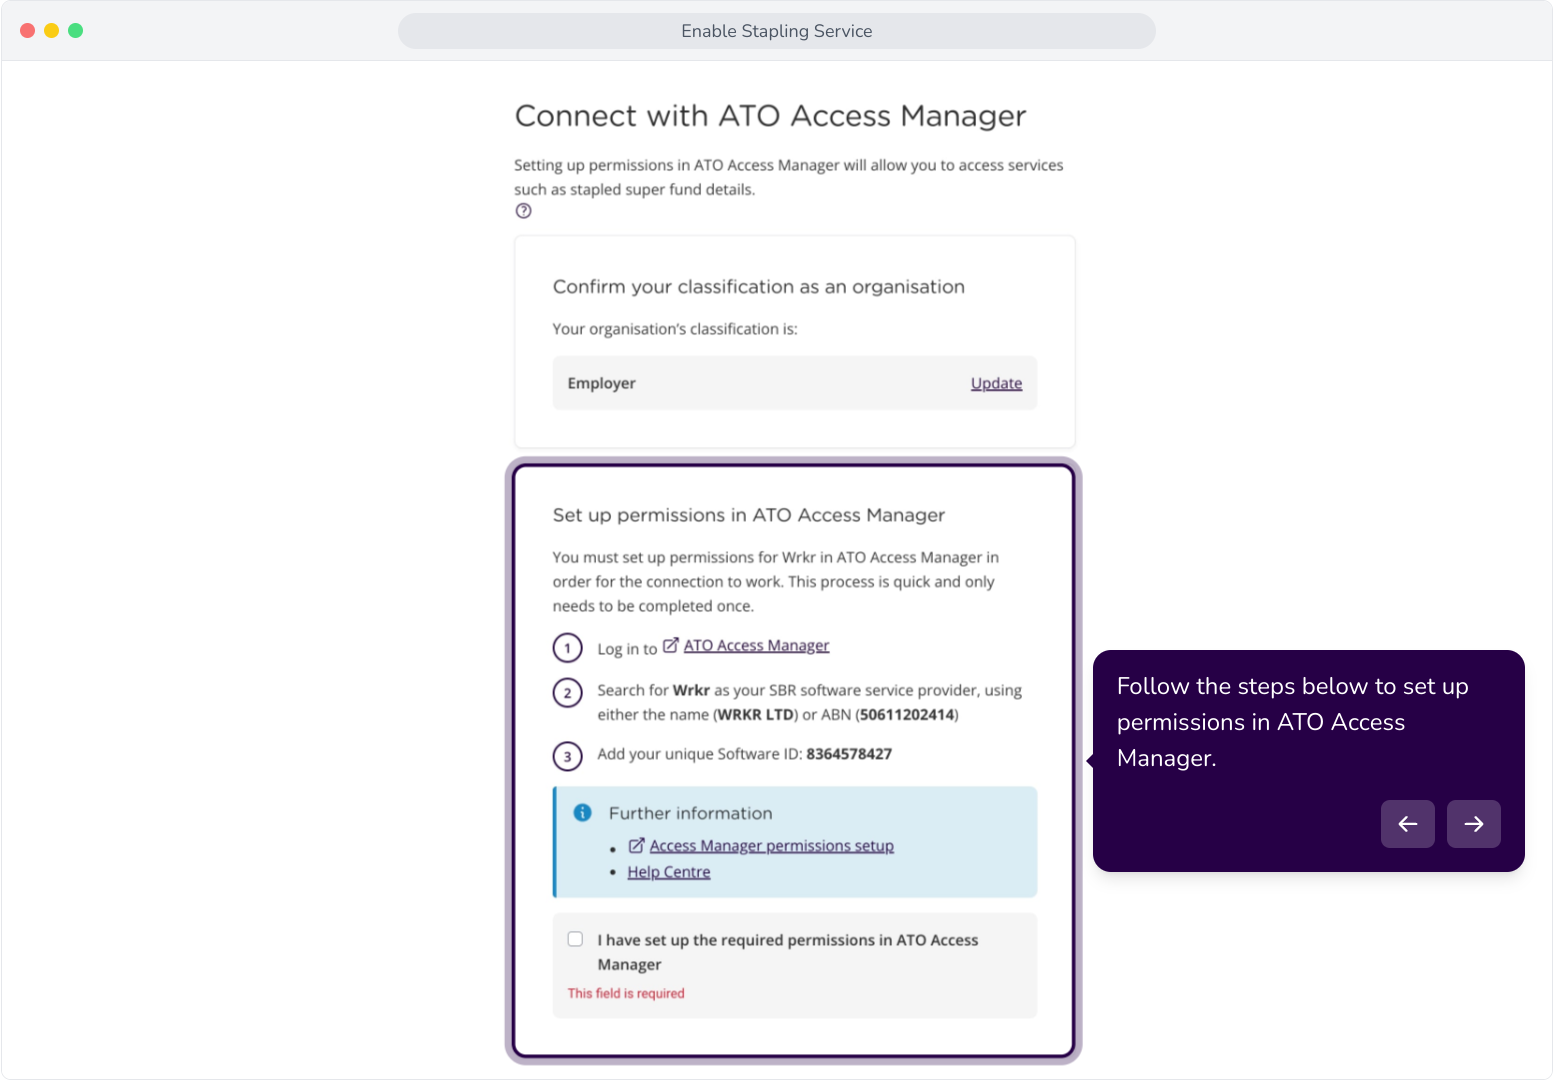
7. Click on this link to log in to ATO Access Manager.
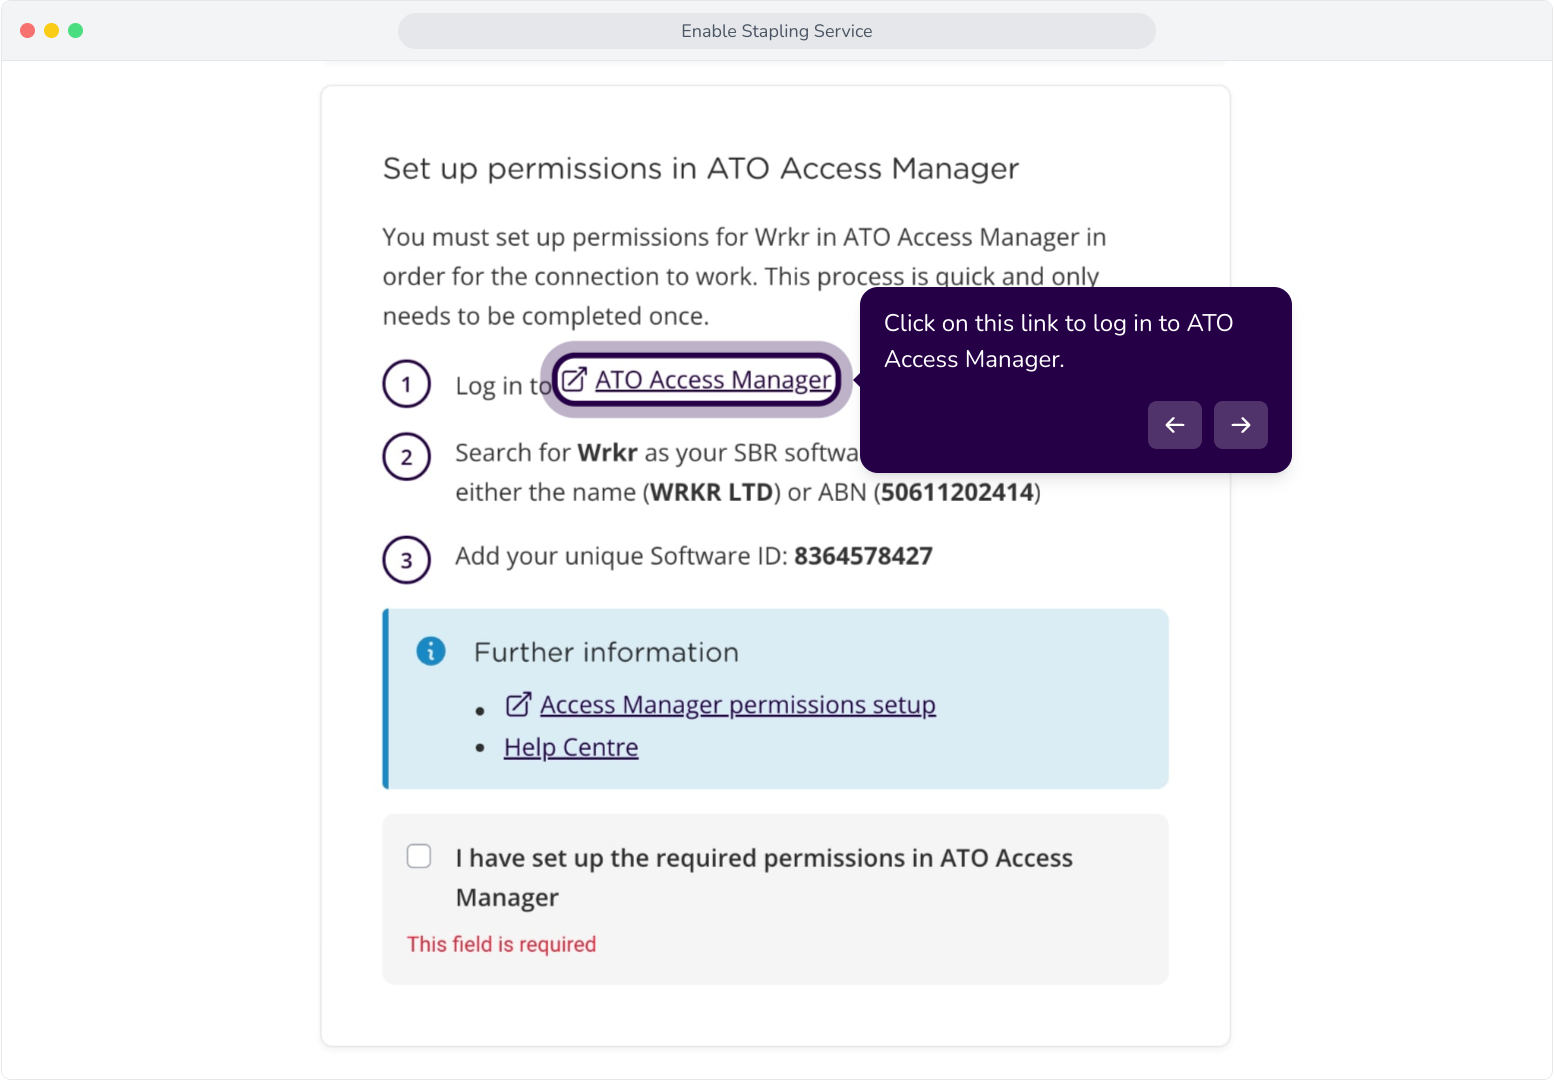
8. Log in to Access Manager.
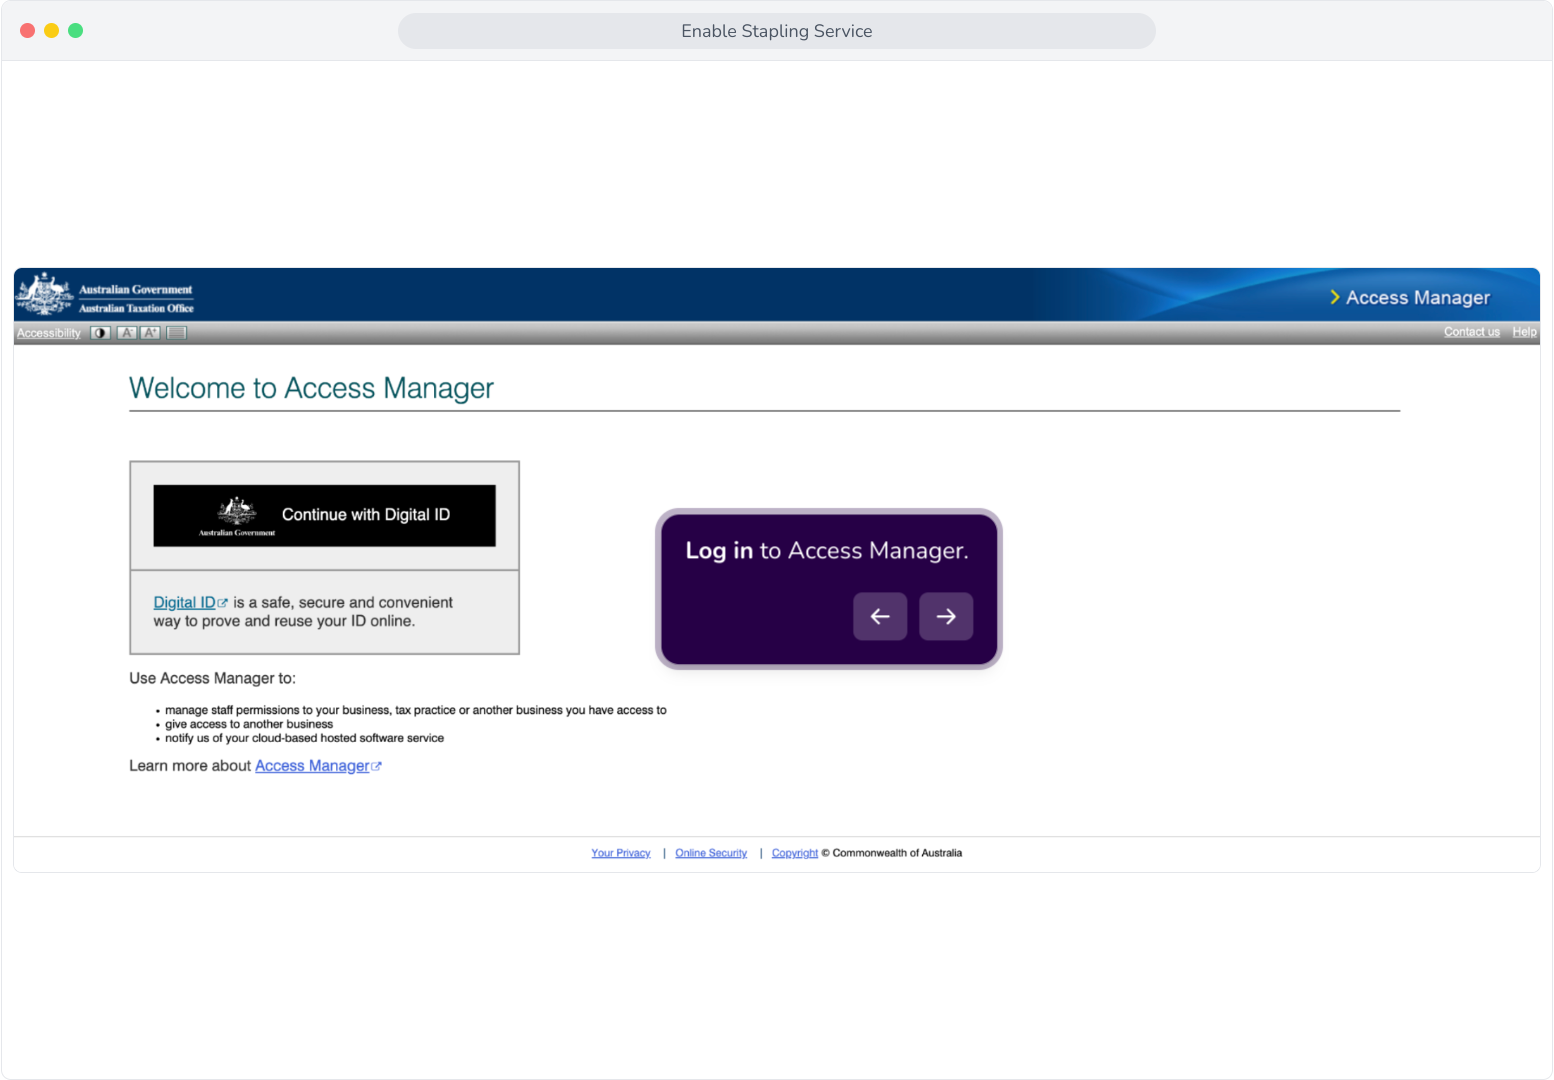
9. Follow these steps within Access Manager to configure Wrkr as your SBR software service provider.
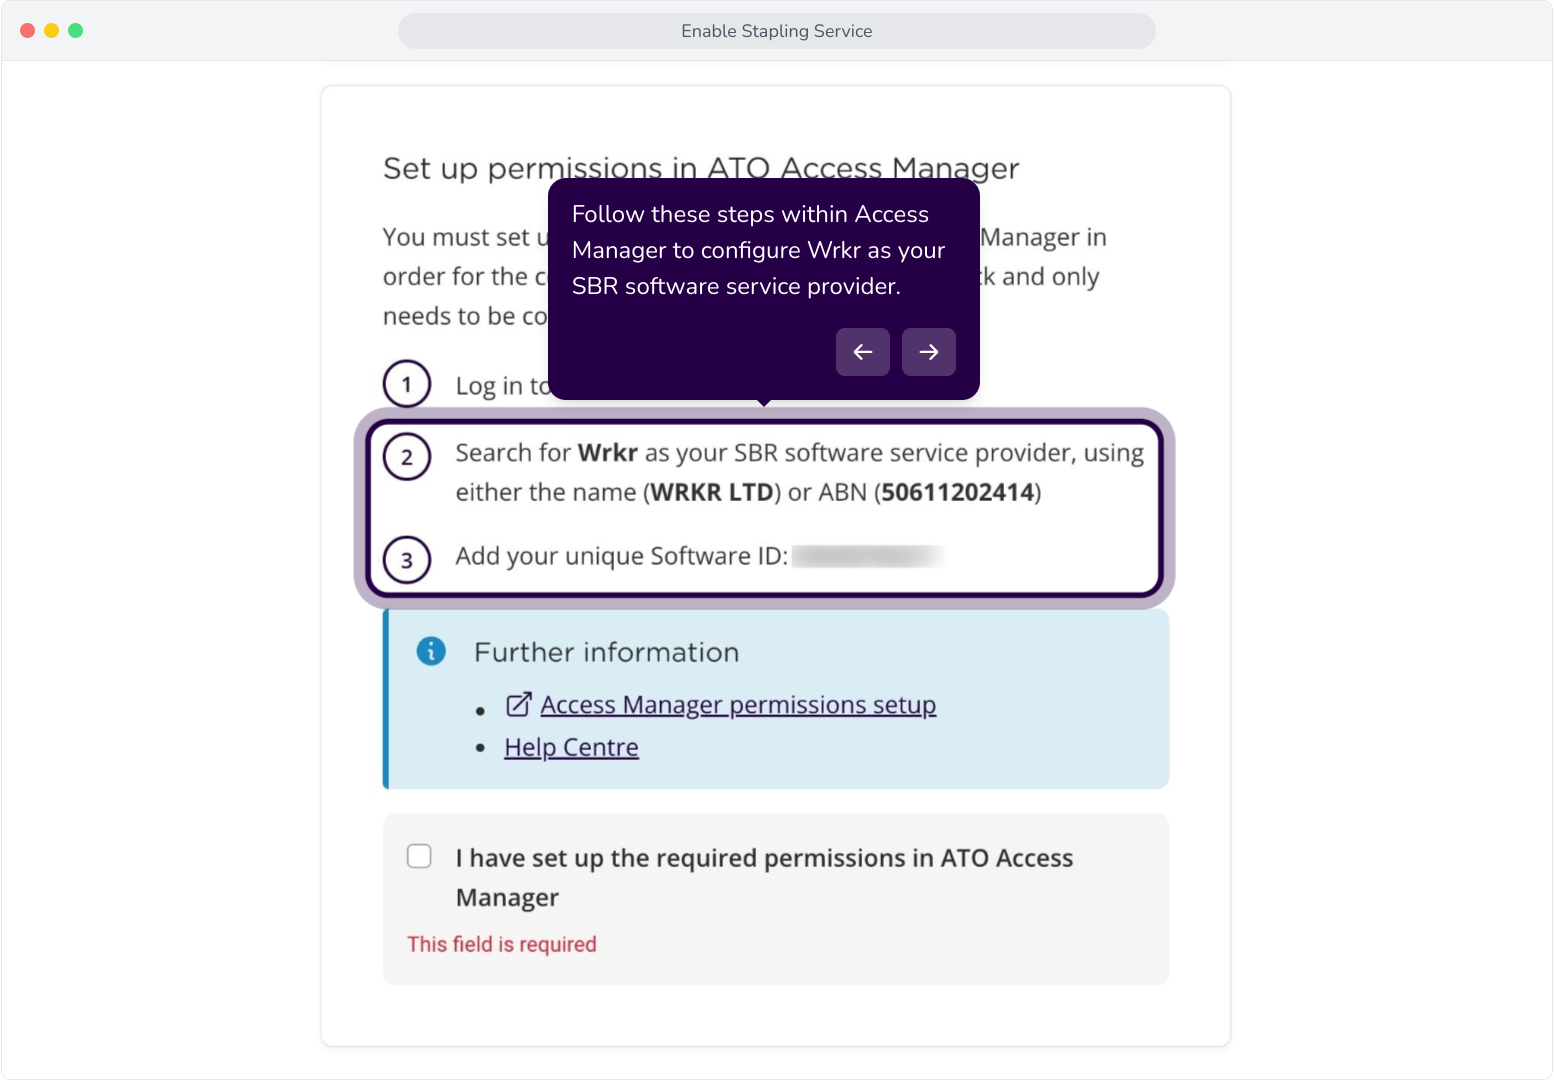
10. Note: You will be provided with a unique Software ID. Make sure to use this when configuring permissions in Access Manager.
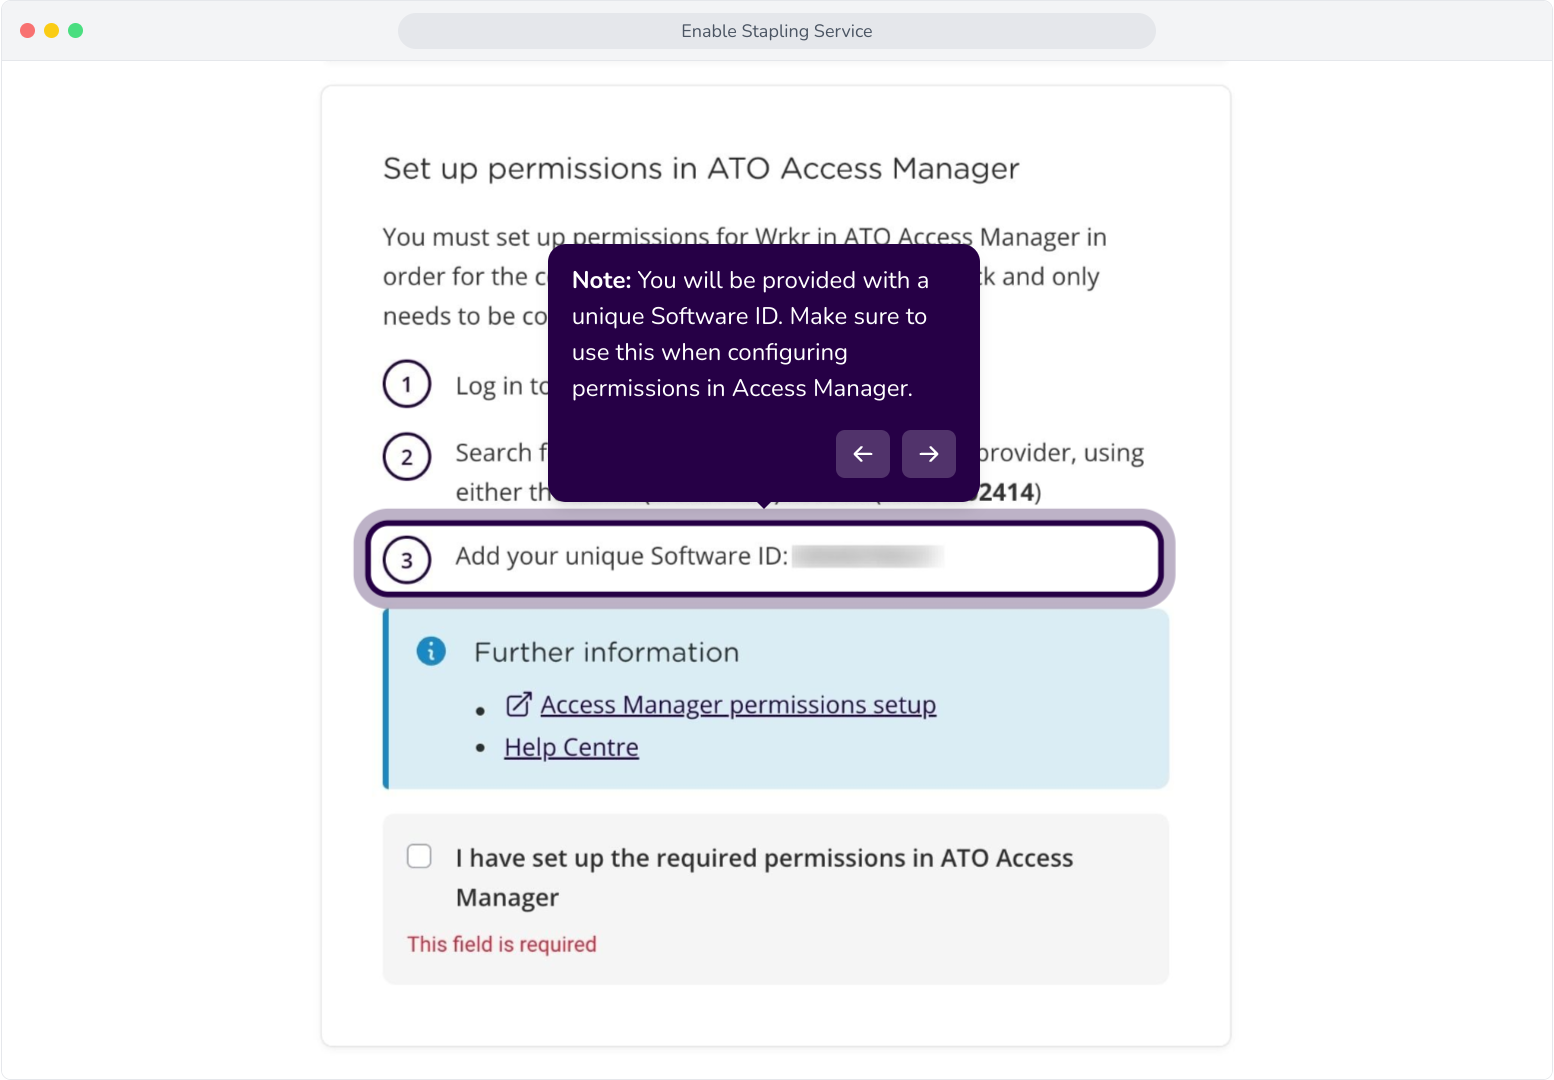
11. Enter the details into Access Manager to configure the appropriate permissions.
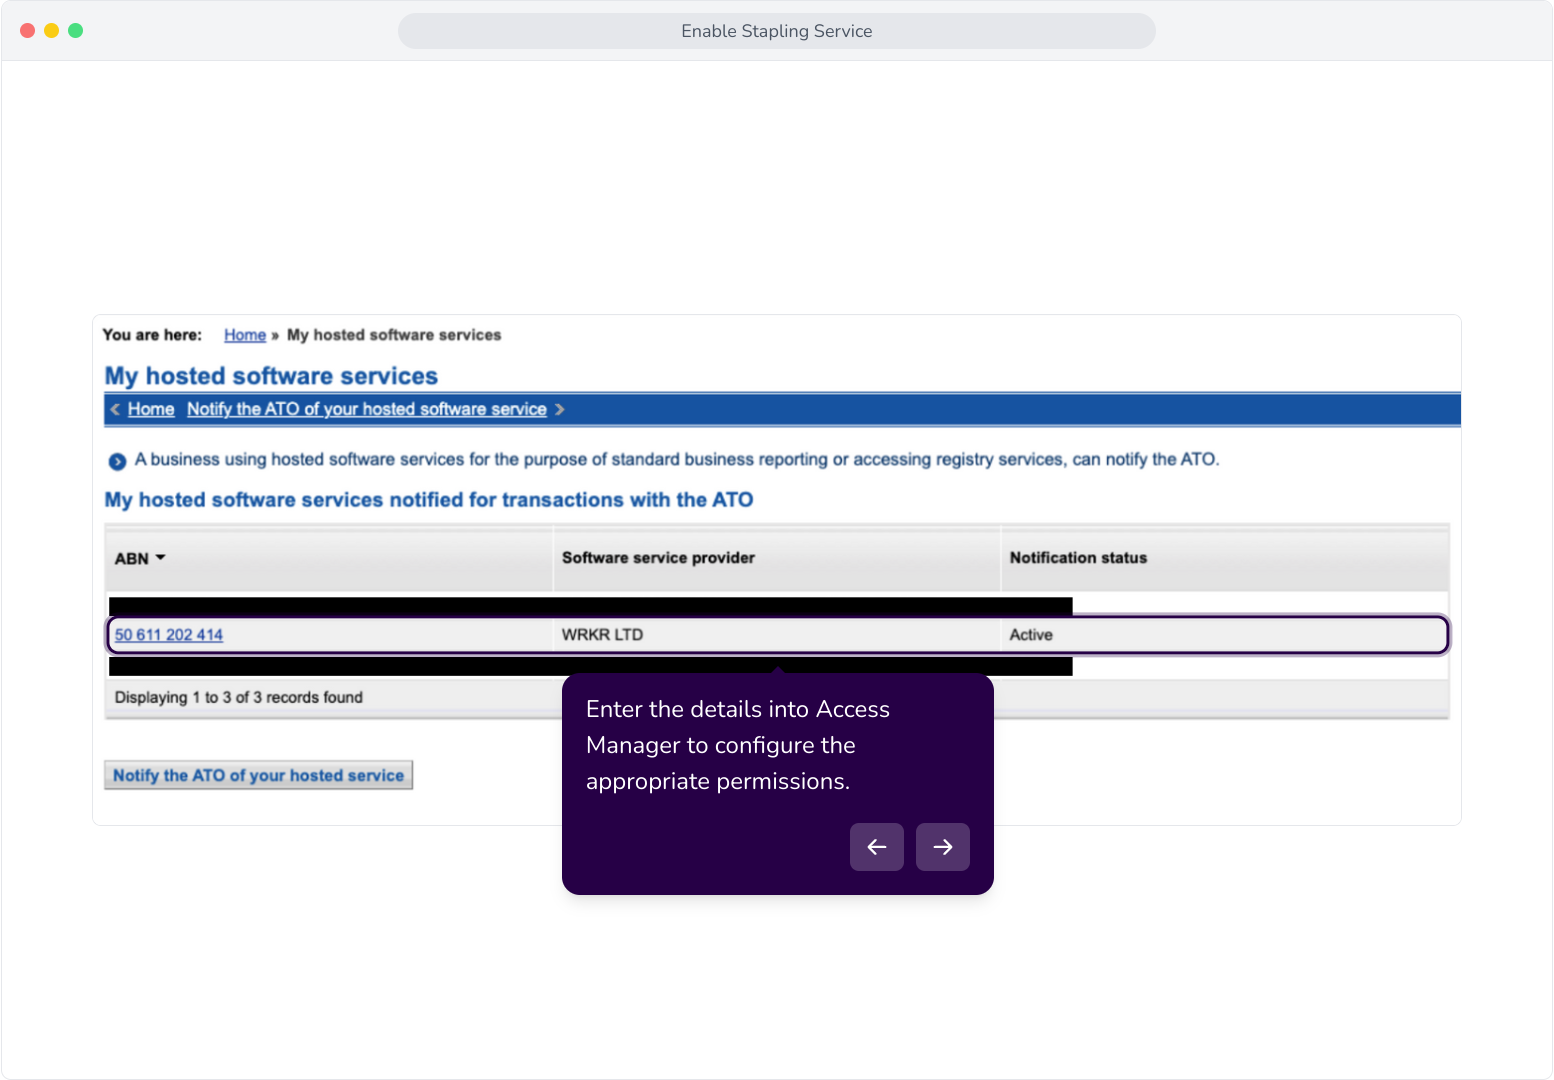
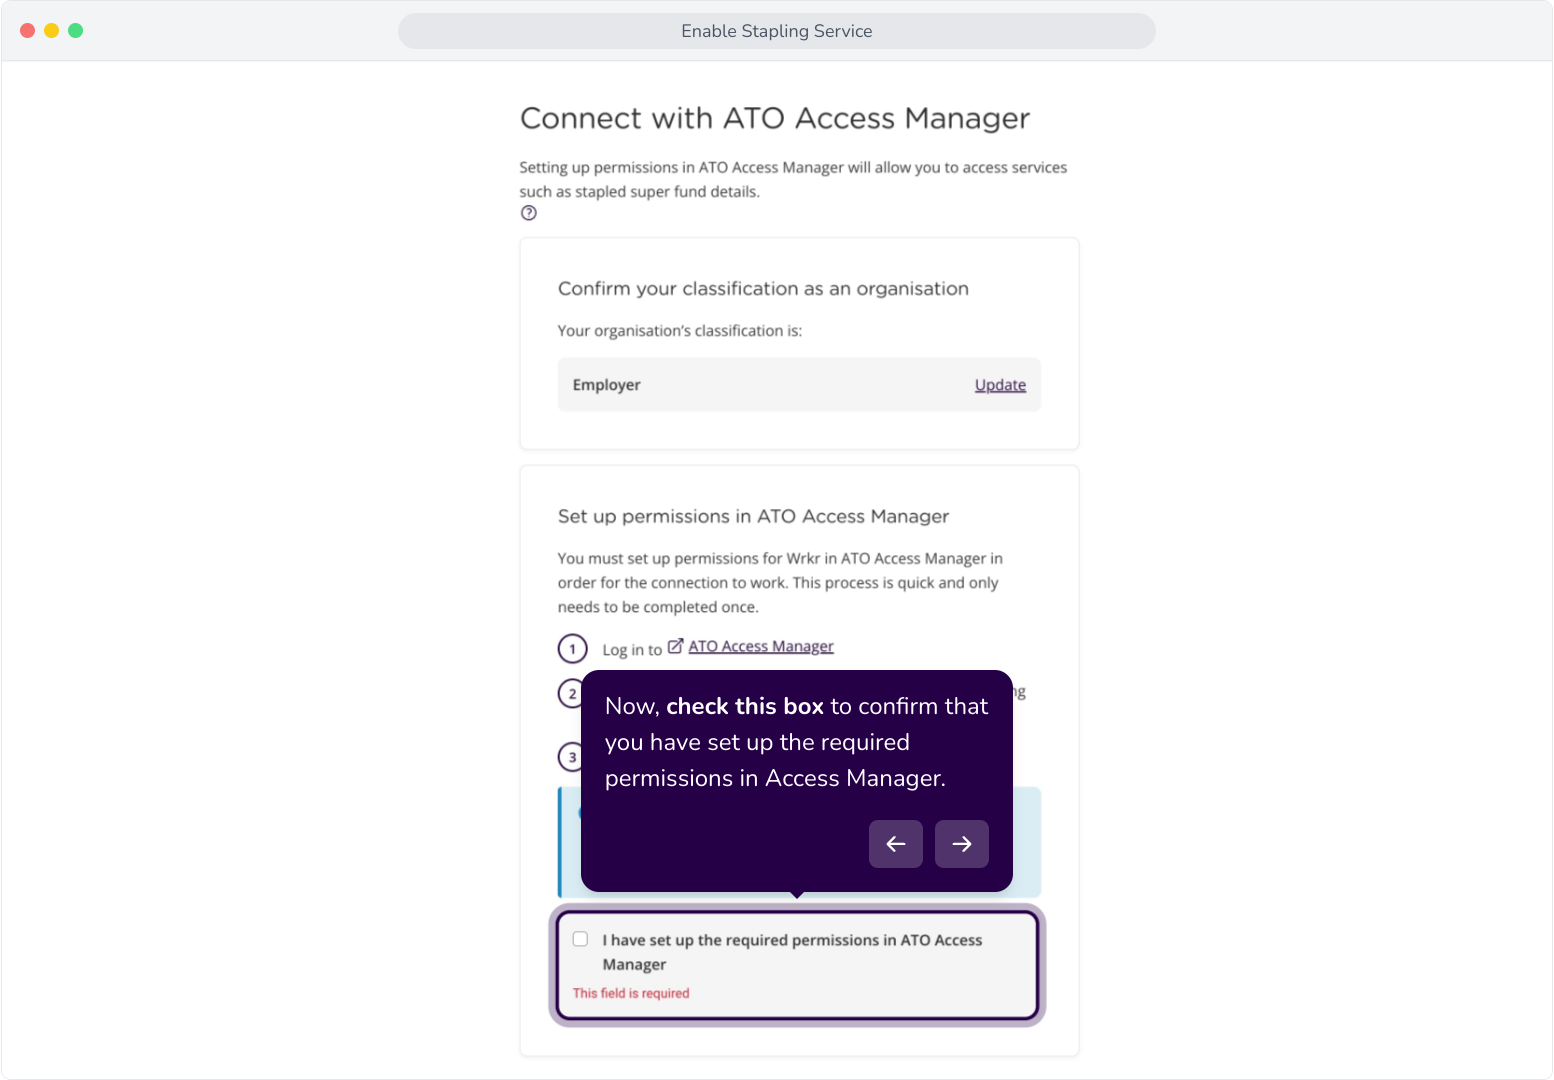
12. Now, check this box to confirm that you have set up the required permissions in Access Manager.
13. Now, click Done.
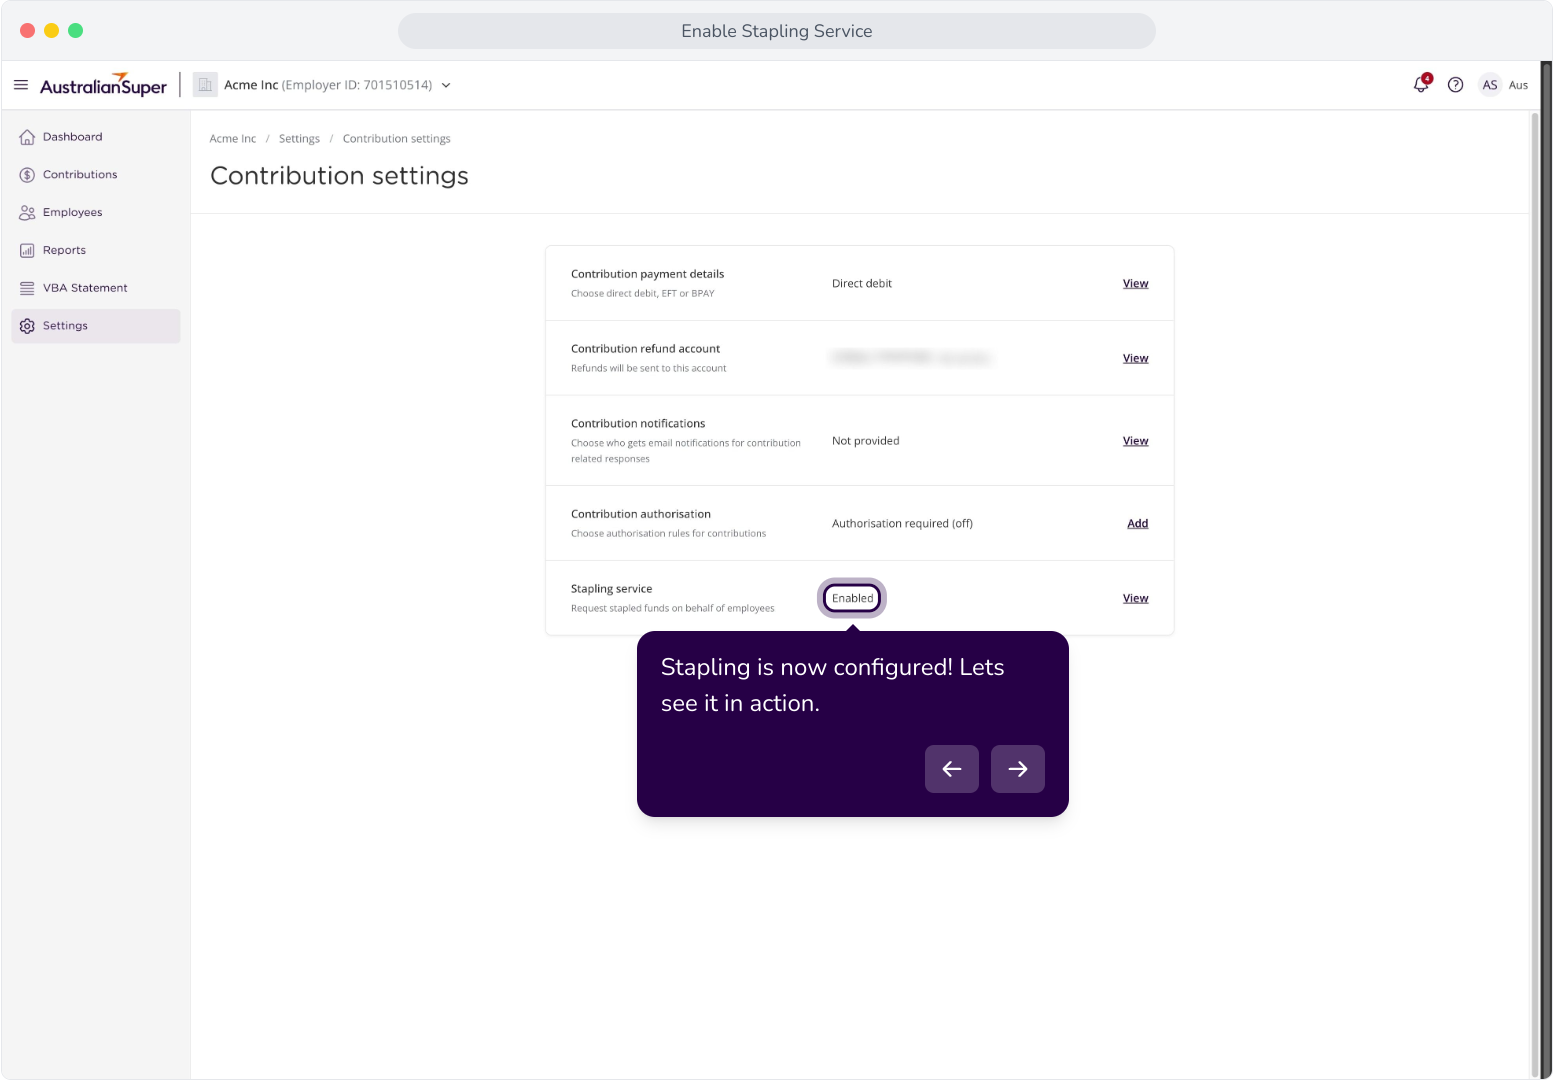
14. Stapling is now configured! Lets see it in action.
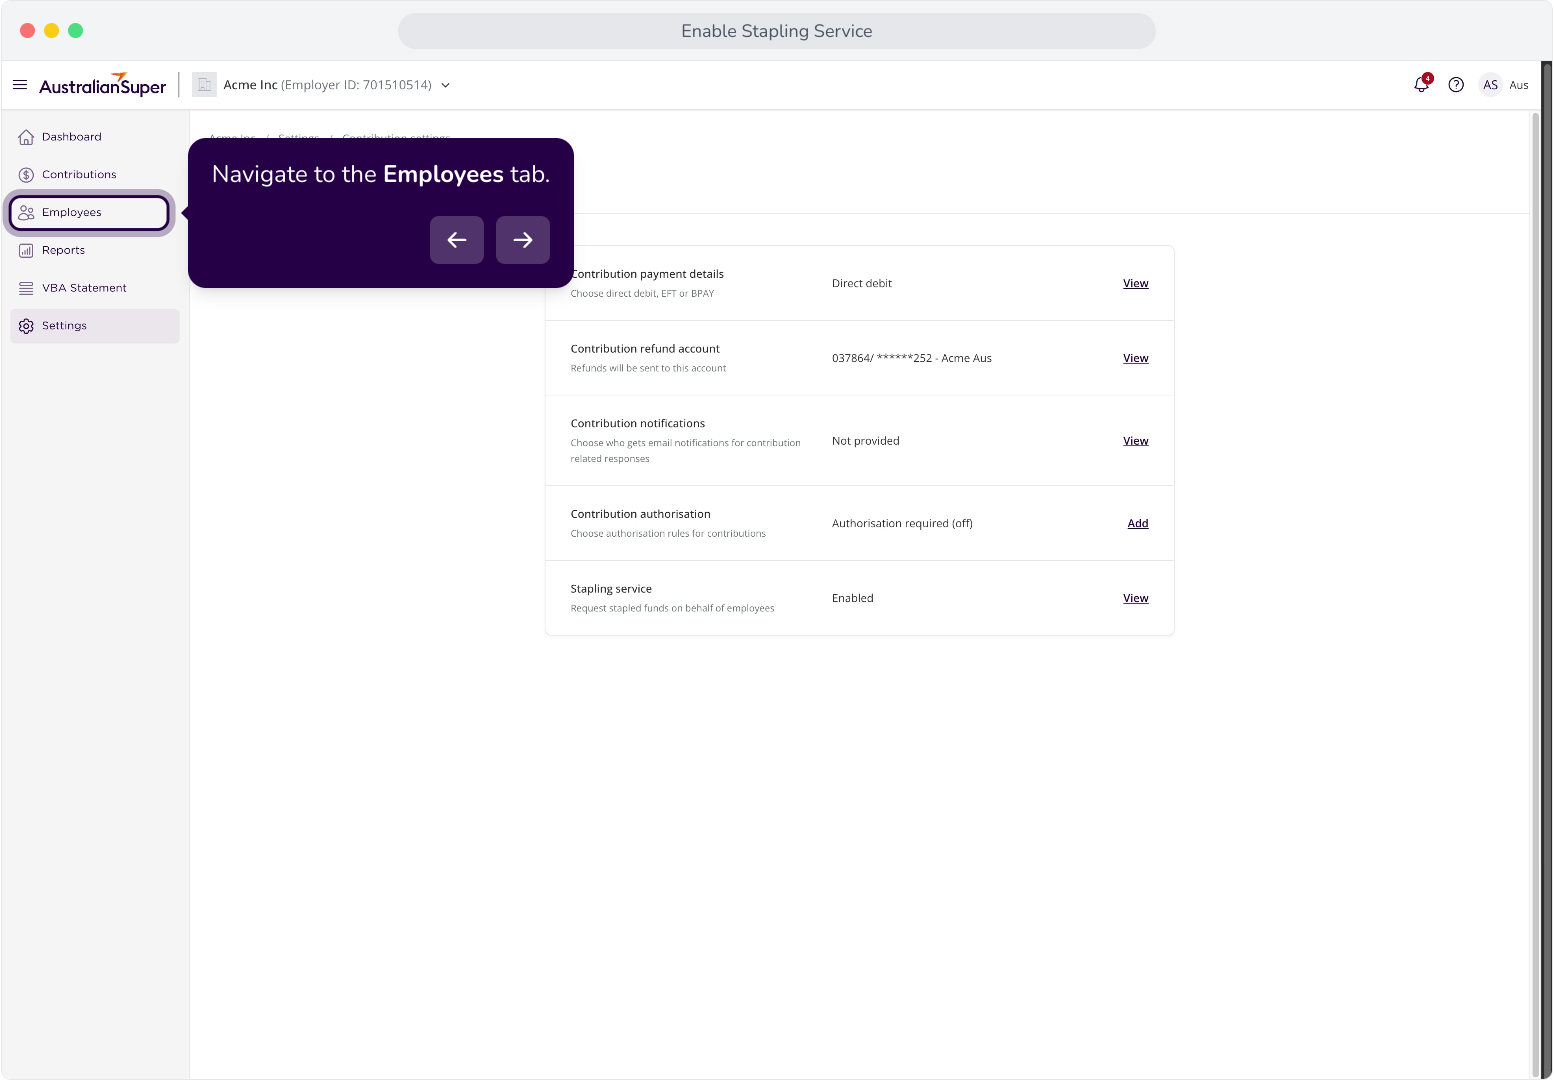
15. Navigate to the Employees tab.
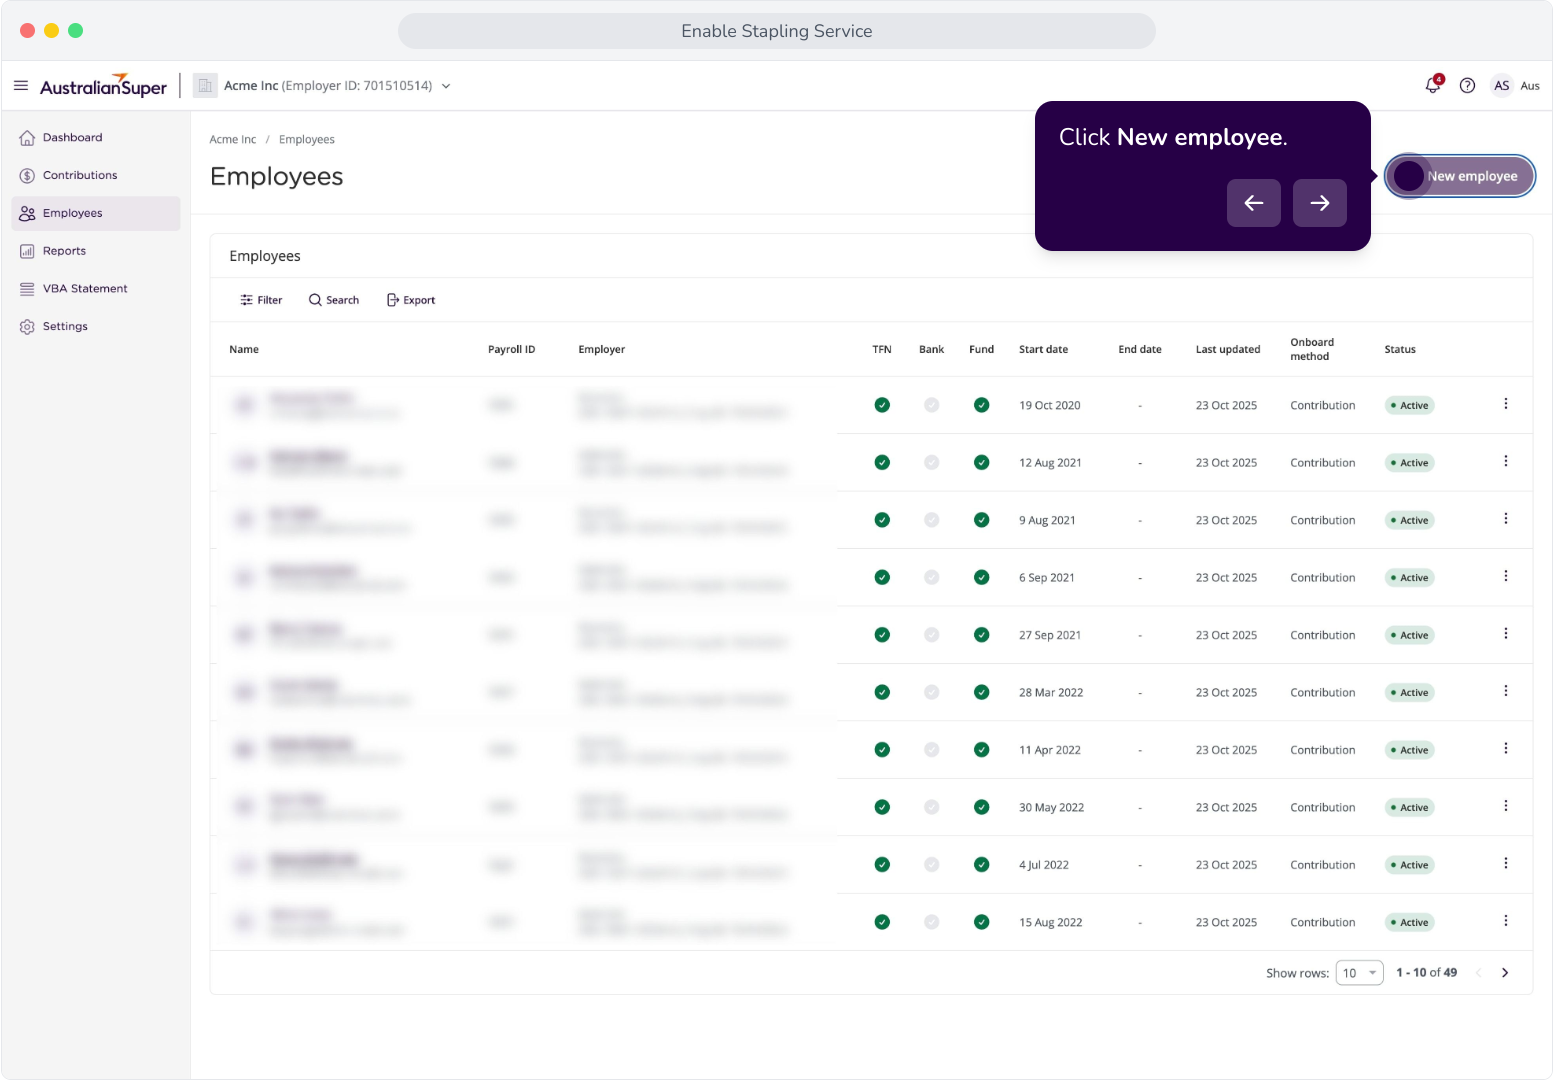
16. Click New employee.
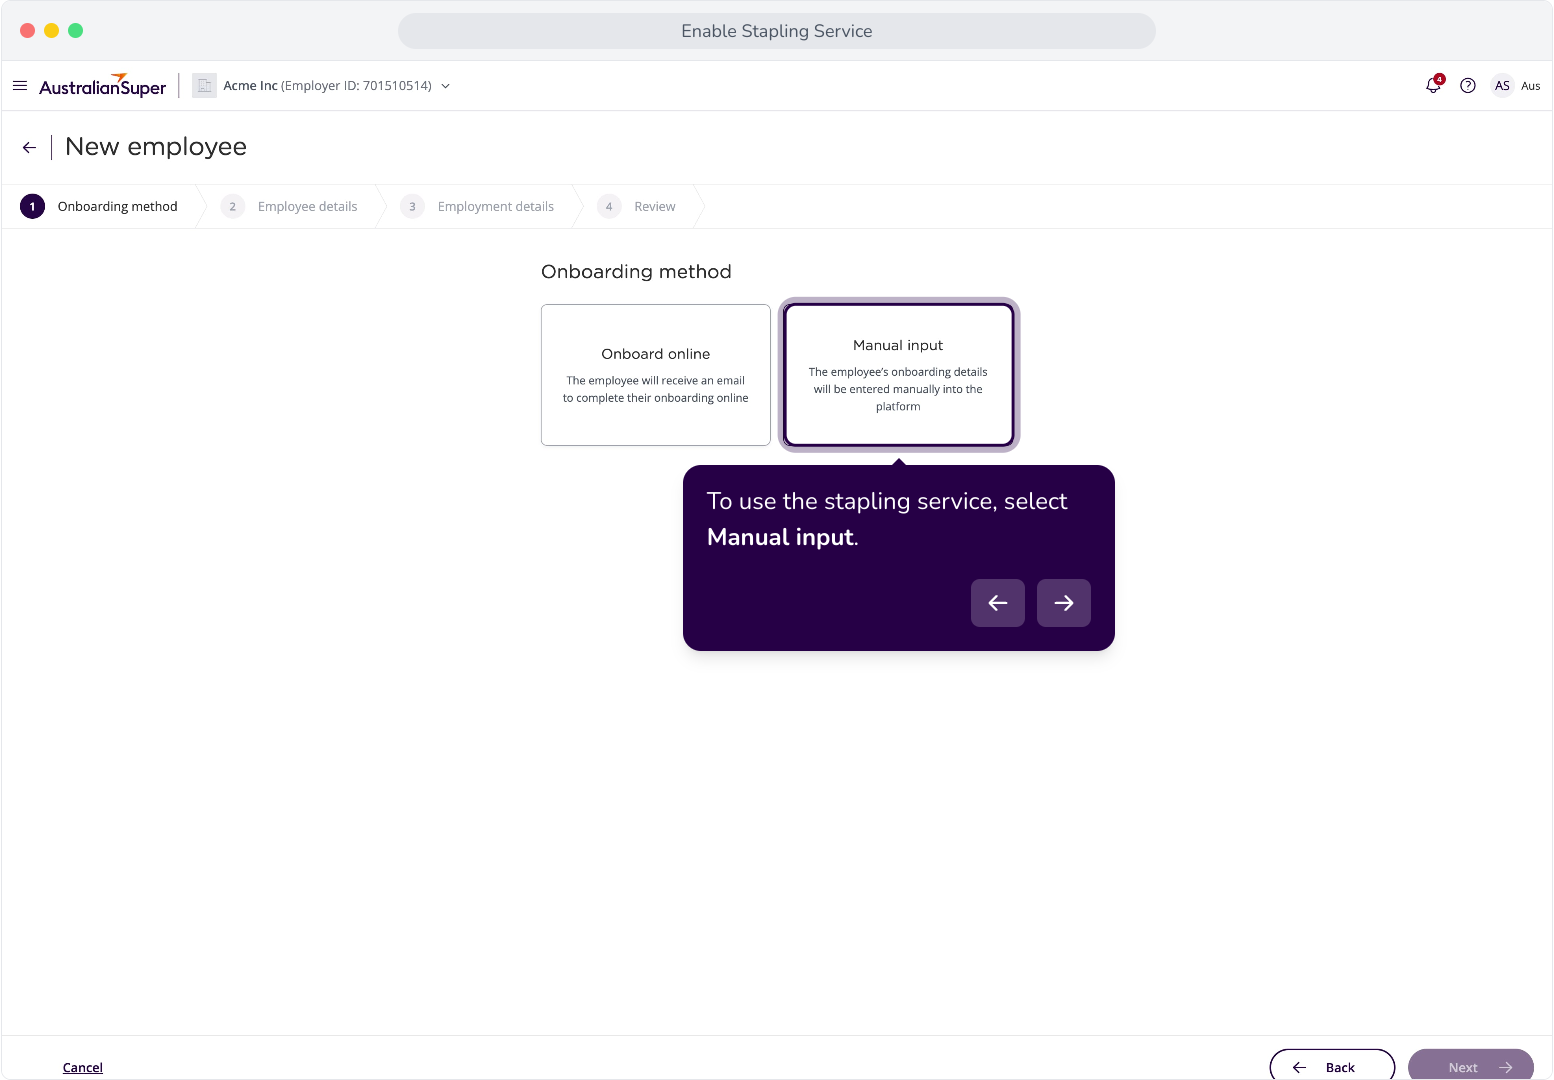
17. To use the stapling service, select Manual input.
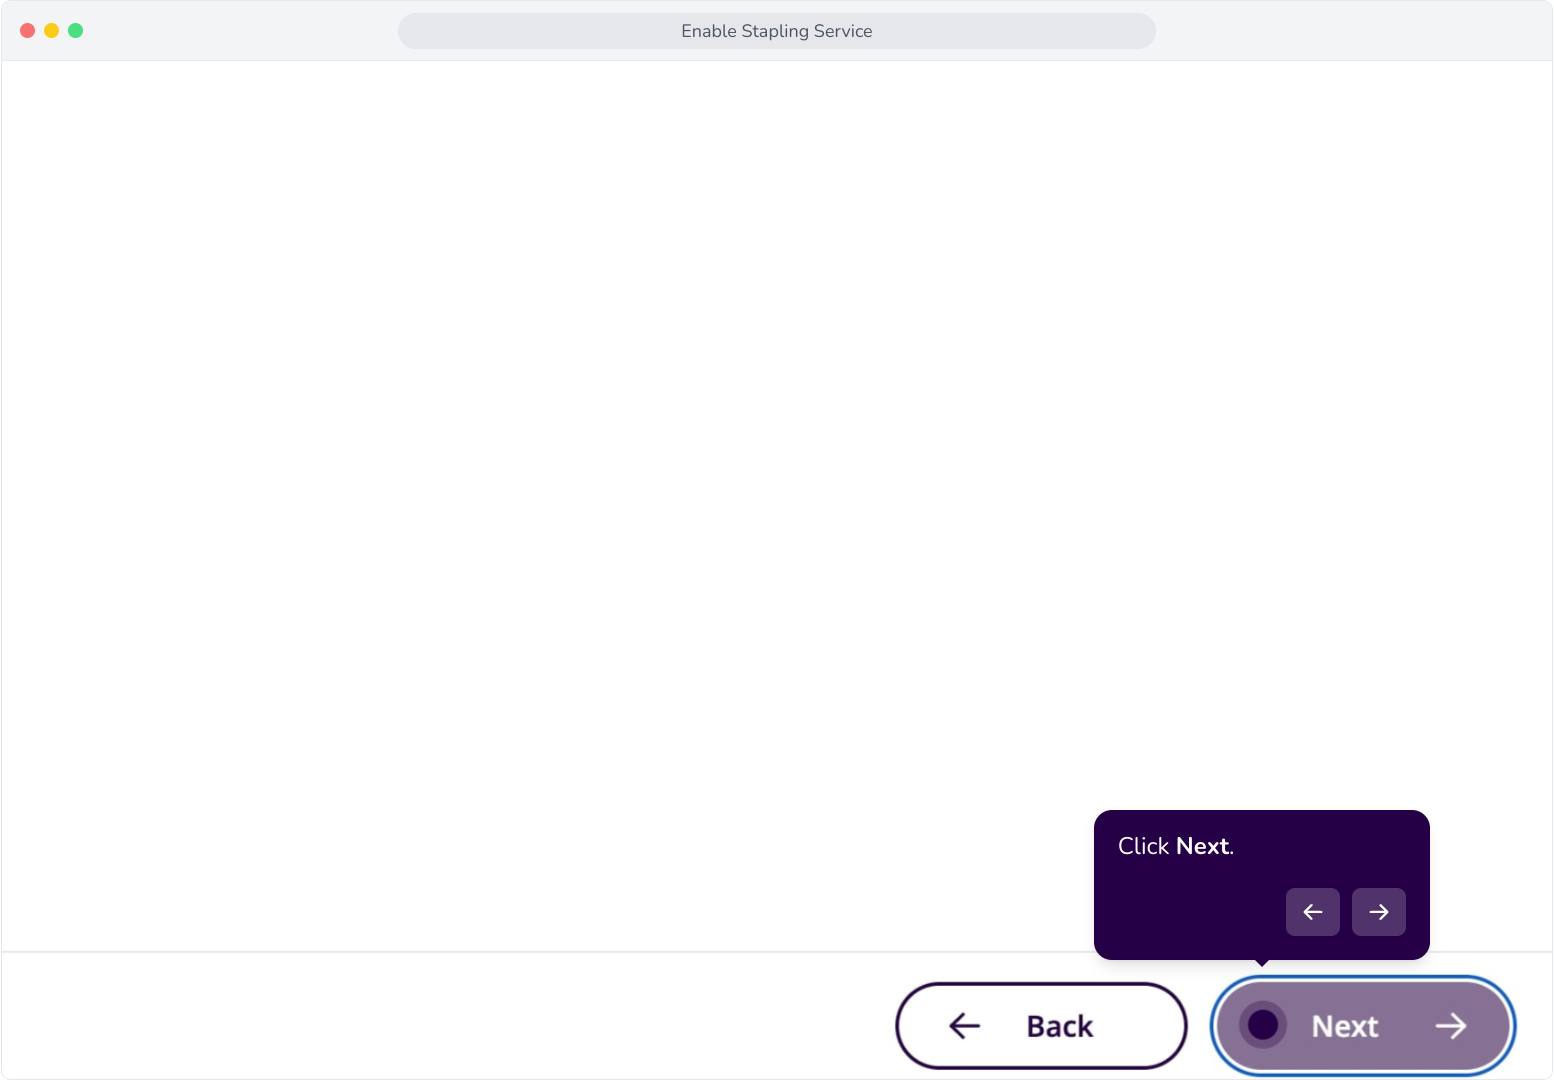
18. Click Next.
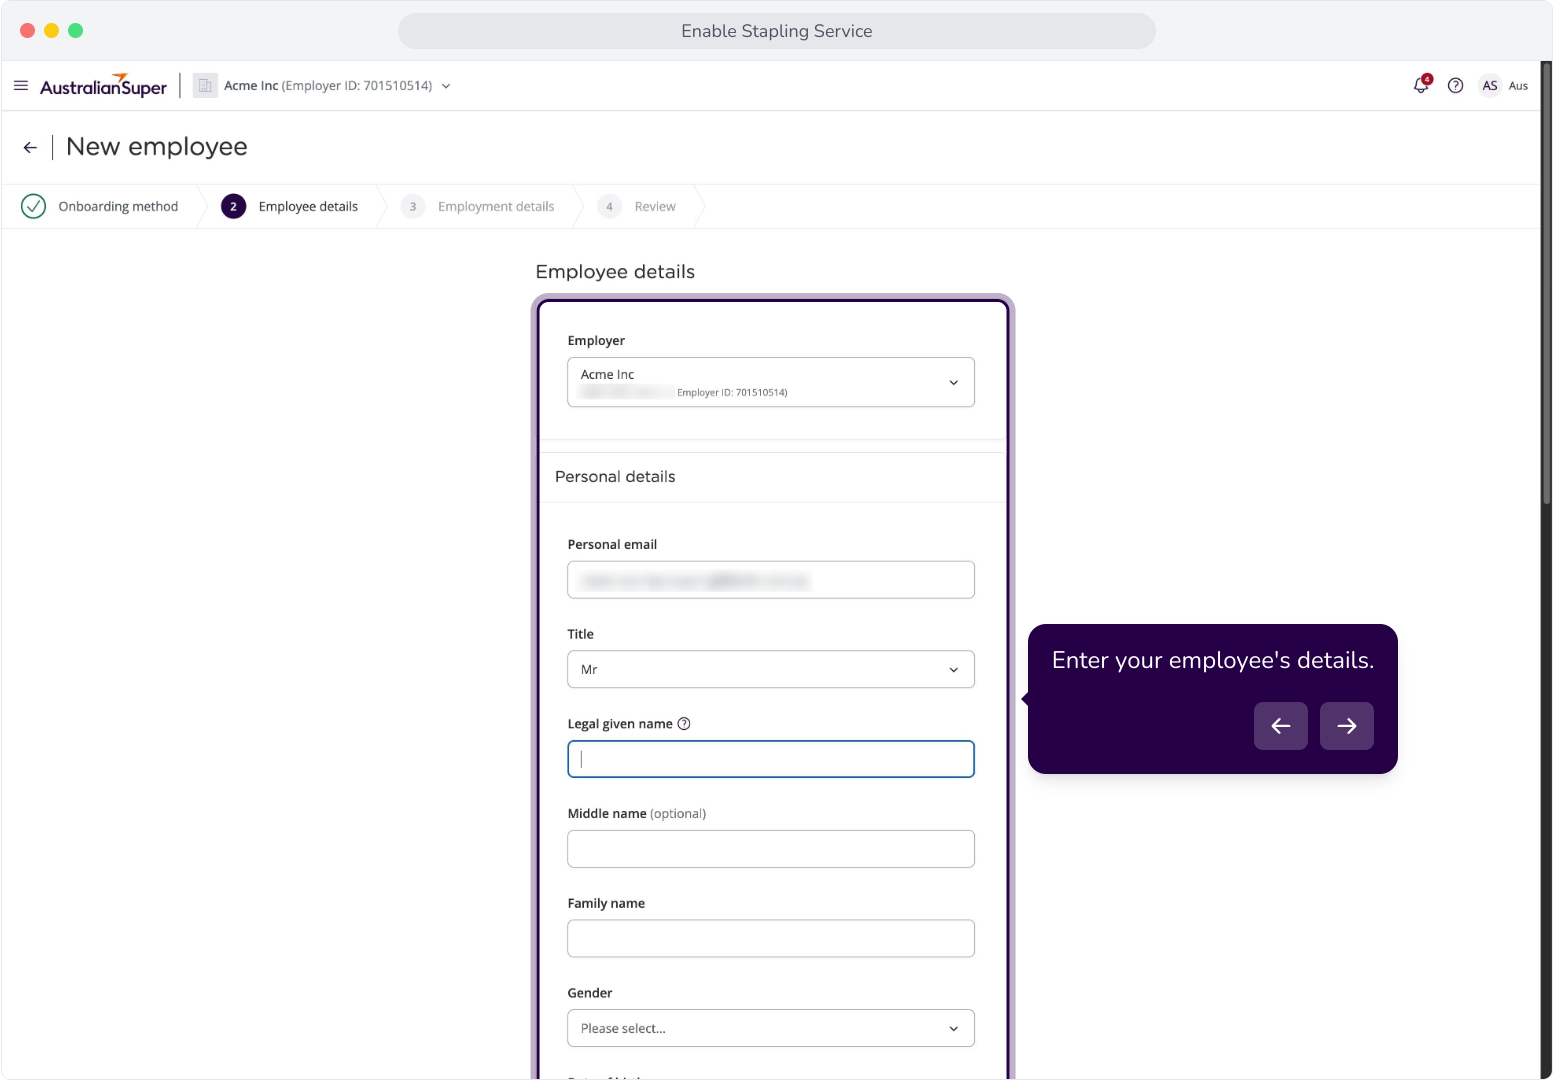
19. Enter your employee's details.
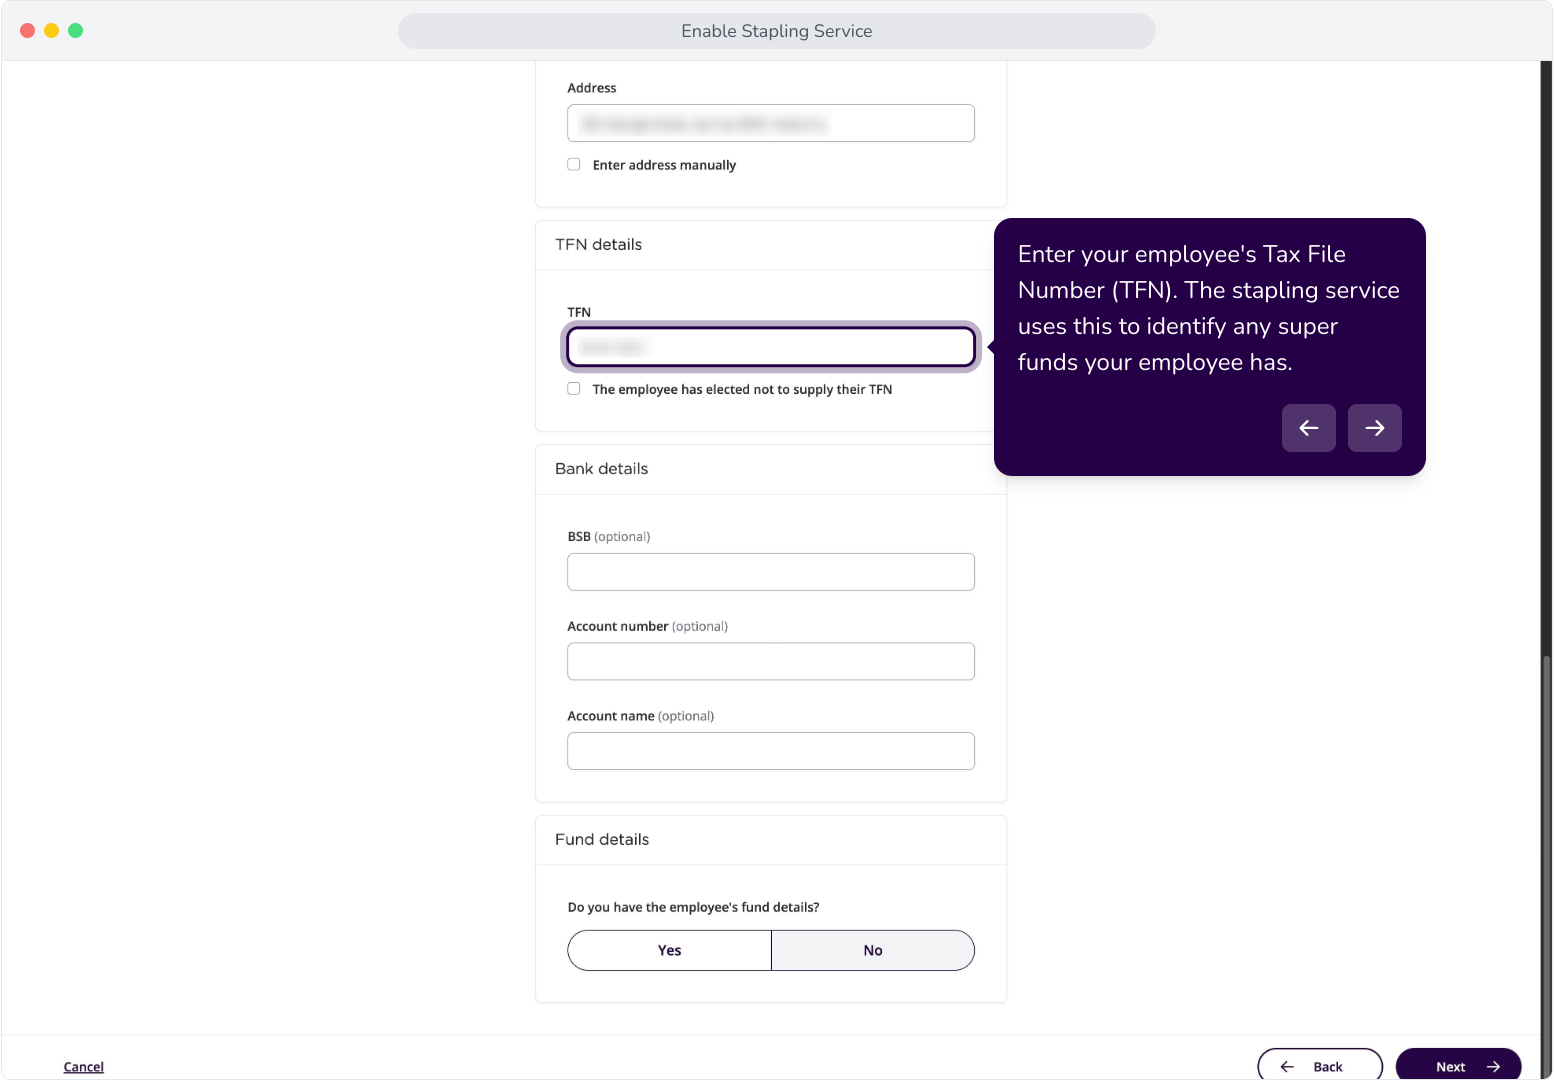
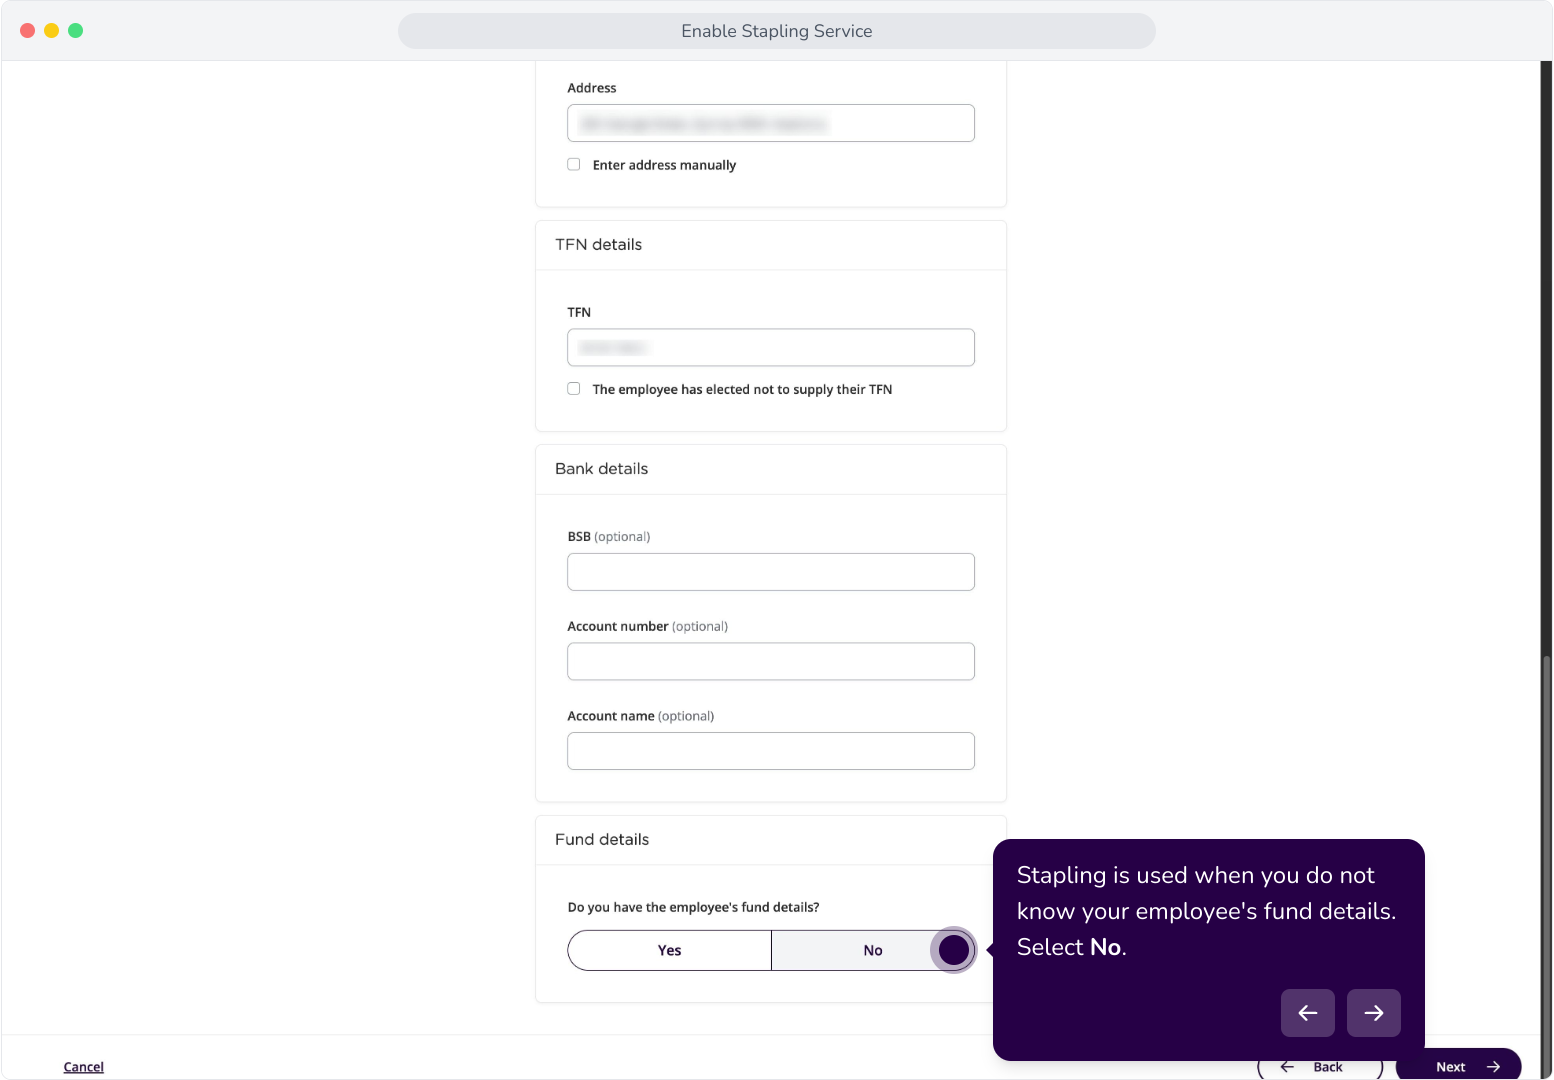
20. Enter your employee's Tax File Number (TFN). The stapling service uses this to identify any super funds your employee has.
21. Stapling is used when you do not know your employee's fund details. Select No.
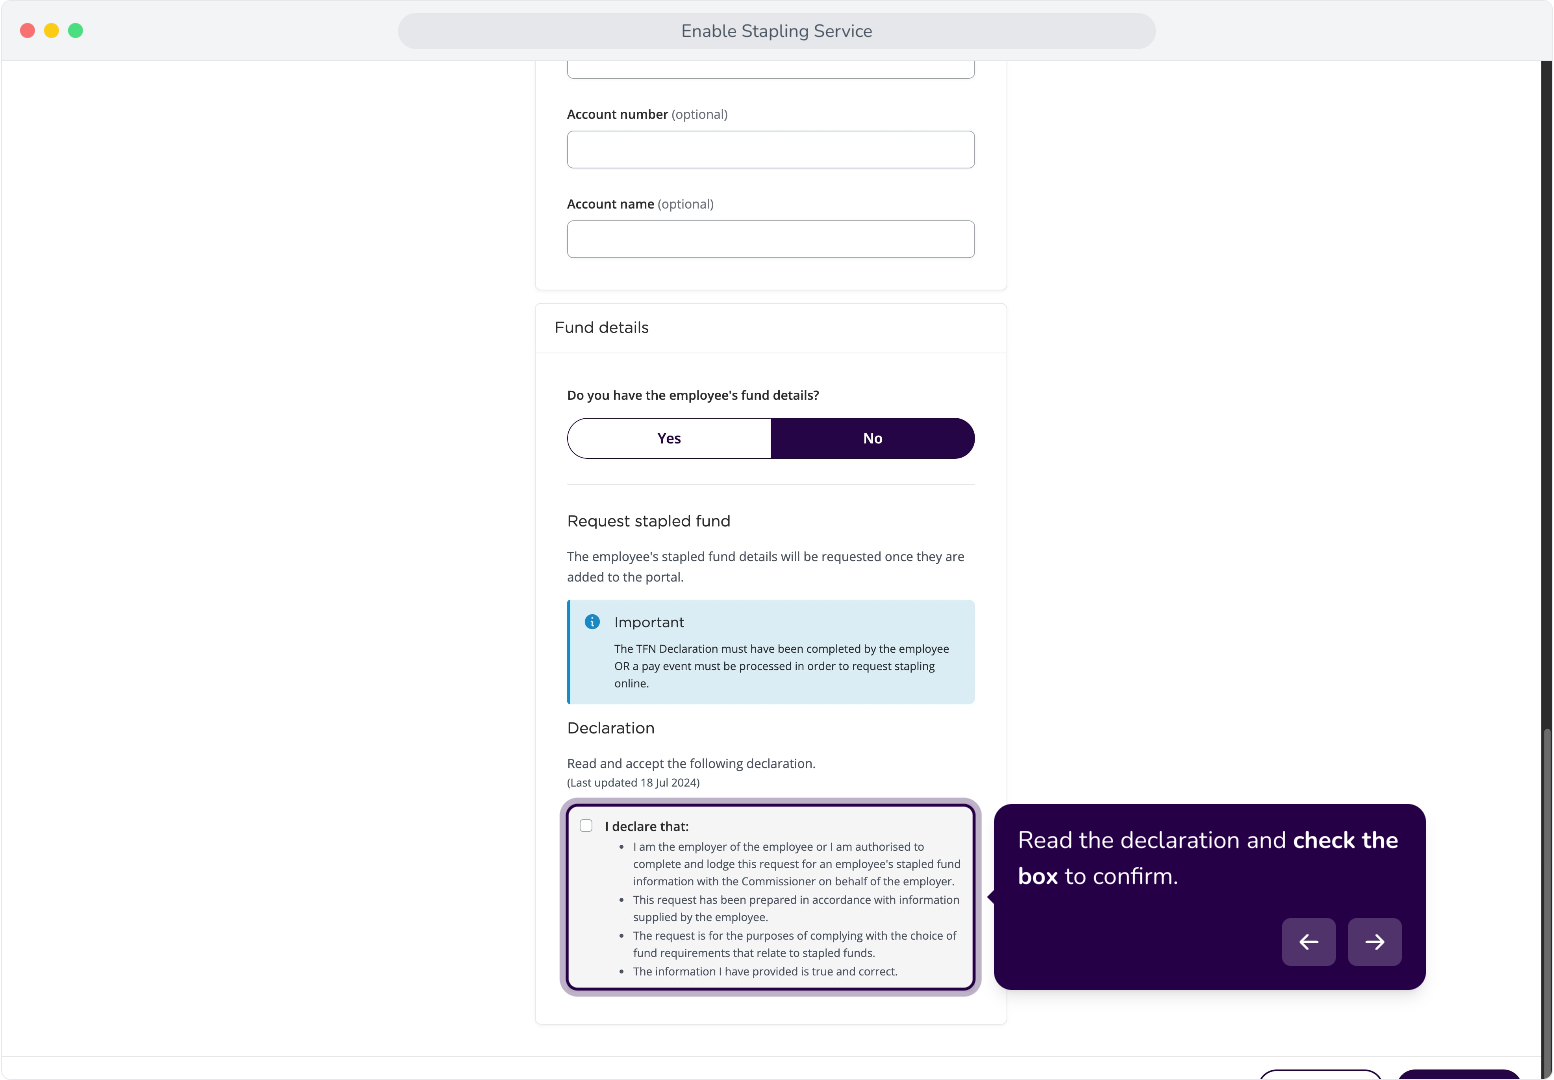
22. Read the declaration and check the box to confirm.
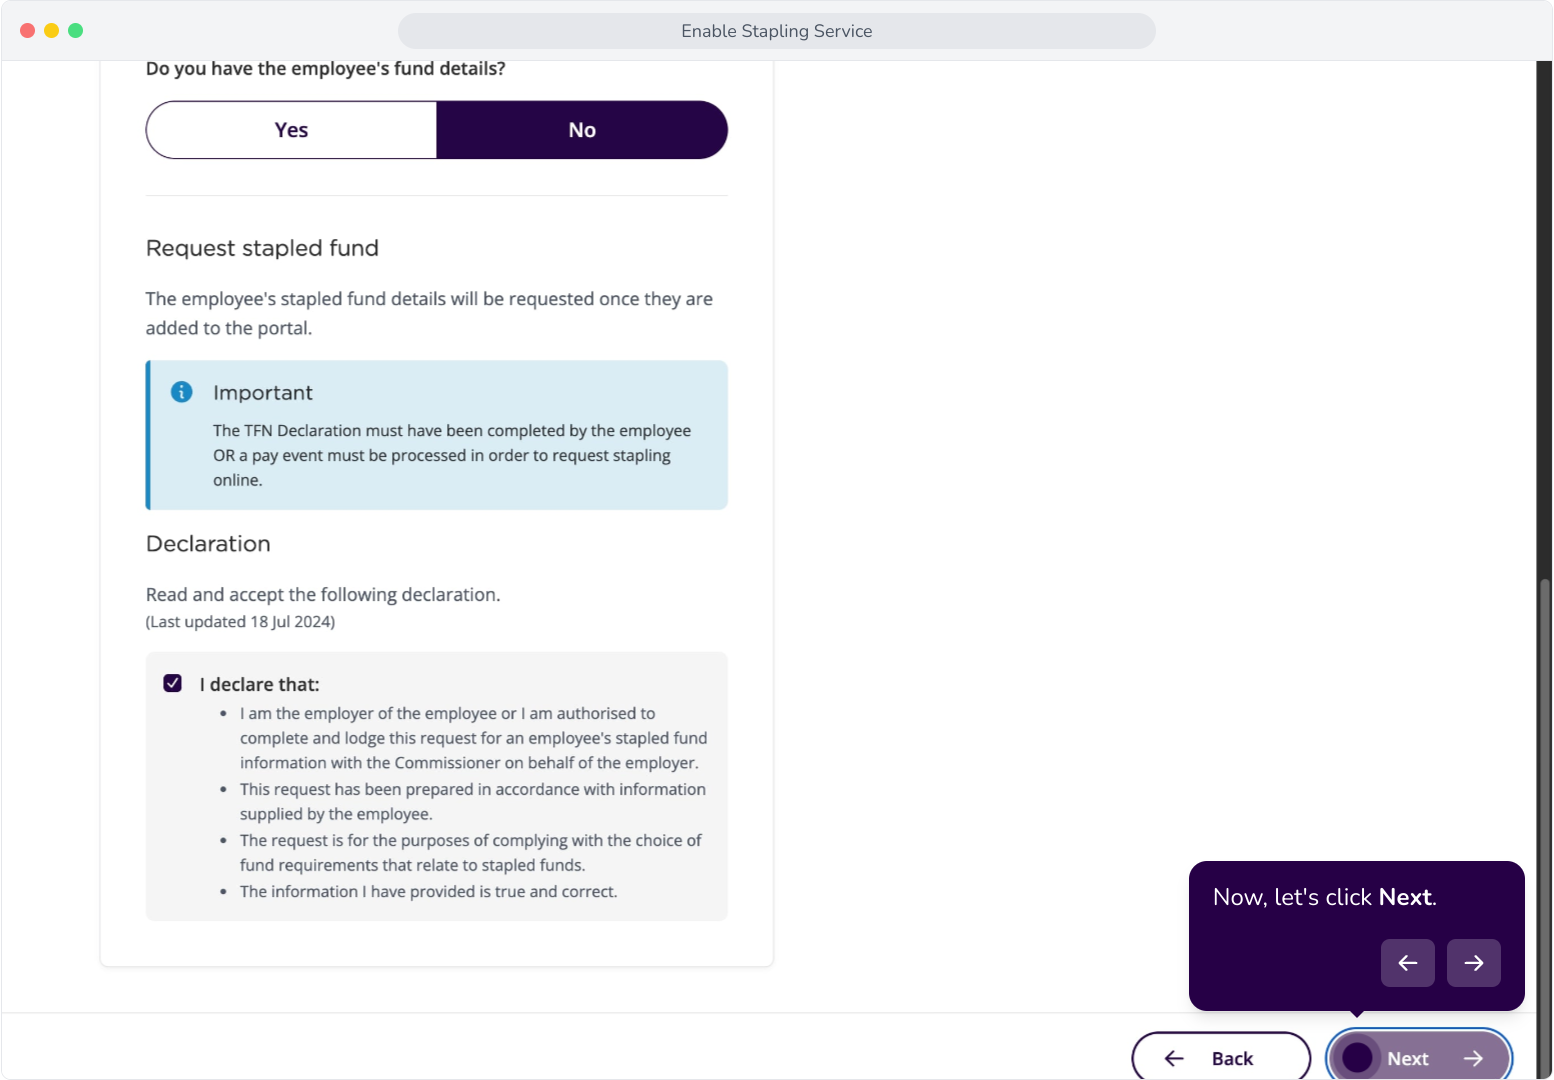
23. Now, let's click Next.
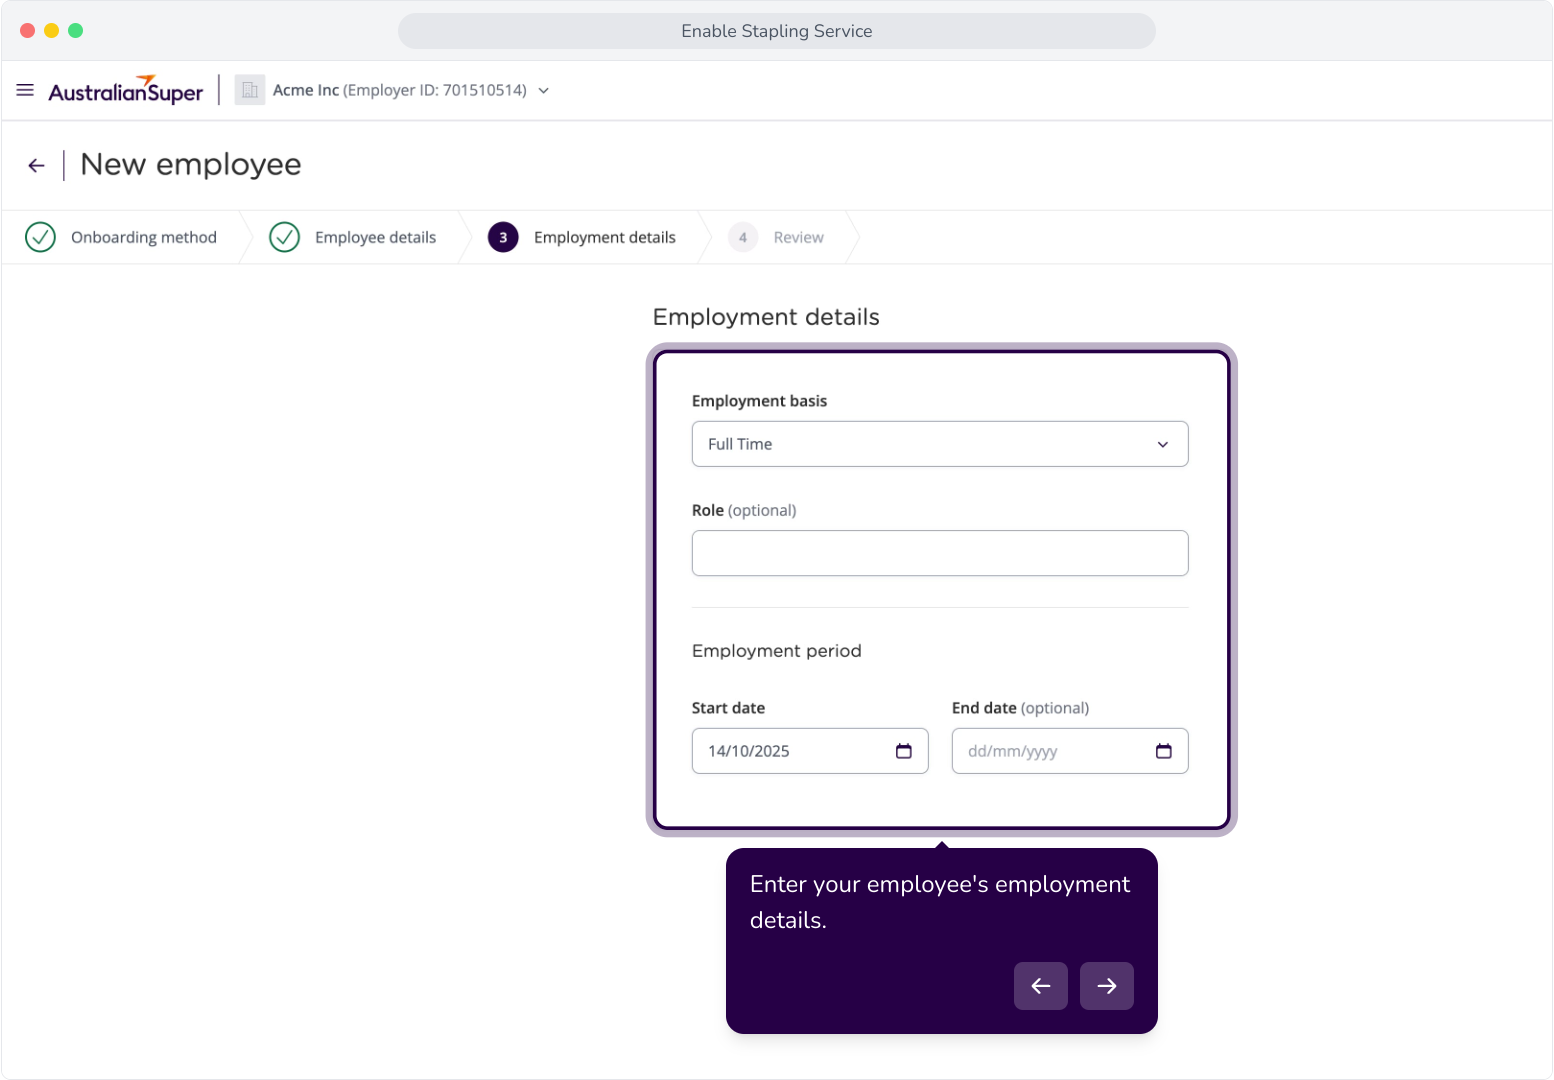
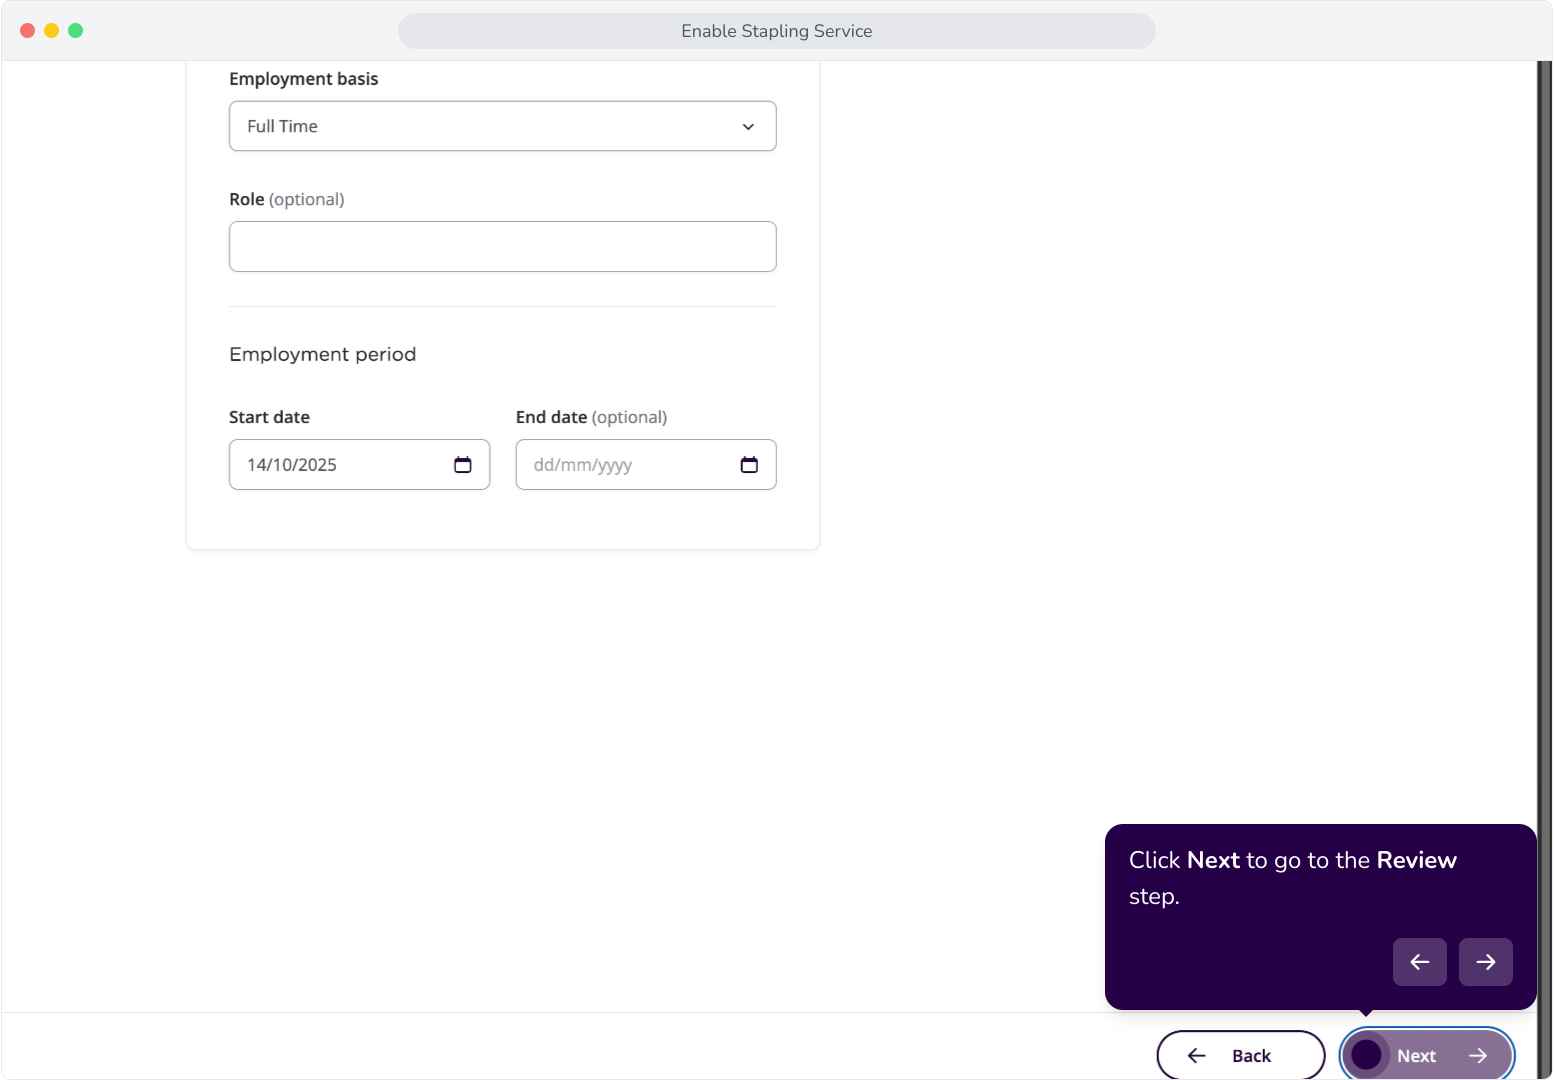
24. Enter your employee's employment details.
25. Click Next to go to the Review step.
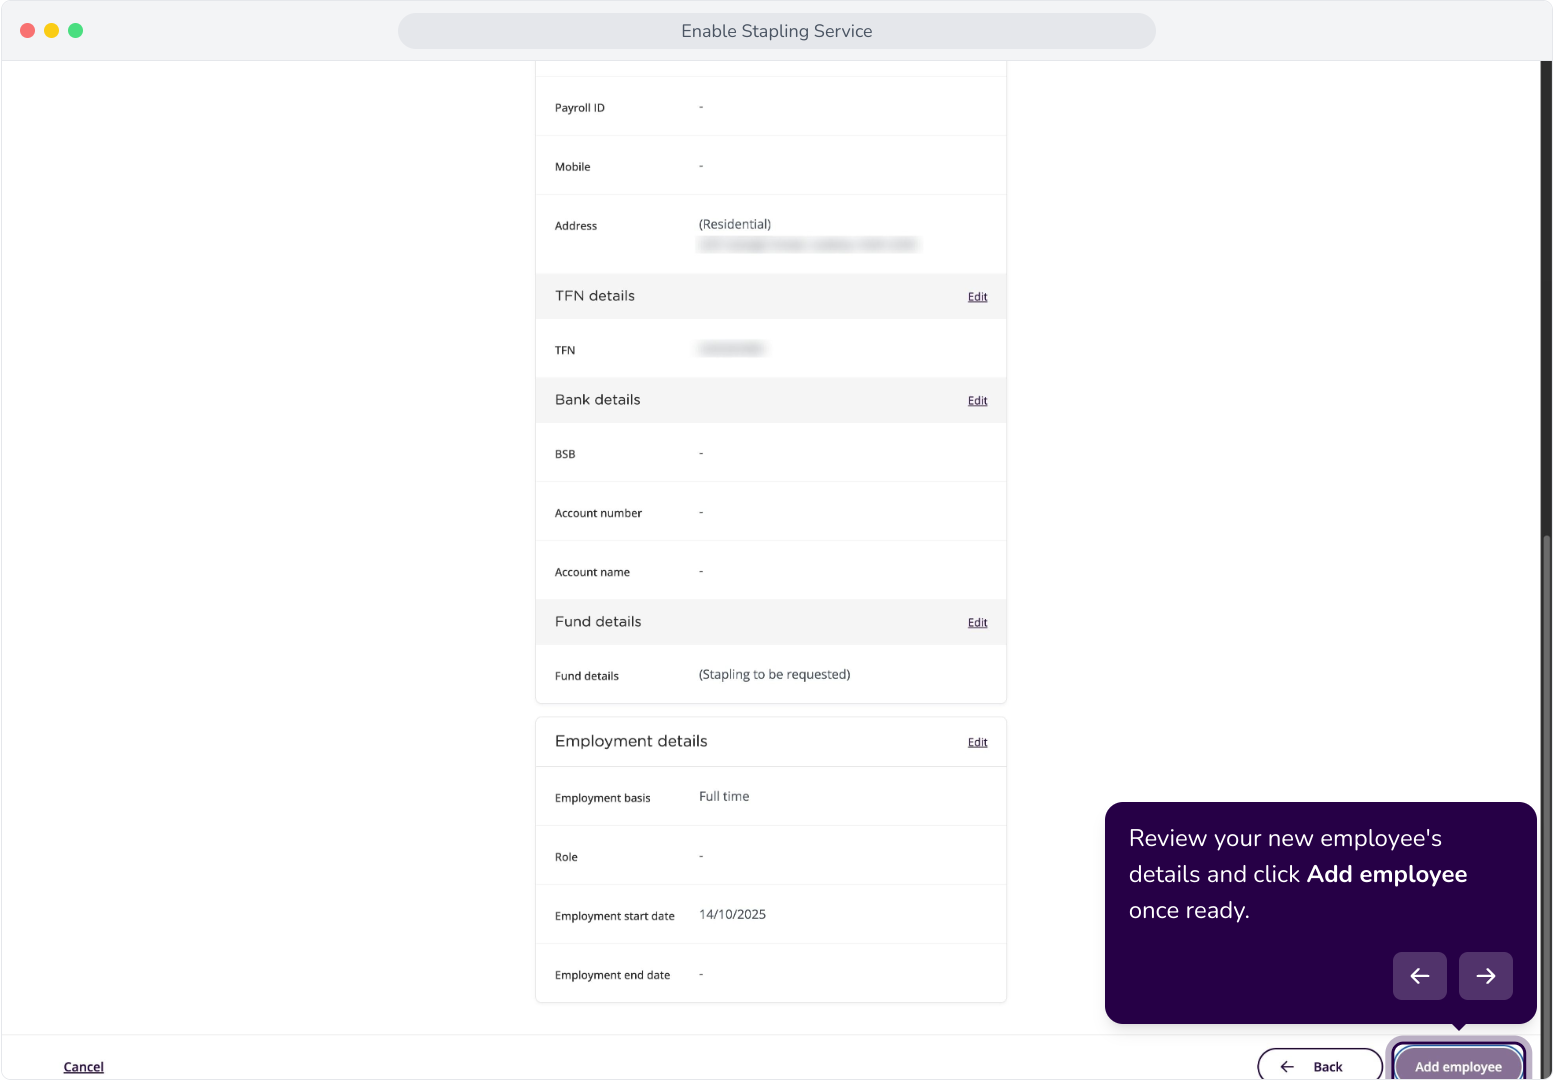
26. Review your new employee's details and click Add employee once ready.
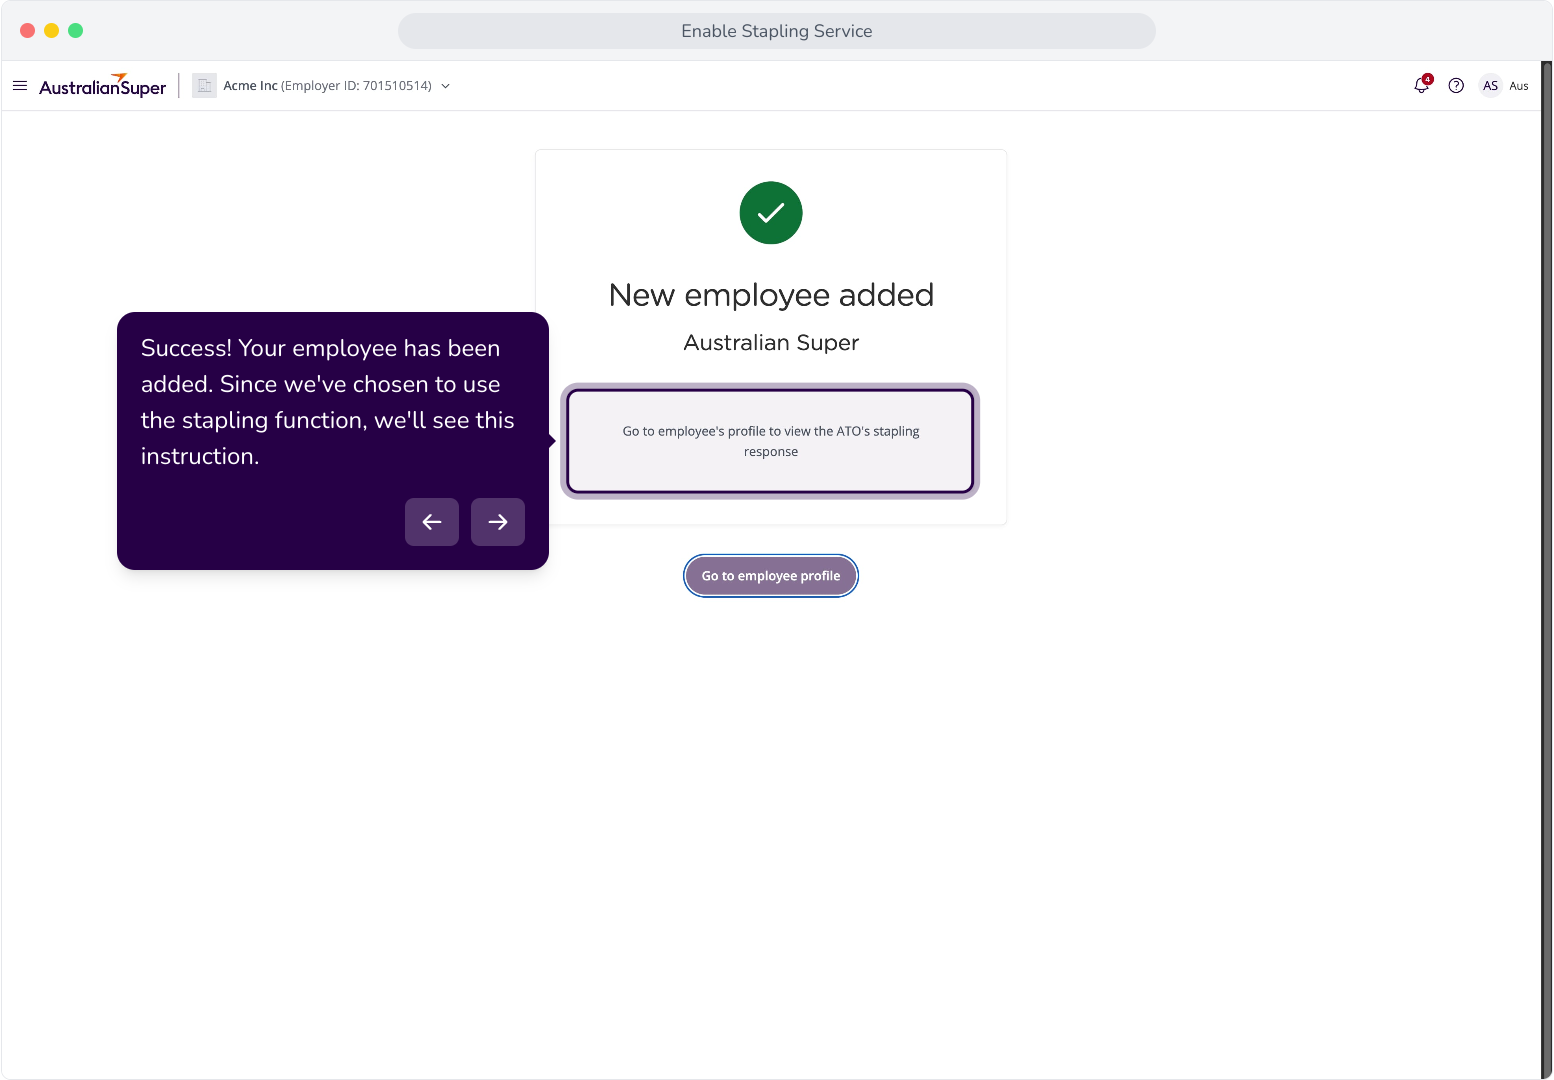
27. Success! Your employee has been added. Since we've chosen to use the stapling function, we'll see this instruction.
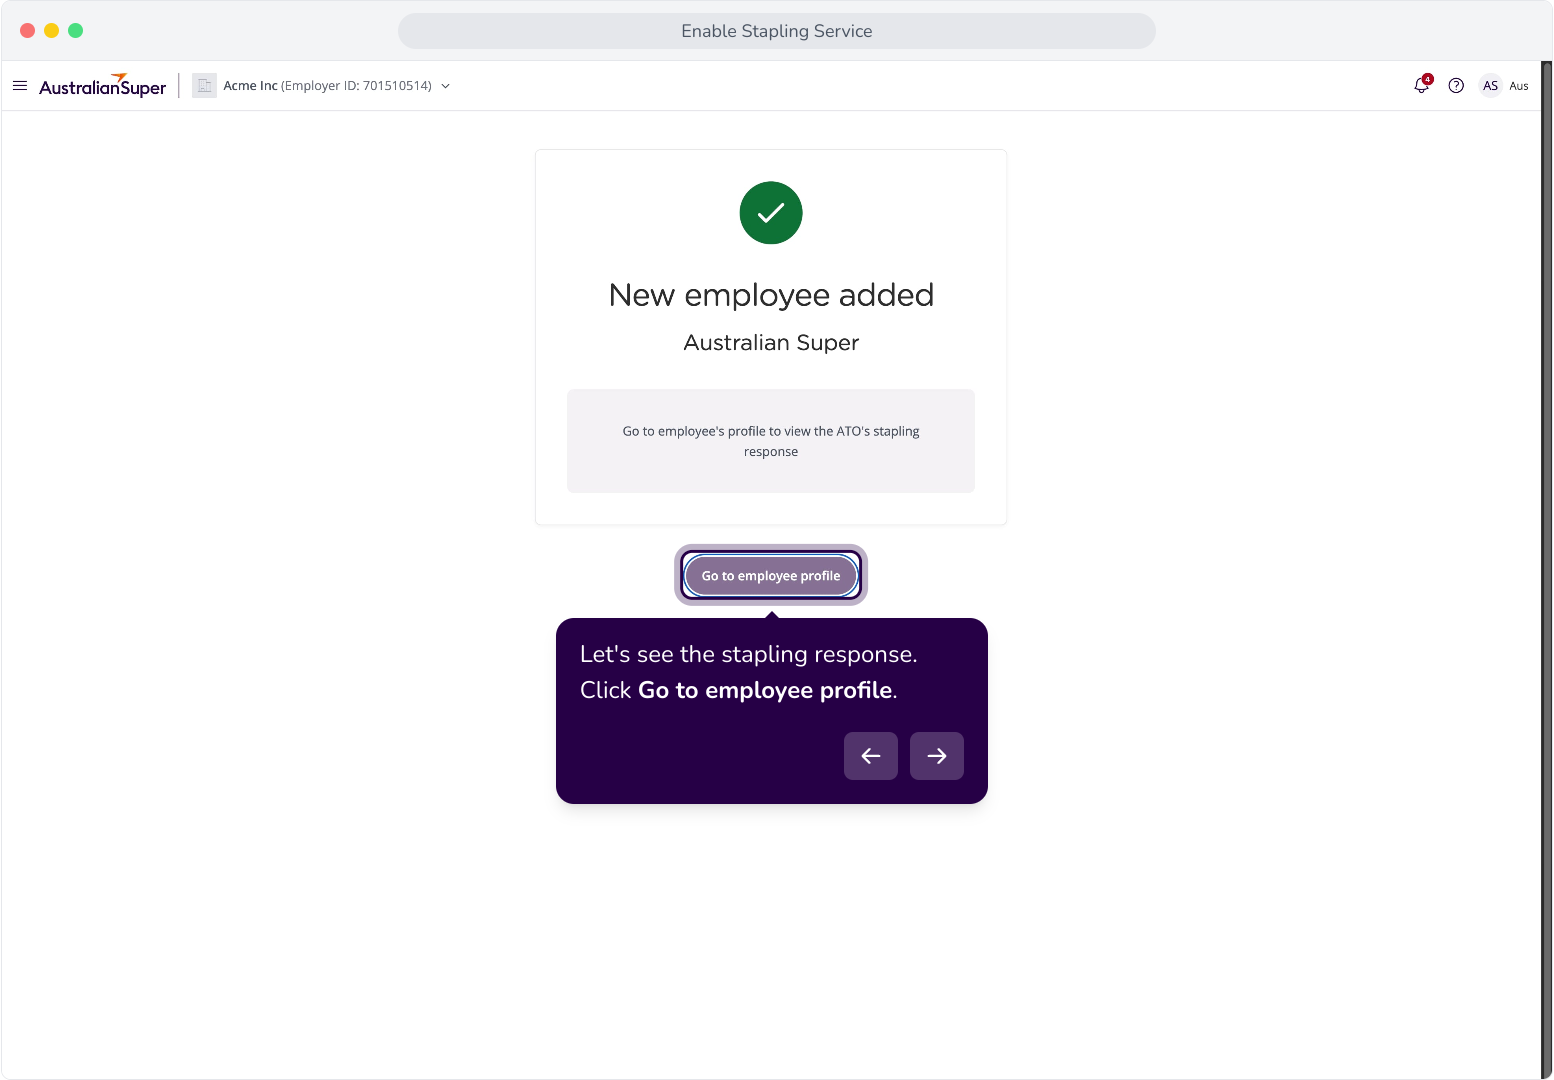
28. Let's see the stapling response. Click Go to employee profile.
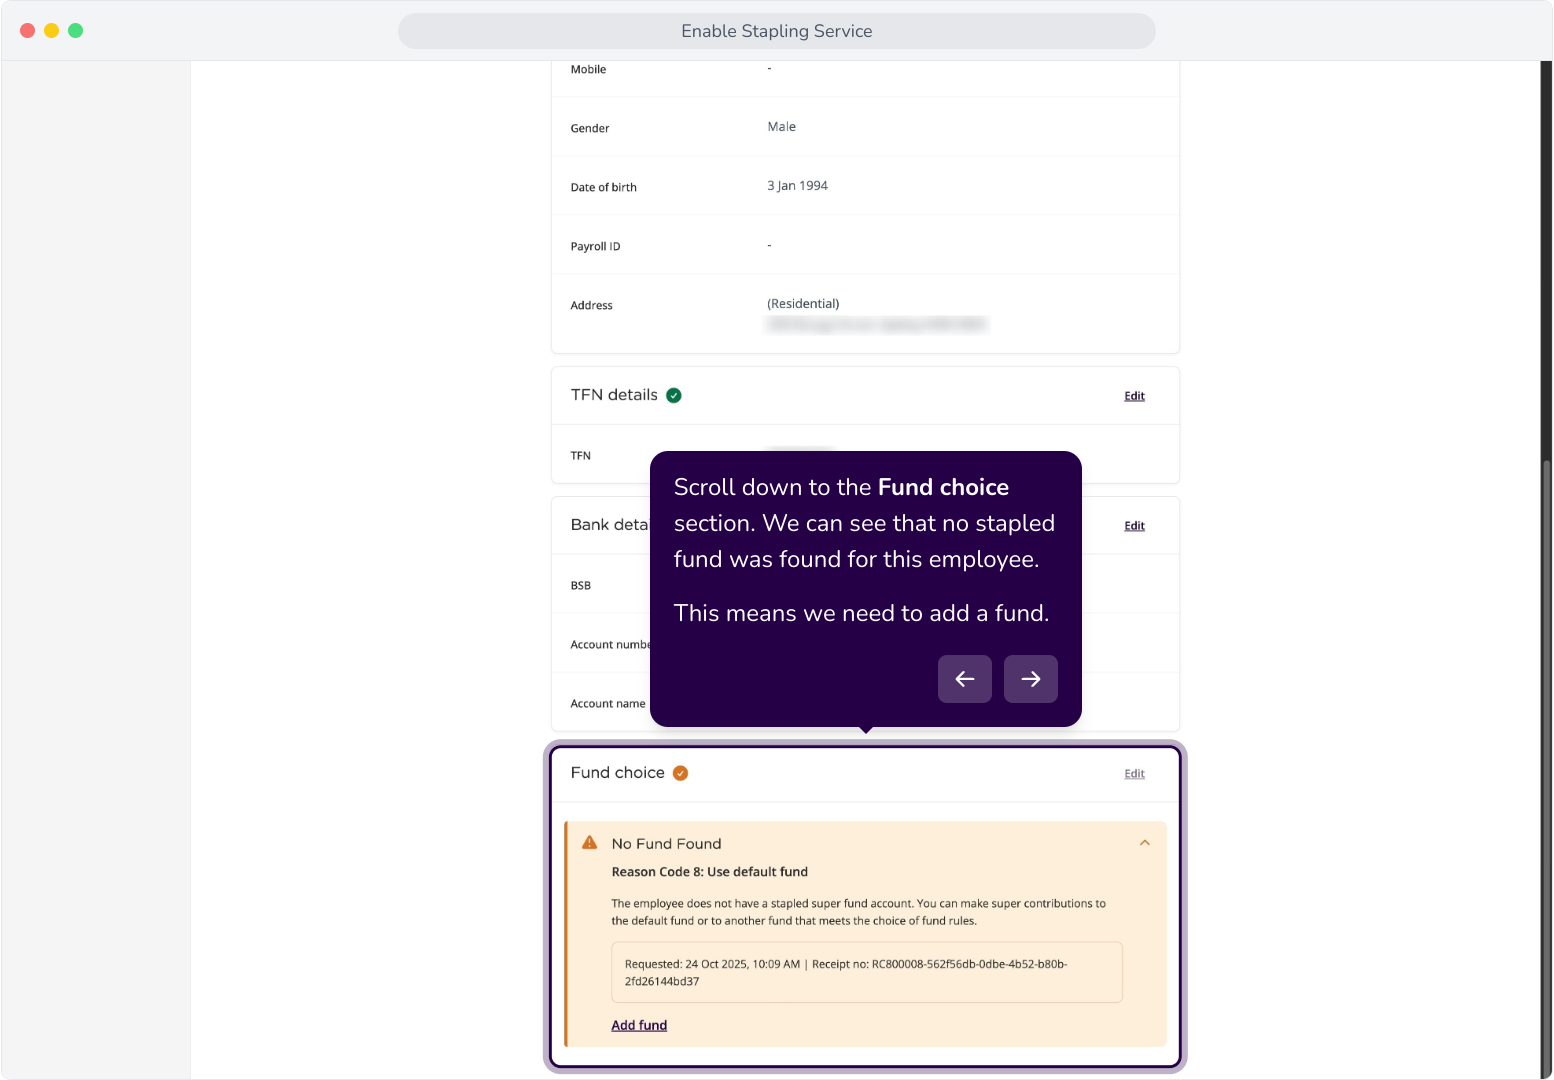
29. Scroll down to the Fund choice section. We can see that no stapled fund was found for this employee. This means we need to add a fund.
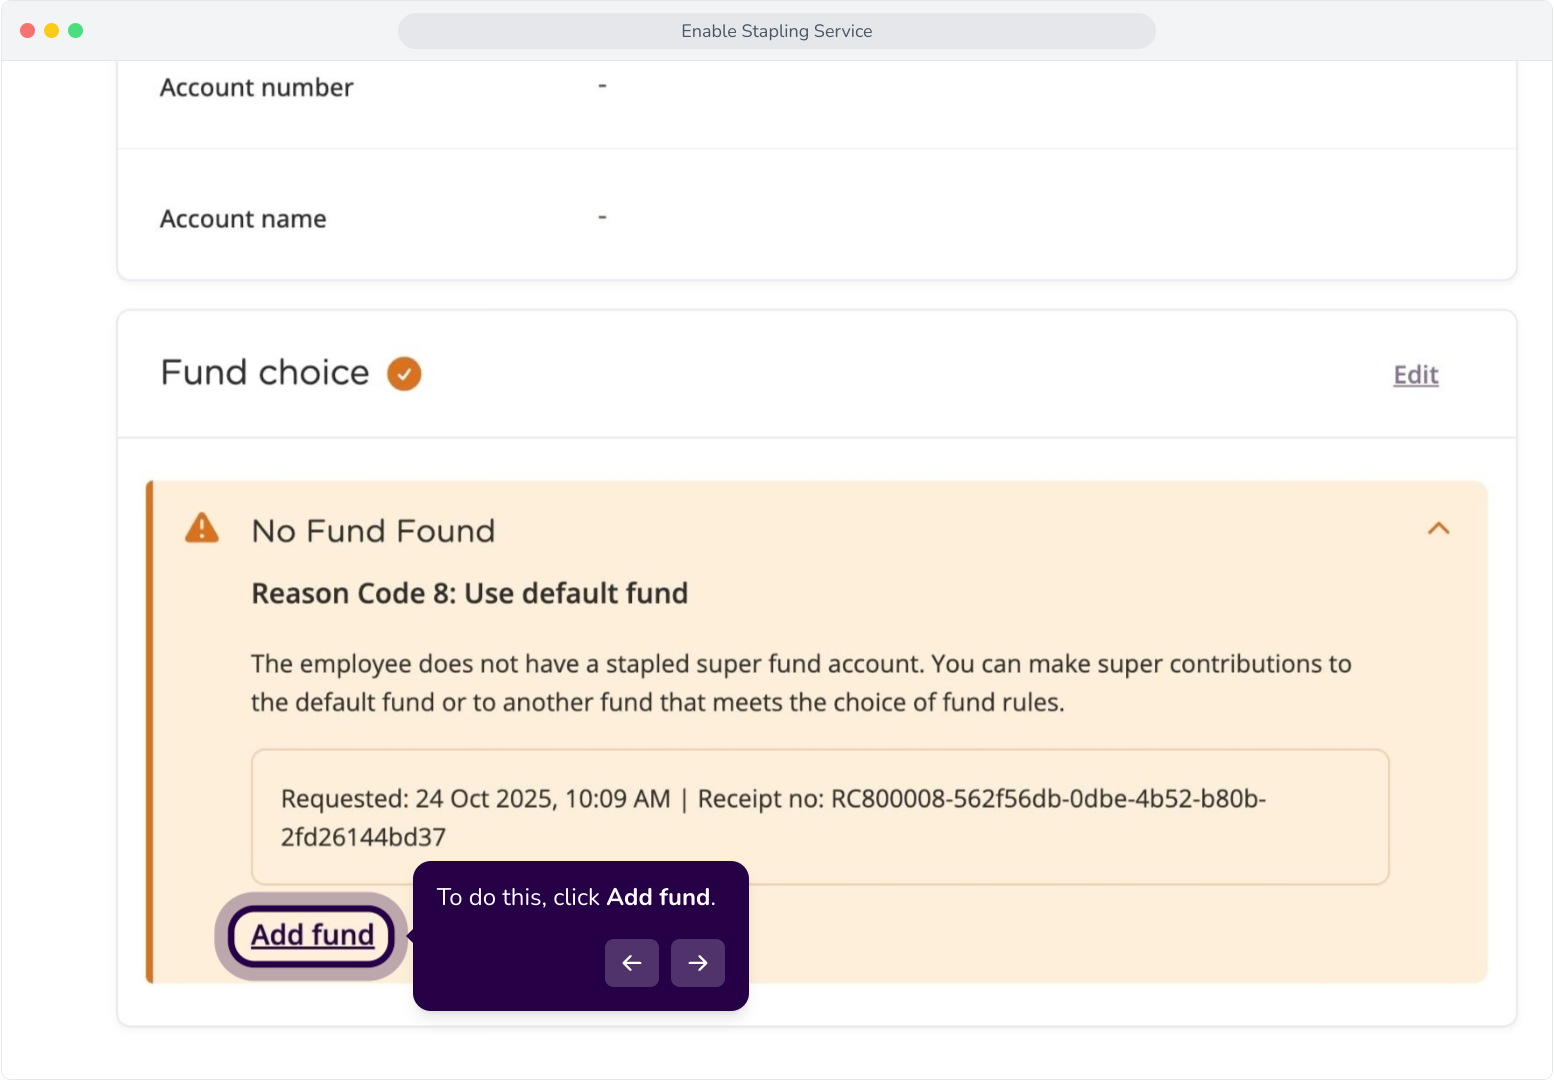
30. To do this, click Add fund.
Reason Code 1 – Unmatched
Reason Code 2 – Response not available
Reason Code 3 – No relationship
Reason Code 4 – Choice fund
Reason Code 5 – Choice SMSF
Reason Code 6 – Stapled fund
Reason Code 7 – Stapled SMSF
Reason Code 8 – Use default fund